The star stitch, with its charming, almost celestial pattern, is a delightful addition to any knitter's repertoire. Its relatively simple construction belies the beautiful texture and visual interest it brings to scarves, blankets, sweaters, and more. Whether you're a seasoned knitter looking to expand your skills or a beginner eager to tackle a more advanced project, the star stitch offers a satisfying challenge and rewarding results. This unique stitch creates a three-dimensional effect, adding depth and visual appeal to your finished piece, transforming even the simplest of garments into something truly special.
This tutorial provides a comprehensive, easy-to-follow guide, perfect for knitters of all levels. We'll break down the star stitch pattern into manageable steps, complete with clear instructions and helpful images, ensuring you'll be creating stunning star stitch projects in no time. Ready to embark on this knitting adventure? Let's dive into the step-by-step process below.
Preparation and Safety Guidelines
- Knitting needles
- Yarn
- Use sharp needles appropriate for your yarn weight to prevent dropped stitches and ensure even tension.
- Maintain consistent tension throughout your work to avoid unevenness and holes in the fabric. Practice your tension on a scrap yarn before starting your project.
- Always check your work regularly for mistakes. Fixing dropped stitches early is easier than unraveling later.
Step-by-Step Instructions
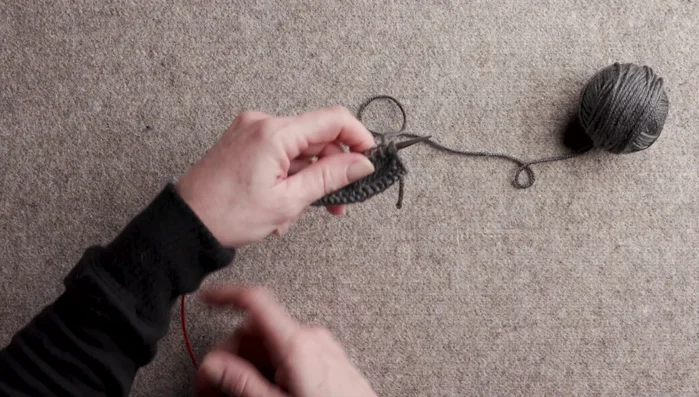
Casting On
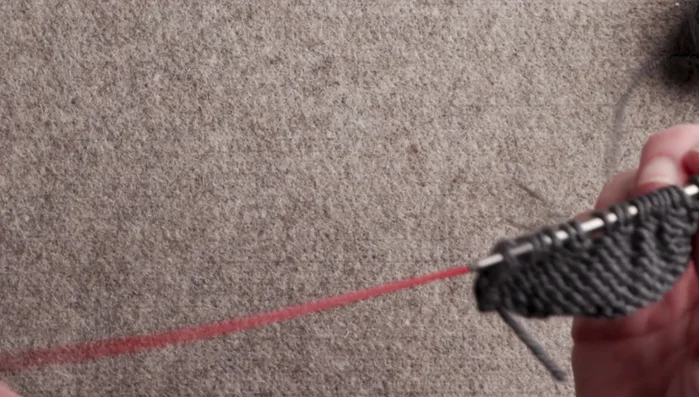
- Cast on a multiple of 3 stitches plus 2 selvedge stitches.

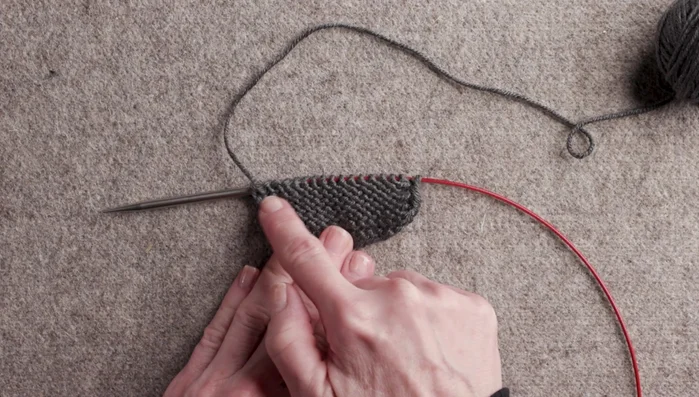
Casting On First Row (Wrong Side)
- Work a wrong side row (purl).
First Row (Wrong Side) Establishing the Star Stitch Pattern
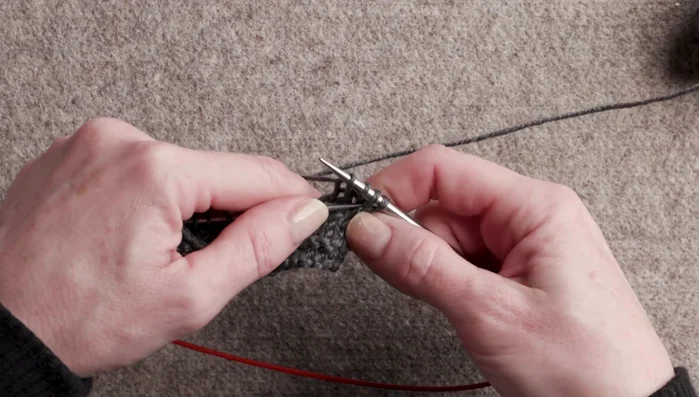
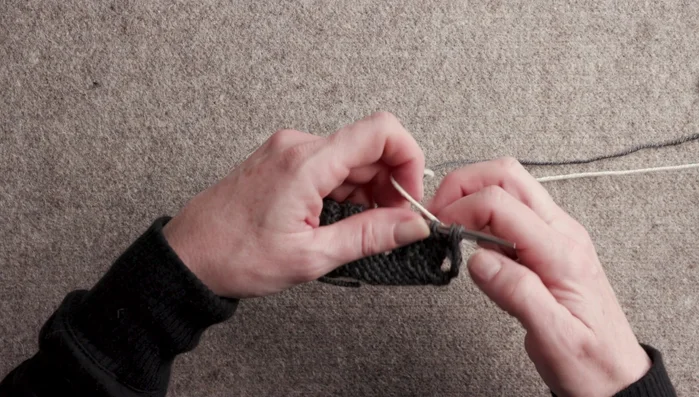
- Knit the first selvedge stitch.
- Knit three stitches.
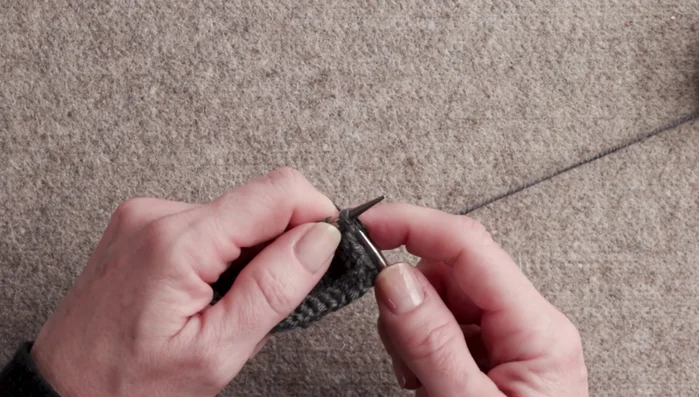
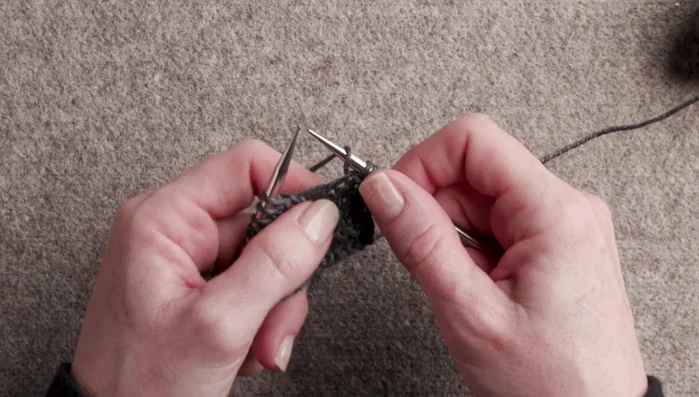
- Insert the left-hand needle from front to back into the third stitch.
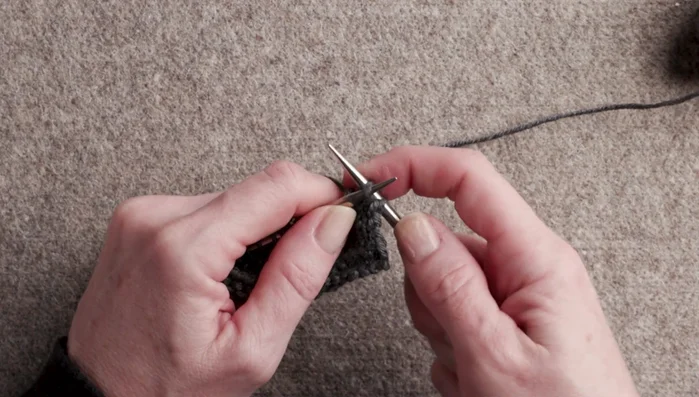
- Pass the third stitch over the first two stitches and off the needle.
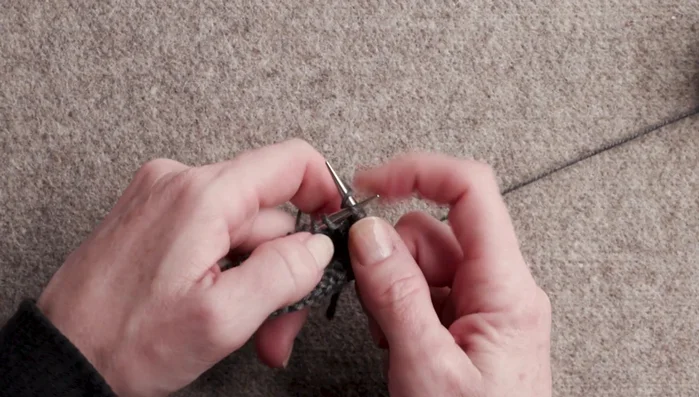
Establishing the Star Stitch Pattern - Yarn over.
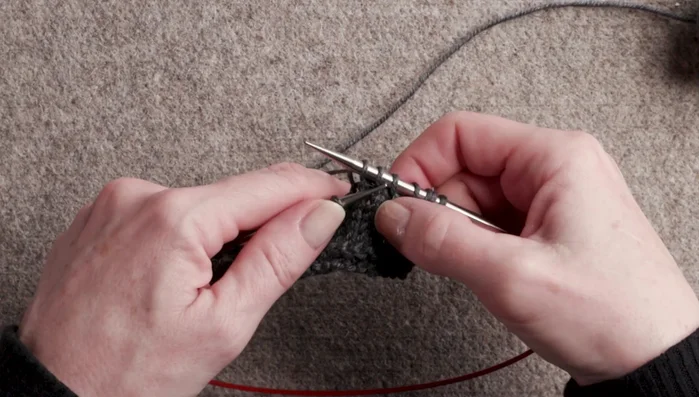
- Repeat steps 4-7 across the row.
- Knit the last selvedge stitch.
Establishing the Star Stitch Pattern Repeating the Pattern and Changing Colors
- Repeat steps 2-9 for subsequent rows, changing yarn colors as desired. When adding a new yarn, begin on a wrong side row and join by bringing the new yarn under and then over the old yarn.
Repeating the Pattern and Changing Colors
Read more: Knitting a Reversible Basketweave Blanket: A Customizable Guide
Tips
- Use pointy needles to prevent splitting your yarn plies.
- Don't worry about loose stitches on the first row of a new color; you can tighten them up later.
- When changing colors, bring the new color under and over the old color to create a neat edge.
- Use a chart to visualize the pattern. Blank squares indicate purling on the wrong side and knitting on the right side; other symbols represent the star stitch.