Have you always admired the intricate beauty of stacked rings but felt intimidated by the seemingly complex process? Fear not! Creating stunning stacked rings is more achievable than you might think, especially with the right techniques and a focus on mastering easy solder joints. This ultimate guide will demystify the art of stacked ring making, guiding you through each stage with clear instructions and helpful tips. We’ll explore various design options, from simple bands to more elaborate creations, ensuring you find a project that suits your skill level and style.
Forget struggling with messy solder spills and uneven joins. This guide prioritizes clean, strong, and aesthetically pleasing solder joints, making the process both satisfying and rewarding. We’ll cover everything from material selection and ring sizing to the crucial step-by-step process of creating those perfect, seamless connections. Get ready to unleash your inner jeweler—let's dive into the detailed instructions and start crafting your dream stacked ring collection!
Preparation and Safety Guidelines
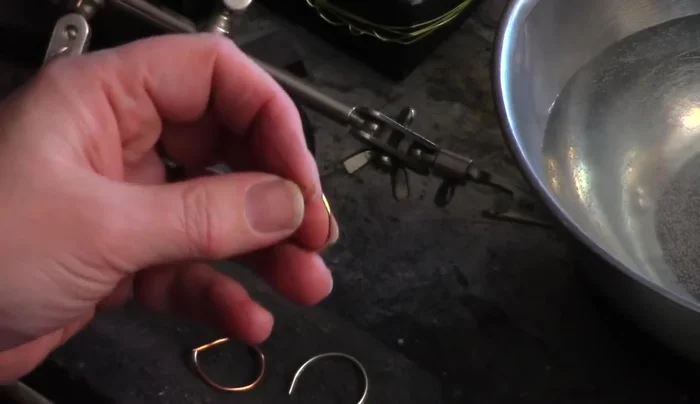
- 20-gauge sterling silver wire
- copper wire
- gold-filled wire
- torch
- solder paste
- third hand (optional)
- charcoal block (optional)
- chain nose pliers
- file
- mallet or hammer
- ring mandrel
- bowl of water
- polishing shot
- detergent
- nylon pliers
- Always wear safety glasses to protect your eyes from solder splashes and metal fragments.
- Work in a well-ventilated area. Soldering fumes can be harmful if inhaled.
- Use appropriate heat-resistant gloves and a heat-resistant mat to protect your hands and work surface from burns.
Step-by-Step Instructions
Prepare the Wire
- Cut your wire to a size slightly smaller than your desired ring size (about half a size smaller). File down any burrs or sharp parts to ensure a smooth, even joint for soldering.

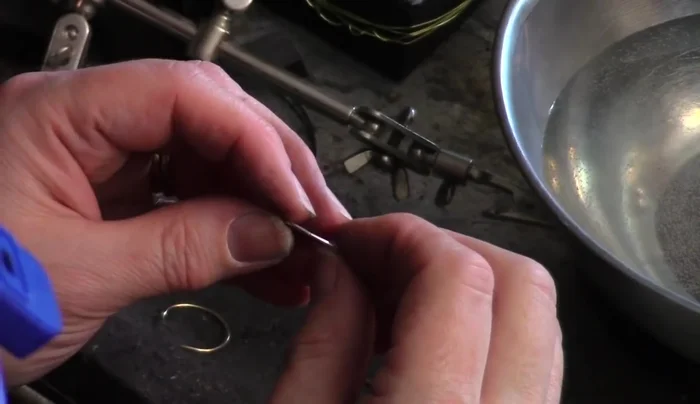
Prepare the Wire Join the Wire Ends
- Using chain nose pliers or your fingers, carefully align the two ends of the wire, ensuring they meet perfectly without any gaps. This is crucial for a seamless solder joint.
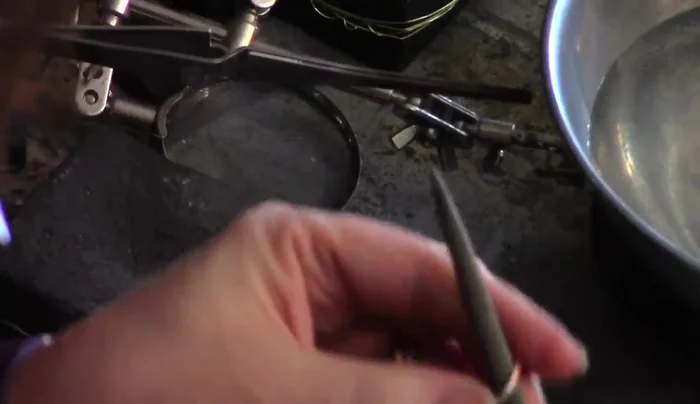
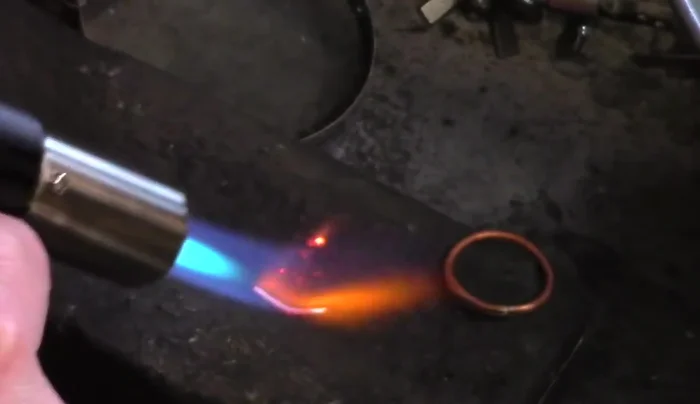
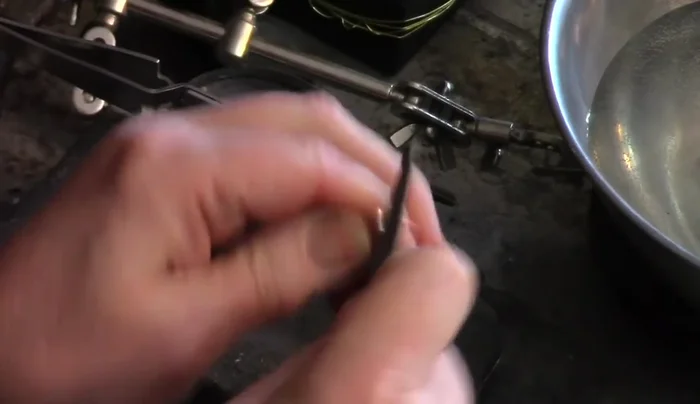
Join the Wire Ends Solder the Ring Joint
- Gently heat the ring with your torch before applying a tiny amount of easy solder paste. Heat the entire ring evenly in a circular motion to melt the solder and create a smooth, invisible joint. Quench the ring in water immediately after soldering.
Solder the Ring Joint Clean the Solder Joint
- After the ring cools, use a file to smooth the solder joint, removing any excess solder and ensuring a perfectly even surface.
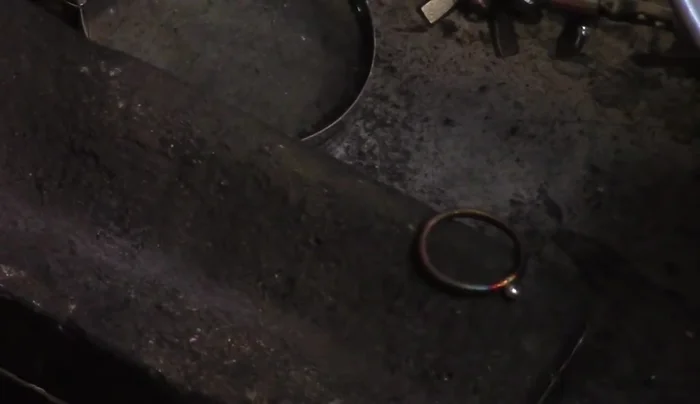
Clean the Solder Joint Create and Attach the Ball
- Heat a small piece of scrap silver wire until it forms a ball. Quench in water to cool. For fine silver, fire scale is minimal.
- Place the ball onto the ring where the solder joint is located. Apply more solder paste to the connection point. Heat the entire ring evenly to attach the ball, ensuring the solder flows and secures it to the band. Quench in water.
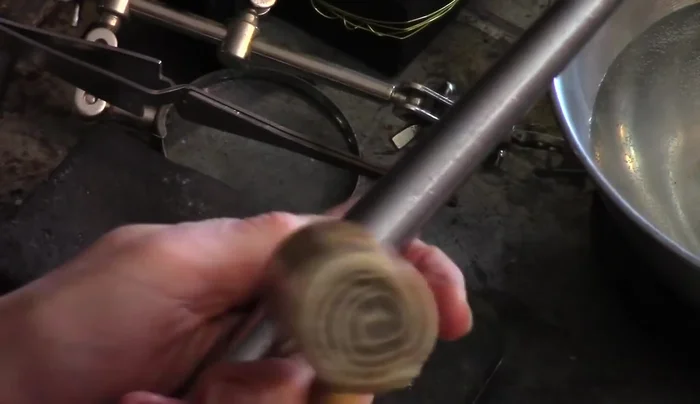
Create and Attach the Ball Shape and Size the Ring
- Use a ring mandrel and a mallet (rawhide for preventing marks, ball-peen for texture) to shape and size the ring. For sizing up, use the mallet and angle it slightly while gently tapping, gradually moving it down the mandrel.
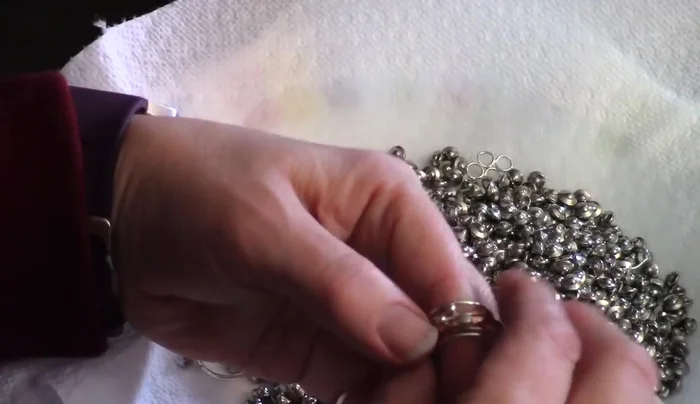
Shape and Size the Ring Finish and Polish
- File away any excess solder or uneven areas, especially if using multiple metals. Then, polish the ring using polishing shot, water, and detergent in a shaker for about 10 minutes.
- Wire-harden and straighten the ring using nylon pliers and a hammering block to ensure a perfect fit and finish.
Finish and Polish

Read more: DIY Tiered Tassel Earrings: A Quick & Easy Jewelry Tutorial
Tips
- Use less solder paste: This prevents excess flow and ensures a clean solder joint.
- Heat the entire ring evenly: This avoids localized overheating and creates a more even solder flow.
- Work in a well-ventilated area: This is important when using a torch.
- Use fine silver for balls: It minimizes fire scale.
- Heat the ball attachment point: Focus the torch on where the ball meets the ring to help the solder flow and create a secure bond.