Embrace the cozy charm of handmade comfort with this ultimate tutorial on creating a chunky, color-block Squishy Molly Waffle blanket! This delightful crochet project is perfect for both seasoned crafters seeking a new challenge and beginners eager to tackle a satisfyingly large piece. Imagine the soft texture against your skin, the vibrant color combinations, and the undeniable pride of creating such a luxurious throw entirely by hand. The unique waffle stitch adds a delightful dimension, creating a truly squishy and irresistible finished product. This blanket will quickly become a cherished addition to your home, a cozy companion on chilly evenings, or a thoughtful, handmade gift.
Prepare to be amazed as we guide you through each step of this exciting project, transforming simple yarn into a stunning, chunky masterpiece. Let's dive into the detailed, step-by-step instructions below, complete with helpful photos and tips to ensure your Squishy Molly Waffle blanket turns out perfectly!
Preparation and Safety Guidelines
- 9 mm crochet hook
- Lion Brand Hue and Cry yarn (or similar)
- scissors
- tapestry needle
- steam blocking supplies
- Always use sharp scissors to cut your yarn to prevent fraying and ensure clean edges for your color changes. Dull scissors can snag the yarn and make it difficult to work with.
- Pay close attention to your stitch counts at the end of each row and before color changes to maintain the pattern's integrity and prevent unexpected shaping issues.
- When working with bulky yarn, ensure your hook size is appropriate; using too small a hook can lead to tight stitches, hand fatigue, and a less squishy, more rigid finished blanket.
Step-by-Step Instructions
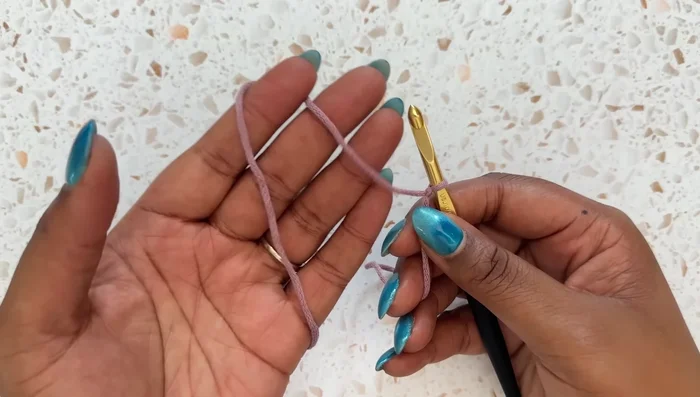
Foundation Row
- Create 90 foundation single crochet stitches (adjust as needed for desired blanket size). This creates a stretchier and more easily sized foundation than chaining.

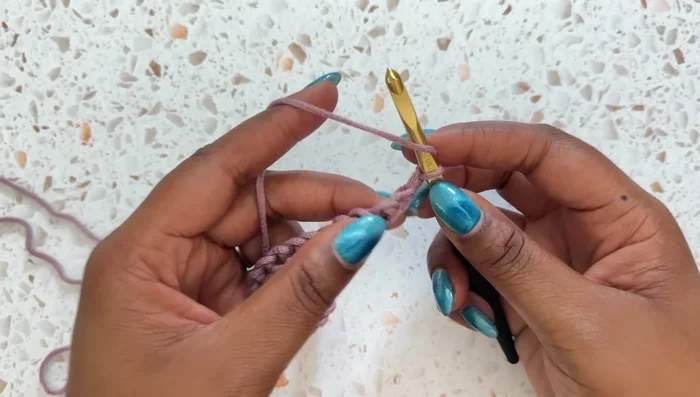
Foundation Row Initial Double Crochet Rows
- Chain 1, then double crochet in each stitch across.
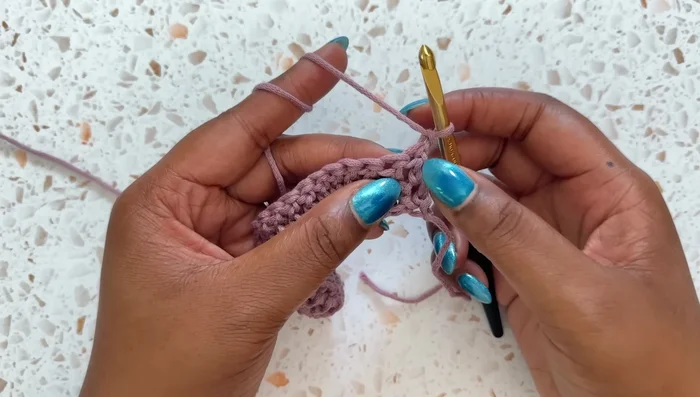
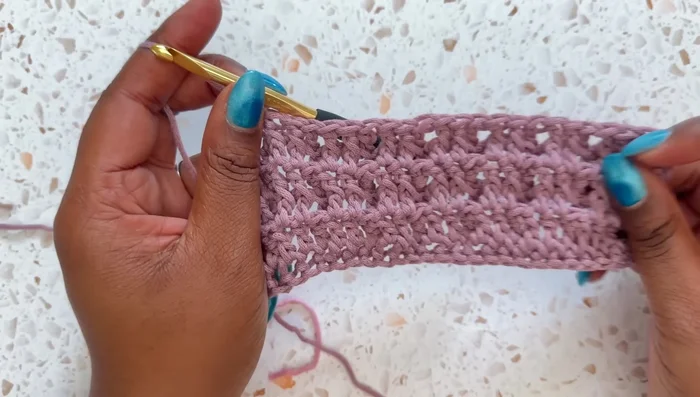
Initial Double Crochet Rows Establishing the Waffle Stitch Pattern
- Chain 1, turn. Double crochet in the first stitch. Then, repeat: front post double crochet, double crochet 2, front post double crochet across the row. End with a double crochet in the last stitch.
- Chain 1, turn. Double crochet in each of the next two stitches. Then, repeat: front post double crochet 2, double crochet 1 across the row. End with a double crochet in the last stitch.
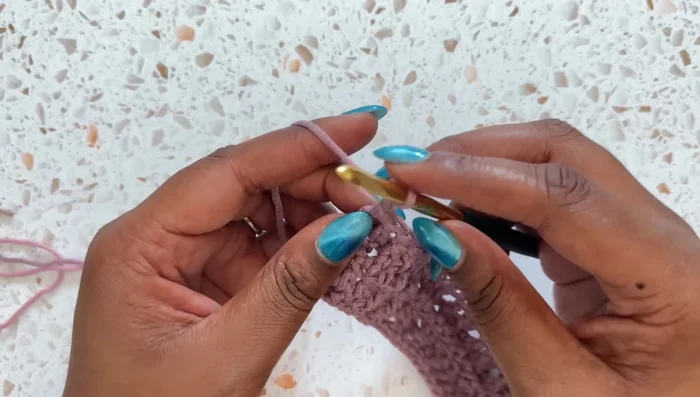
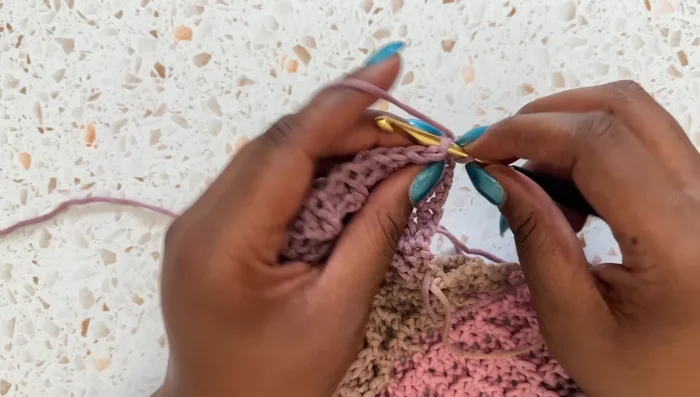
Establishing the Waffle Stitch Pattern Repeating the Waffle Stitch Pattern and Color Changes
- Repeat rows 2 and 3 until you have 7 rows in each color section (for a total of 8 rows including the foundation row). Change yarn colors by completing the last stitch of one color, leaving two loops on the hook, and pulling through with the new color.
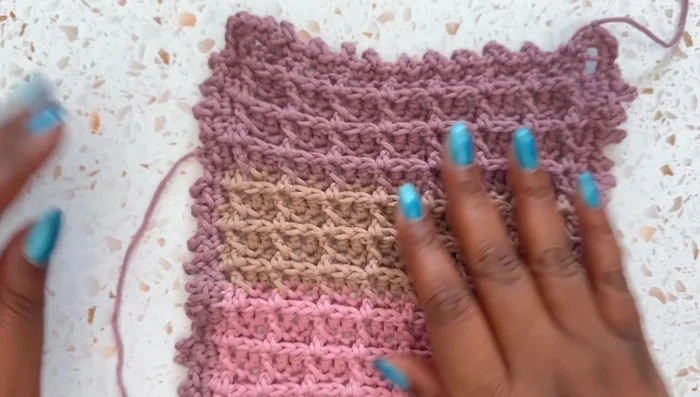
- Create sections of 8 rows each in three colors (A, B, C), repeating the A-B-C sequence three times. Finish with one more section of color A.
Repeating the Waffle Stitch Pattern and Color Changes Adding the Border
- Chain 1, turn. Single crochet in each of the next two stitches. Then, repeat: pico (chain 3, slip stitch into the first chain), single crochet in each of the next two stitches. Continue around the blanket, using 3 single crochets for each corner. Finish with a slip stitch into the first stitch and fasten off.
Adding the Border Finishing Touches
- Steam block the finished blanket to relax the stitches and flatten the edges.
Finishing Touches

Read more: Knitting a Reversible Basketweave Blanket: A Customizable Guide
Tips
- Use a foundation single crochet for a stretchier, easier-to-size blanket.
- Don't pull chains too tight when creating the foundation single crochet.
- For color changes, leave two loops on the hook before switching colors.
- Steam blocking helps relax the stitches and create a more even texture.