Square crossover rings, with their clean lines and modern aesthetic, are increasingly popular pieces of jewelry. Their seemingly simple design belies a surprisingly intricate crafting process, one that demands precision and a steady hand. Whether you're a seasoned metalsmith looking for a new challenge or a curious beginner eager to learn a new skill, creating your own square crossover ring offers immense satisfaction. The unique interplay of metal bands creates a captivating visual effect, showcasing your craftsmanship with every subtle curve and perfectly aligned edge.
This guide will take you through each stage of crafting your own stunning square crossover ring. From selecting the right materials and tools to the final polishing, we'll provide clear and concise instructions, empowering you to create a beautiful piece of jewelry you can wear with pride. Let's delve into the step-by-step process and transform a simple concept into a wearable work of art.
Preparation and Safety Guidelines
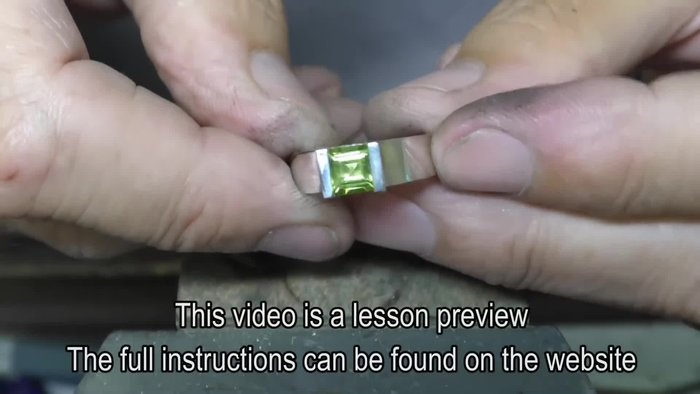
- Peridot
- Silver platinum alloy
- Hammer
- Ring mandrel
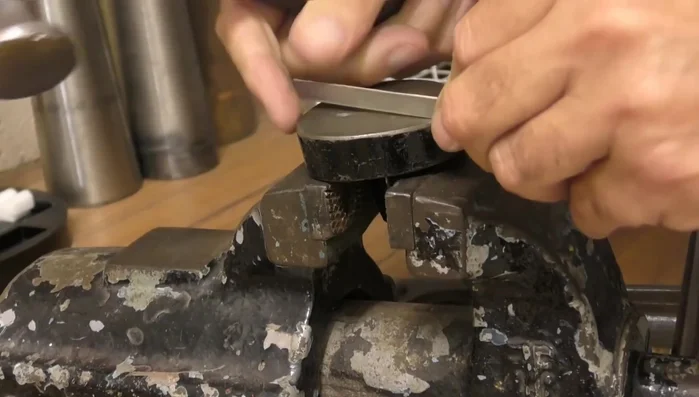
- Vice
- Panel beta's hammer
- Rubber thimbles
- Soldering equipment
- Files (various grades)
- Half-round ring file
- Handpiece
- Dremel or hammer hand piece on pendant motor
- Always wear safety glasses to protect your eyes from flying metal particles during sawing, filing, and sanding.
- Use appropriate caution when working with sharp tools like saws and files. Cut away from yourself and maintain a firm grip.
- Ensure your workspace is well-lit and clean to prevent accidents. Keep tools and materials organized.
Step-by-Step Instructions
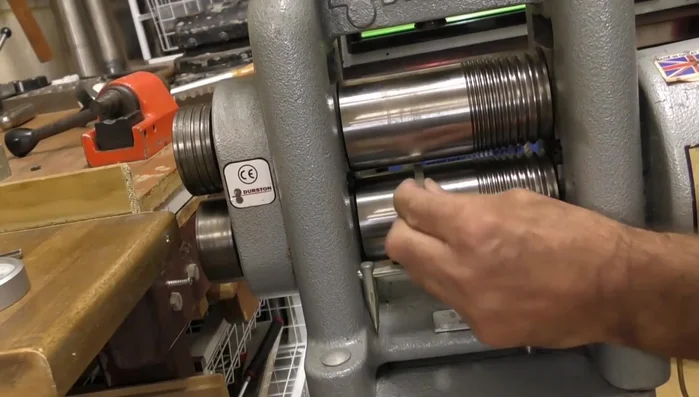
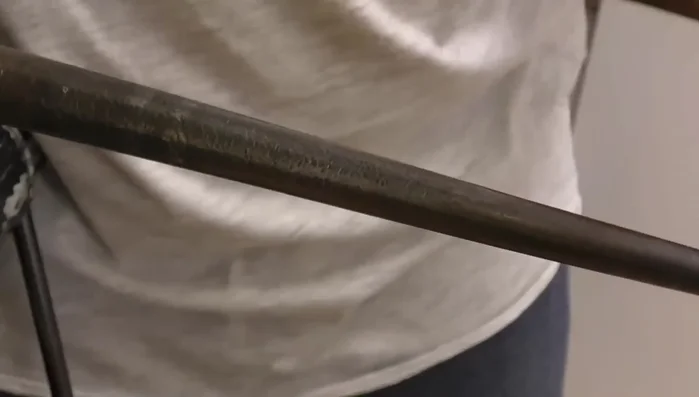
Prepare the Metal
- Shape the ring components.
- Anneal the metal to maintain its shape.
- Flatten the edges using a hammer, ensuring width is not reduced.

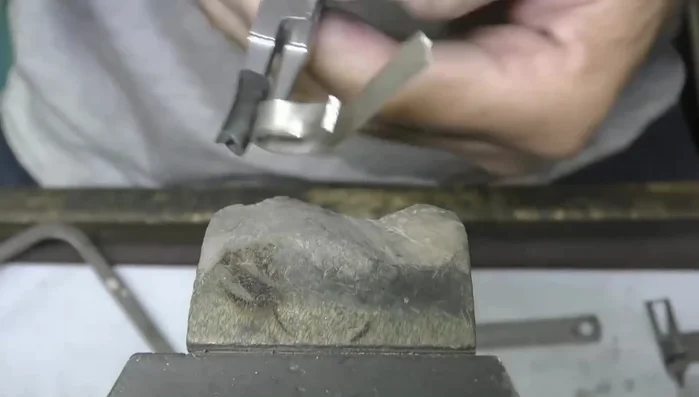
Prepare the Metal Shape the Crossover
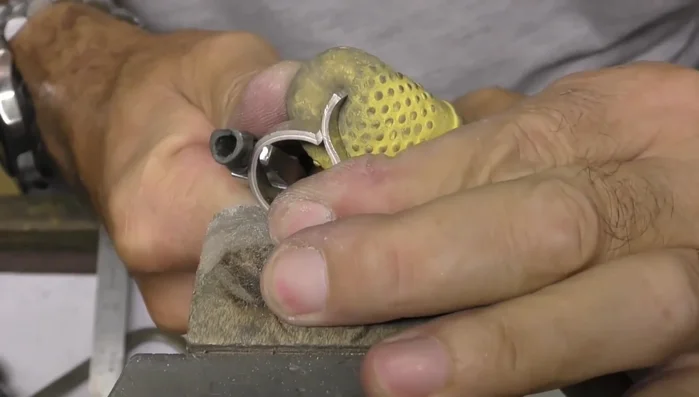
- Test the ring's fit on a mandrel.
- Create the crossover shape by bending the softened metal.
- Use rubber thimbles to carefully shape the crossover.
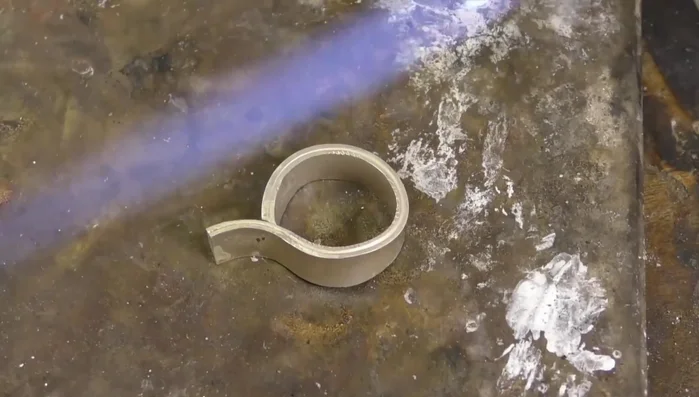
Shape the Crossover Join the Components
- Solder the components together using a neutral flame to prevent firescale (if using sterling silver).
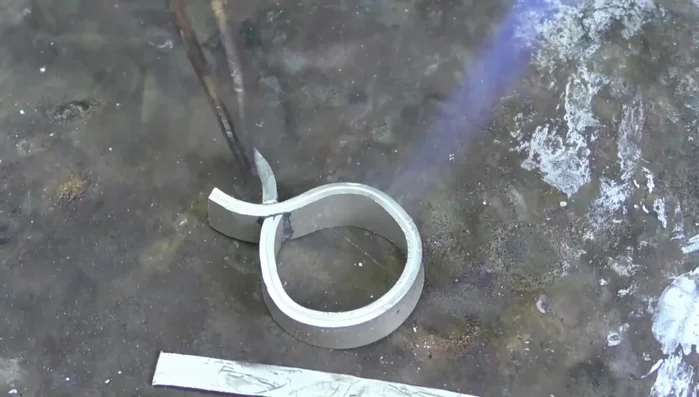
- File and refine the joints for a smooth finish.
- Adjust the angle if needed by reheating and repositioning.
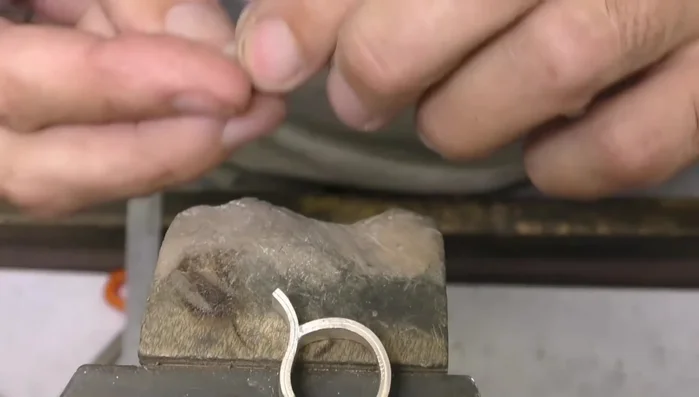
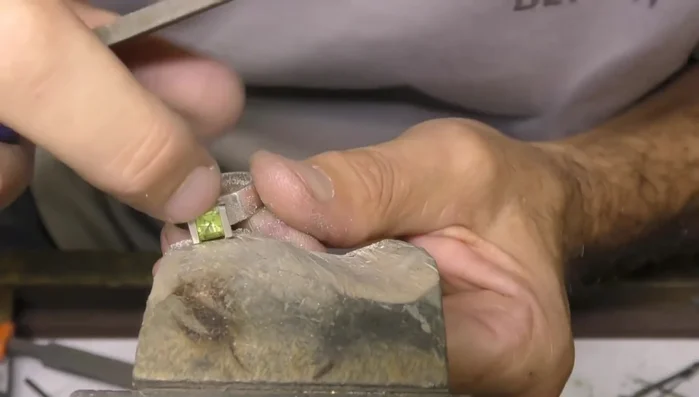
Join the Components Refine the Ring
- Reduce thickness at the bottom using files.
- Use a half-round ring file to refine the crease without creating flat spots.
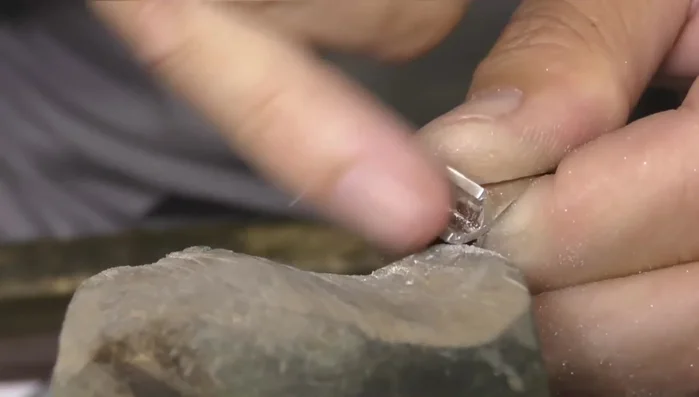
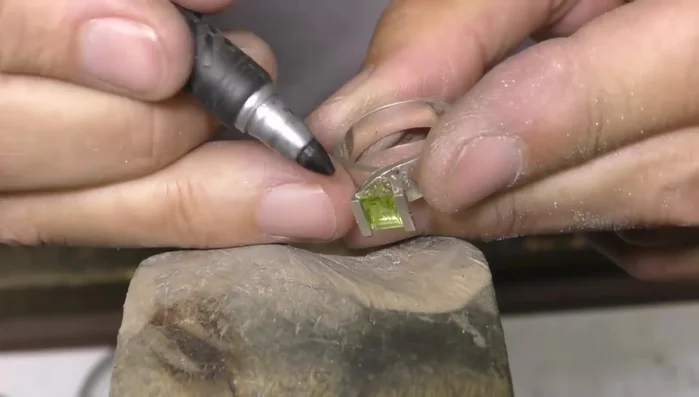
Refine the Ring Prepare the Stone Setting
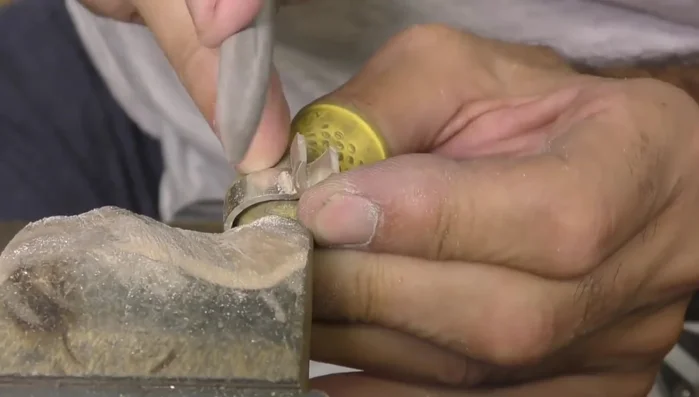
- Use a handpiece to finish the inside of the ring and create a seating cut for the stone.
- File the lower part of the setting, creating a high spot.
- Carefully file the setting to avoid compromising the stone's integrity.
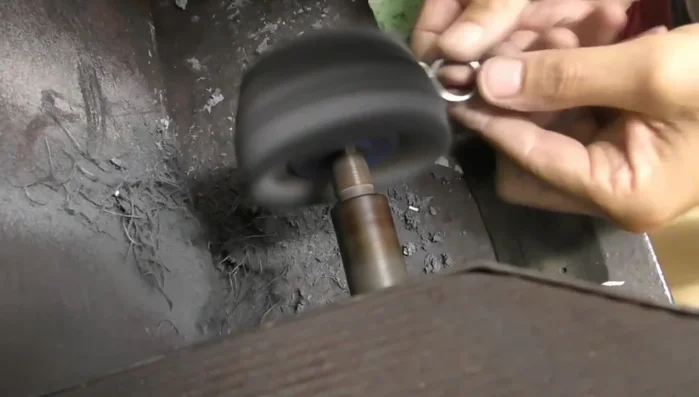
Prepare the Stone Setting Finish and Polish
- Polish the ring to a high shine.
Finish and Polish

Read more: DIY Tiered Tassel Earrings: A Quick & Easy Jewelry Tutorial
Tips
- Be generous with the metal; it's better to have more material than less.
- Practice soldering techniques on scrap metal before working on the final piece.
- Use a neutral flame while soldering sterling silver to minimize firescale.
- Use a dremel or hammer hand piece for creating the seating cut, to avoid damaging the metal.