Sonata necklaces, with their elegant, interwoven chains and often delicate pendants, offer a sophisticated touch to any outfit. However, their intricate design can sometimes make them seem intimidating to put on. Many find themselves struggling with the seemingly endless loops and clasps, resulting in frustration rather than the intended stylish effect. Learning how to correctly fasten a sonata necklace not only prevents accidental tangles and potential damage to the piece but also ensures it sits beautifully against your neckline, enhancing its overall charm. The unique knotting style often involved sets it apart from other necklaces and requires a slightly different approach.
This guide provides a clear, concise, and easy-to-follow step-by-step process that will demystify the art of tying a sonata necklace. Whether you're a seasoned jewelry enthusiast or a complete novice, the following instructions, accompanied by helpful visuals (where applicable), will empower you to confidently and effortlessly adorn yourself with this timeless piece of jewelry. Let's get started!
Preparation and Safety Guidelines
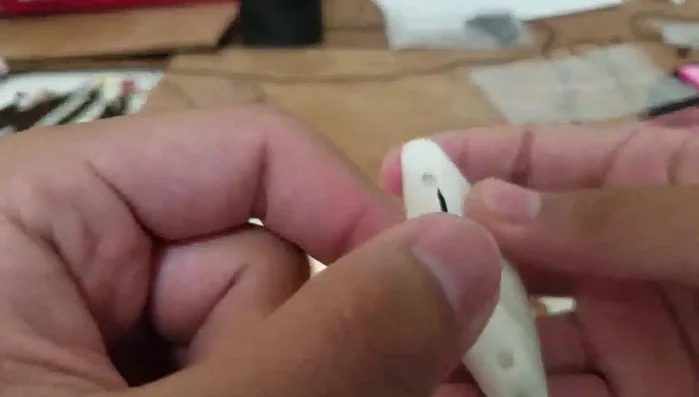
- Sonata necklace (with clamshell clasp)
- Rope (4 feet)
- Lighter
- Scissors or knife
- Always handle the necklace gently to avoid damaging the delicate beads or clasp. Rough handling can lead to breakage or loosening of the knots.
- If you encounter difficulty tying the necklace, stop and seek assistance. Forcing the knot can damage the cord or clasp.
- Before wearing, inspect the necklace for loose beads or weakened cords. Repair any damage before wearing to prevent loss of beads or the entire necklace.
Step-by-Step Instructions
Prepare Materials
- Sonata necklace, rope (cut in half and ends burned), lighter, and scissors.

Prepare Materials Secure First Side
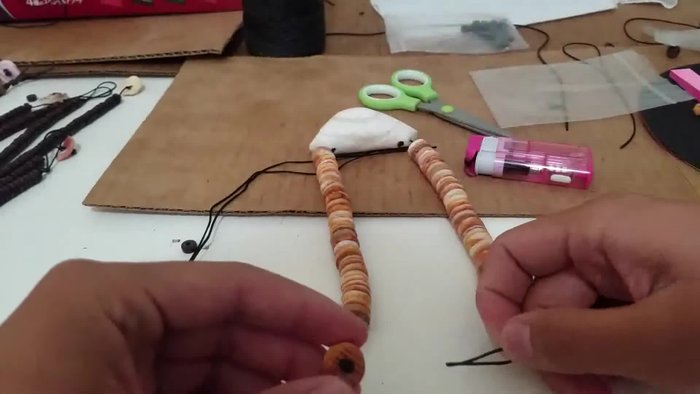
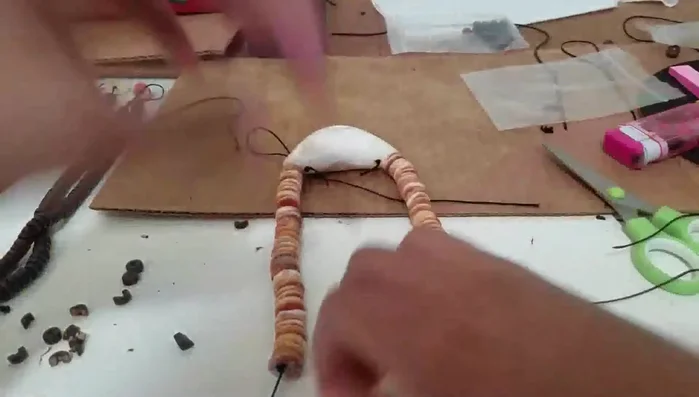
- Thread one piece of rope through one of the larger holes on one side of the necklace.
- Tie a triple knot (or double knot) on the rope, securing it to the necklace.
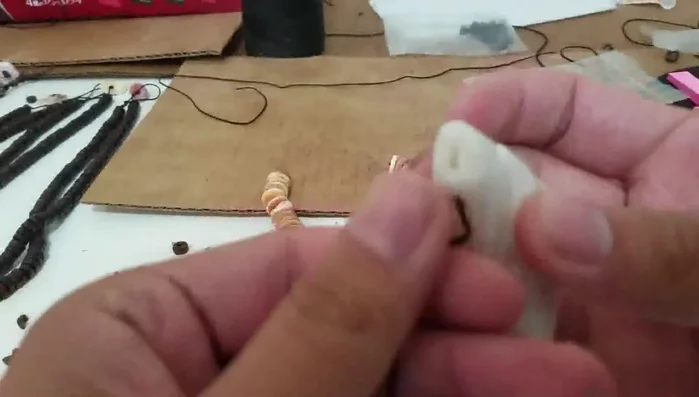
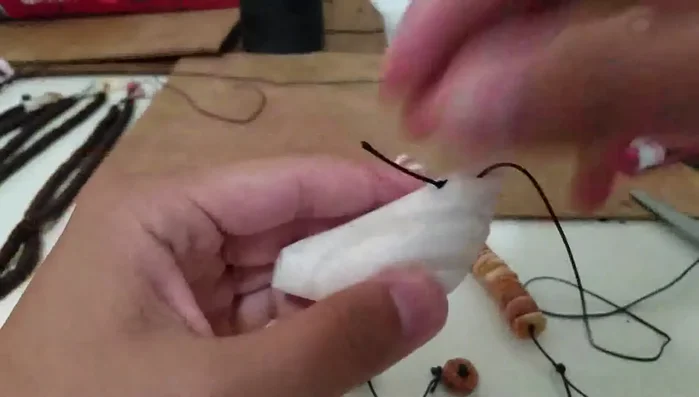
Secure First Side Secure Second Side
- Repeat steps 2 and 3 for the other side of the necklace.
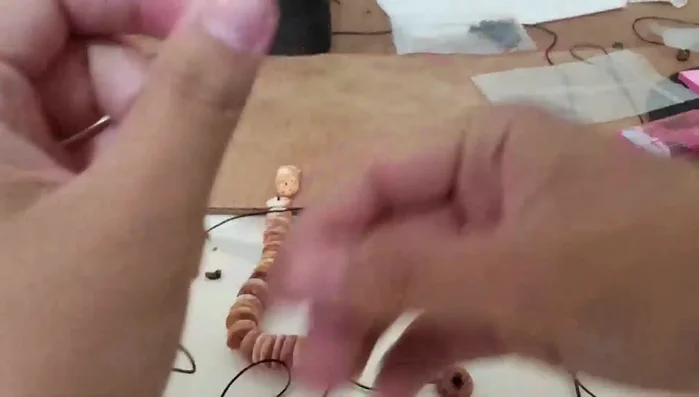
Secure Second Side Add Beads
- Add beads to the rope, ensuring they are evenly spaced. The video shows a 'face down' method where all beads face the same direction.
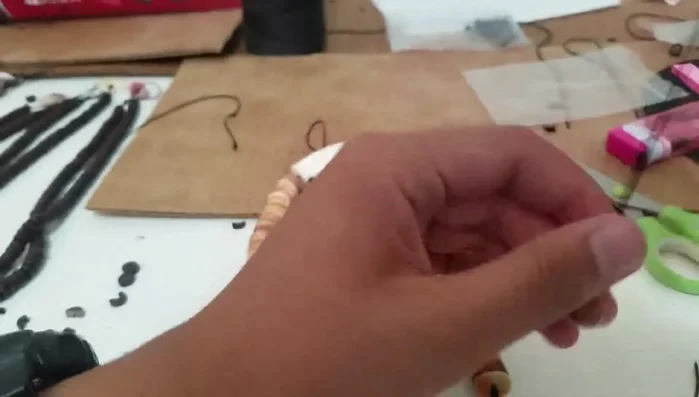
Add Beads Secure Beads
- Once the beads are added, tie a double knot on each end to secure them in place.
Secure Beads Attach Clasp and Loop
- Tie the clasp onto one end and make an overhand loop on the other end to create equal lengths on both sides.
Attach Clasp and Loop Secure Clasp
- Tie a double knot on top of the clasp to secure it.
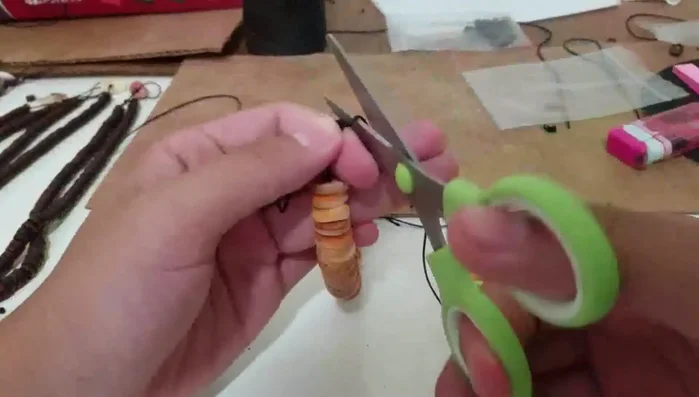
Secure Clasp Finish and Burn
- Trim the excess rope, leaving a small amount. Burn the ends of the rope to prevent fraying.
Finish and Burn

Read more: DIY Tiered Tassel Earrings: A Quick & Easy Jewelry Tutorial
Tips
- Burn the ends of the rope before starting to make it easier to work with.
- When tying the knots, ensure they are on the correct side of the rope.
- The orientation of the beads doesn't matter significantly as they are all the same size. The video shows a 'face down' method.
- Burn the ends of the rope after tying the knots to prevent fraying. This should be done *before* adding the beads if possible.