Indulge your senses and elevate your style with a pair of exquisitely handcrafted silk tassel earrings. Forget expensive designer labels; this guide empowers you to create your own luxurious statement pieces, effortlessly blending elegance and affordability. The rich texture of silk, carefully manipulated into cascading tassels, promises to add a touch of sophisticated glamour to any outfit, from casual daytime looks to dazzling evening attire. These aren't just earrings; they're a reflection of your creativity and a testament to the beauty of handmade artistry.
This DIY project, perfect for both beginners and seasoned crafters, is surprisingly simple to execute. Follow along as we walk you through each step, transforming humble materials into stunning, wearable works of art. Ready to embark on this rewarding journey? Let's dive into the step-by-step guide to crafting your own luxurious silk tassel earrings.
Preparation and Safety Guidelines
- Silk thread (size F, 100% pure silk)
- TierraCast cord ends
- TierraCast bead aligners
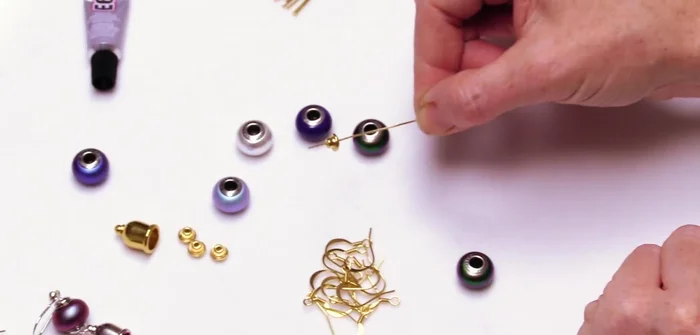
- Large hole beads (e.g., Swarovski Be Charmed pearls)
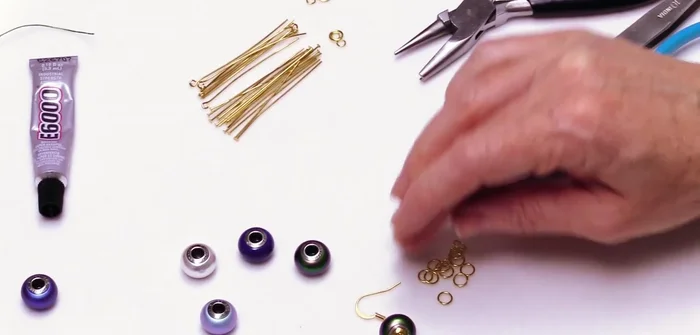
- Beadaholique finding kit (earring hooks, eye pins, jump rings)
- E6000 glue
- Paper scraps
- Toothpick
- Scissors
- Tweezers
- Wire looping pliers (or round nose pliers, cutters, chain nose pliers)
- Cardboard
- Always use sharp scissors and handle them with care to avoid accidental cuts. Keep scissors away from children.
- If using strong adhesives, ensure adequate ventilation and follow the manufacturer's instructions carefully to prevent skin or eye irritation.
- Be mindful of the length of your finished earrings to avoid them becoming entangled or catching on clothing. Consider the weight of the tassels and choose appropriate earring hooks for support.
Step-by-Step Instructions
Create the Tassel
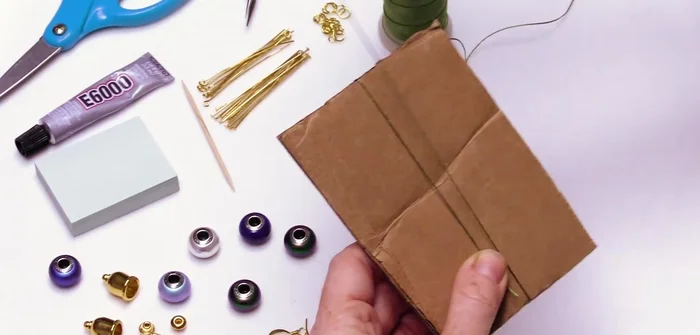
- Cut a cardboard piece slightly larger than your desired tassel length.
- Wrap the silk thread around the cardboard 55 times (for consistent earring size).
- Tie a knot with a small piece of silk thread, securing all the wraps together. Slide the cardboard out.
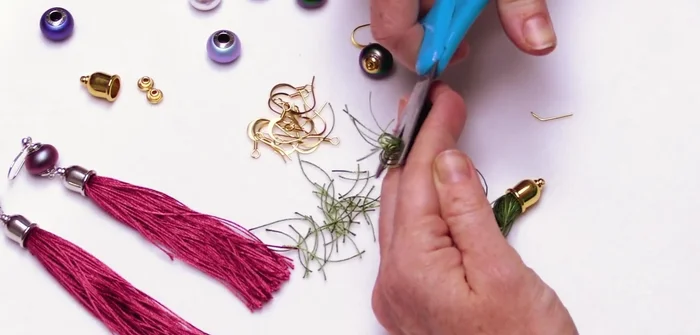
- Trim the excess silk thread from the tassel and refine its shape.

Create the Tassel Prepare the Tassel Top
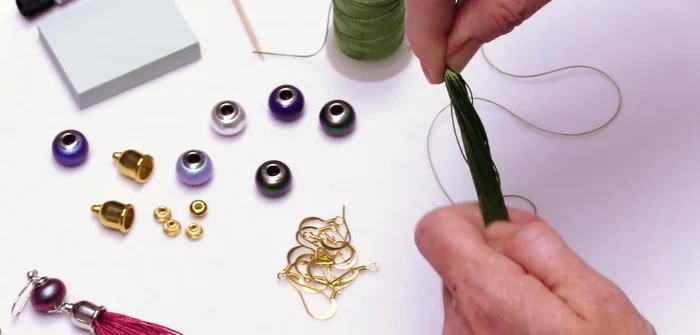
- Fold a piece of silk thread in half, wrap it around the tassel, and secure with additional thread, leaving some length for later.
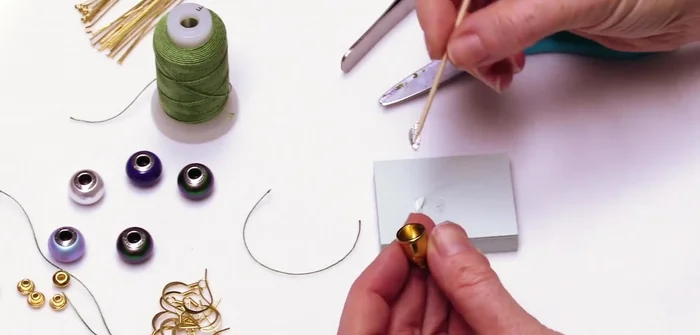
- Apply glue generously inside the cord end well, insert the tassel, and press firmly. Allow it to dry completely.
Prepare the Tassel Top Prepare the Pearl Accent
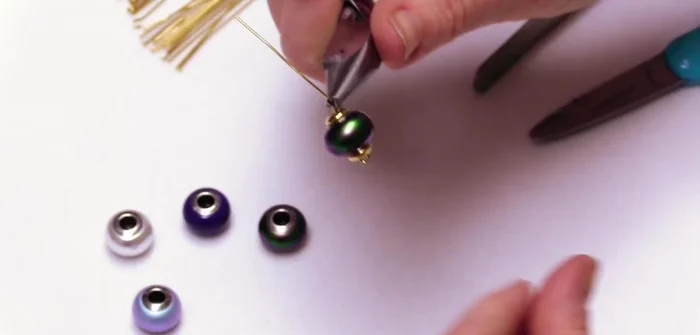
- Use bead aligners to attach the pearl to the eye pin, creating a sturdy connection.
- Use wire looping pliers to create a secure loop at the end of the eye pin.
Prepare the Pearl Accent Assemble the Earring
- Use a jump ring to connect the pearl and the earring hook.
Assemble the Earring

Read more: DIY Tiered Tassel Earrings: A Quick & Easy Jewelry Tutorial
Tips
- Experiment with color combinations: Hold the pearls against different silk colors to find the best match.
- Count your wraps for consistent tassel thickness: This ensures both earrings hang evenly.
- Use tweezers for precision: Tweezers provide better control during the tying and gluing processes.
- Don't trim the tassel before gluing: Glue the tassel into the cord end *before* trimming to ensure a neat, even look. Trim once the glue is dry.
- Use multiple wraps on the eye pin: This creates a strong connection to prevent the pearl from slipping.