Love the look of delicate, shimmering necklaces but intimidated by the price tag? Then you're in the right place! This tutorial will show you how to create your own stunning seed bead necklace, quickly and easily, using readily available materials. Forget expensive jewelry stores – unleash your inner artisan and craft a beautiful piece that perfectly complements your style. Seed beads offer endless possibilities for color and design, allowing you to personalize your necklace to match any outfit or occasion.
This project requires minimal skills and tools, making it perfect for beginners and experienced crafters alike. Whether you’re looking for a fun afternoon project or a thoughtful handmade gift, this DIY seed bead necklace is a fantastic choice. Get ready to be amazed by how simple it is to transform basic supplies into a gorgeous piece of jewelry! Let's dive into the step-by-step instructions and begin crafting your own exquisite necklace.
Preparation and Safety Guidelines
- Beading wire (21 strand or 49 strand)
- Seed beads (size 11)
- Sterling silver accent beads
- 9x6 Lobster clasp
- Extender chain (optional)
- Crimping pliers
- Other pliers
- Flush cutters
- Bead mat
- Avoid inhaling seed beads. Small beads can be a choking hazard and inhaling them can be harmful to your lungs. Work in a well-ventilated area.
- Use appropriate tools. Sharp tools like wire cutters should be handled with care to avoid cuts and injuries. Supervise children carefully if they're assisting.
- Be mindful of allergies. Some beading wires or bead coatings may cause allergic reactions. If you experience any irritation, discontinue use and consult a doctor.
Step-by-Step Instructions
Prepare the Wire
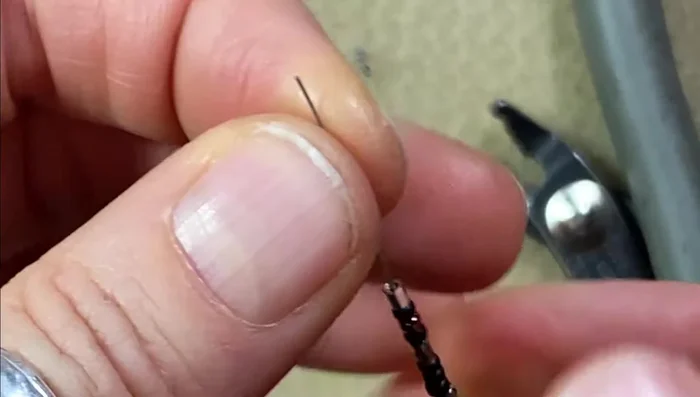
- Cut approximately 18 inches of beading wire. Attach a crimp bead to one end, leaving a small tail.

Prepare the Wire Crimp the First Bead
- Crimp the bead tightly using crimping pliers to secure it. Trim any excess wire with flush cutters and smooth out any sharp edges.
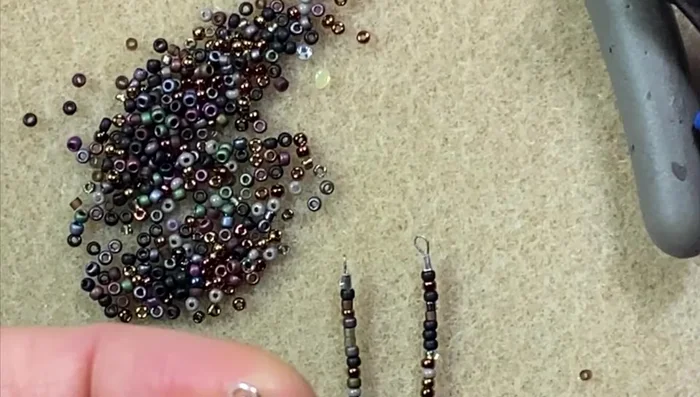
Crimp the First Bead String the Beads
- Start stringing seed beads onto the wire, randomly selecting colors and adding a sterling silver bead every inch and a quarter (approximately 22 seed beads between each silver bead).
String the Beads Repeat Bead Stringing
- Repeat Step 3 until the desired necklace length is reached.
Repeat Bead Stringing Crimp the Second Bead
- Add a crimp bead to the other end, leaving a small tail for threading through the clasp. Crimp the bead and trim the excess wire, ensuring the crimp is smooth.
Crimp the Second Bead Attach Clasp and Extender
- Attach the lobster clasp to one end and the extender chain (if using) to the other end.
Attach Clasp and Extender


Read more: DIY Tiered Tassel Earrings: A Quick & Easy Jewelry Tutorial
Tips
- Use a bead mat to prevent seed beads from scattering.
- Use a clamp to hold the beading wire while crimping to prevent the crimp bead from sliding up.
- Consider the hole sizes of your beads, especially when using different materials like sterling silver. Larger holes in the sterling silver beads will make stringing easier.
- Experiment with different colors and patterns of seed beads to create unique necklaces.