Are you ready to elevate your accessory game with a stylish and comfortable handmade headband? This guide will walk you through creating a seamless braided headband using your knitting needles, a project perfect for knitters of all skill levels. Forget fiddly seams and frustrating joins; this pattern focuses on a clever technique that results in a beautifully integrated braid, giving your headband a professional and polished finish. The subtle texture and adaptable design make it a perfect choice for everyday wear or to add a touch of elegance to a special occasion.
Imagine the satisfaction of crafting a gorgeous headband entirely from your own handiwork, a piece that's uniquely yours. This seamless braided headband knitting pattern offers a delightful challenge while guaranteeing a stunning result. Ready to get started? Let's dive into the step-by-step instructions and bring your creative vision to life!
Preparation and Safety Guidelines
- Yarn (Lion Brand Hometown USA in Key Largo Tweed recommended)
- US Size 11 Knitting Needle
- Cable Needle
- Tapestry Needle
- Crochet Hook
- Scrap Yarn
- Scissors
- Double Pointed Needles (optional)
- Use appropriate sized needles for your chosen yarn weight. Using needles too small can lead to tight, uncomfortable headbands and potential needle breakage. Too large can result in a loose, floppy headband.
- Always cast on firmly to prevent dropped stitches and a messy finished product. A loose cast-on can unravel easily.
- Ensure your braid is consistently tight and evenly spaced throughout the headband for a neat and professional look. Practice the braid before starting the full headband if needed.
Step-by-Step Instructions
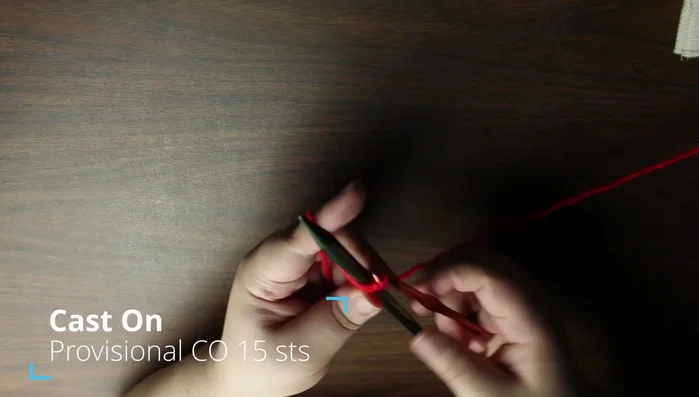
Provisional Cast On
- Provisional cast on 15 stitches using crochet hook, scrap yarn, and one knitting needle.

Provisional Cast On Initial Rows
- Knit the first row.
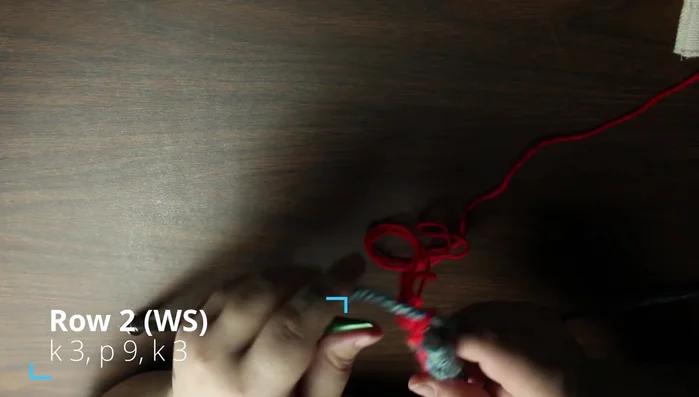
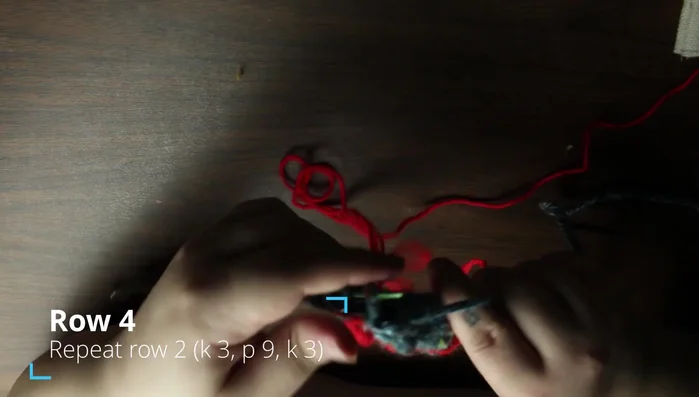
- Knit 3, purl 9, knit 3.
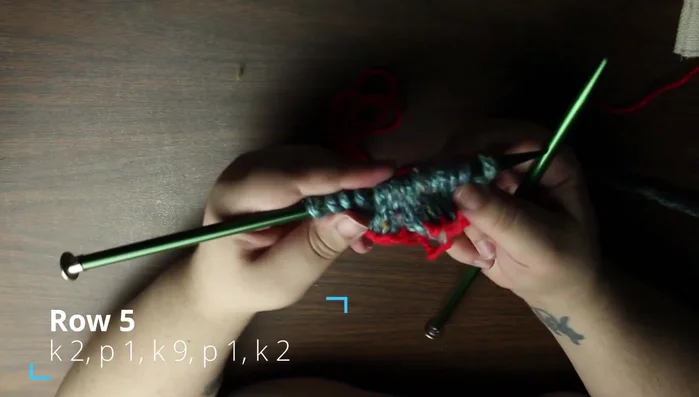
- Knit 2, purl 1, cable 3 stitches to the front (left-leaning cable), knit 3, cable 3 stitches back, knit 3, purl 1, knit 2.
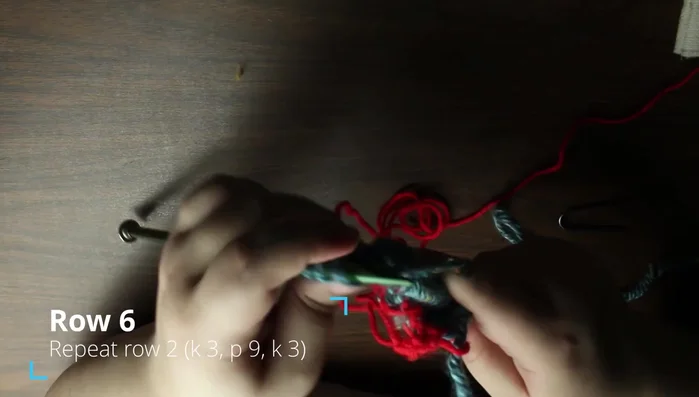
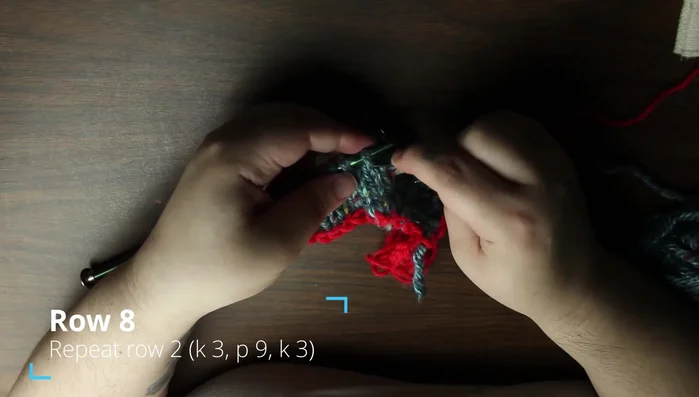
- Knit 3, purl 9, knit 3.
Initial Rows - Knit 2, purl 1, knit 3, purl 1, knit 2.
- Knit 3, purl 9, knit 3.
- Knit 2, purl 1, knit 3, cable 3 stitches to the back (right-leaning cable), knit 3, cable 3 stitches back, purl 1, knit 2.
- Knit 3, purl 9, knit 3.
Initial Rows Repeating Cable Pattern
- Repeat rows 2-9 until desired headband length (approximately 1 inch smaller than head circumference) is achieved, ending on row 8.
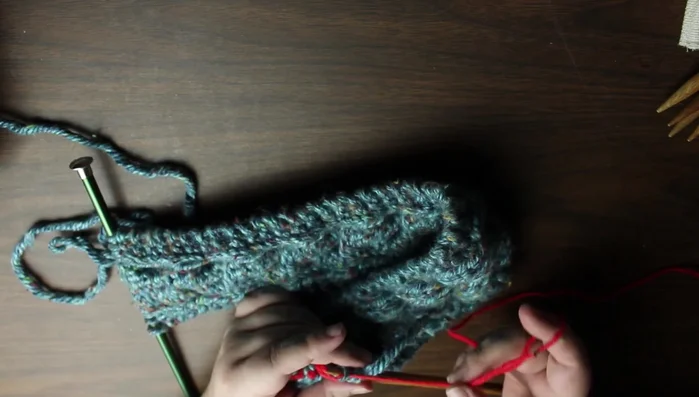
Repeating Cable Pattern Removing Provisional Cast On
- Remove the provisional cast on and place stitches back onto a double pointed needle.
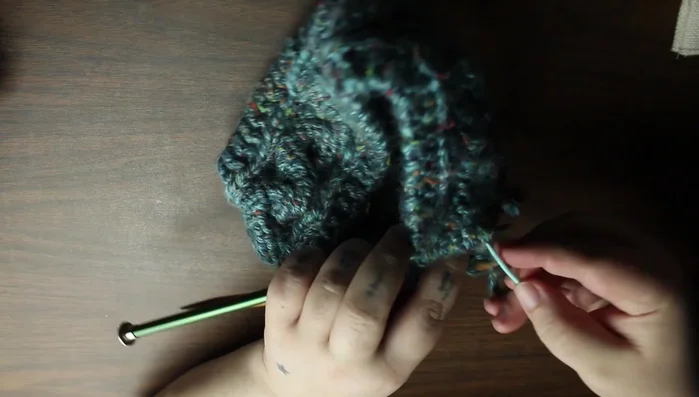
Removing Provisional Cast On Grafting the Headband
- Graft the headband together using a tapestry needle, matching the pattern (garter, knit, purl, knit, garter).
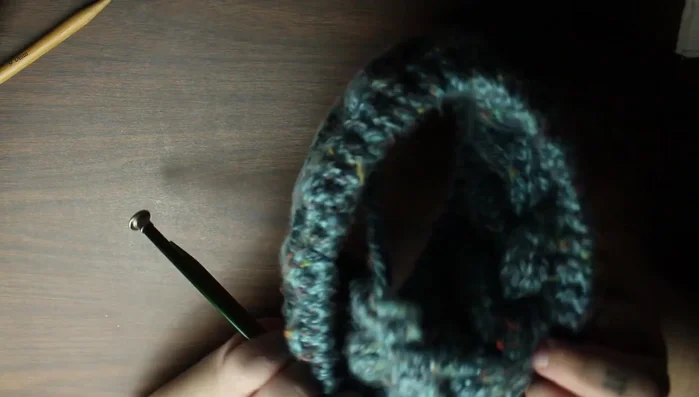
Grafting the Headband Finishing Touches
- Weave in loose ends.
Finishing Touches

Read more: Knitting a Reversible Basketweave Blanket: A Customizable Guide
Tips
- Use a thicker yarn and larger needle for a winter headband, and thinner yarn and smaller needle for everyday wear.
- Be careful not to twist the stitches when cabling.
- End the pattern repeats on row 8 to prepare for grafting.
- Tighten stitches while grafting to match the headband's gauge.