Knitting a sweater from the bottom up offers a unique experience, allowing for a perfect fit and the satisfaction of seeing your creation grow organically. But the often-dreaded sleeve addition can feel like a daunting hurdle, threatening to unravel the carefully constructed body. This common fear prevents many knitters from tackling this versatile method, leaving them sticking with less customizable top-down approaches. Fear not! Seamless sweater construction doesn't have to be complicated. This method simplifies the often-complex process of adding sleeves, resulting in a beautifully finished garment without the fuss of seams.
This guide will demystify the art of adding sleeves to your bottom-up sweater, transforming the seemingly intricate into a straightforward and enjoyable process. We'll walk you through each step, equipping you with the knowledge and confidence to create a professional-looking sweater with perfectly integrated sleeves. Prepare to be amazed at how effortlessly you can seamlessly join your sleeves, and let's begin with a clear, step-by-step guide to knitting seamless sleeves.
Preparation and Safety Guidelines
- Knitting needles
- Yarn
- Gauge is crucial for a well-fitting sweater. Knit a gauge swatch before starting and adjust needle size if necessary to match your pattern's gauge.
- Carefully follow your chosen pattern's instructions for increasing stitches for sleeves. Inaccurate increases can lead to uneven sleeve shaping or an ill-fitting sweater.
- Use stitch markers to clearly indicate the beginning and end of sleeve increases and the underarm points. This prevents accidental dropped stitches or missed increases.
Step-by-Step Instructions
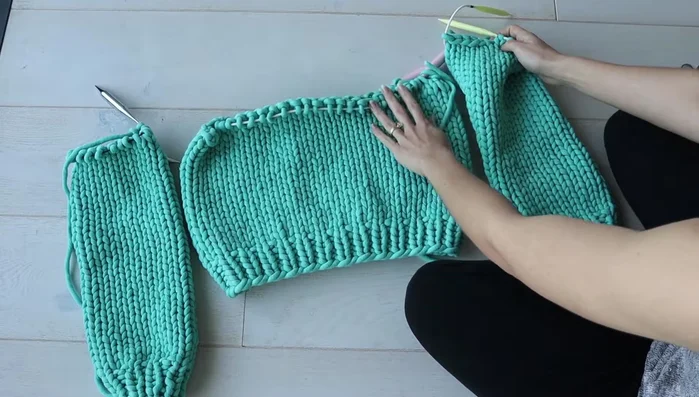
Separate Knitting
- Knit the body and sleeves separately according to your chosen pattern.

Separate Knitting Prepare Underarm Seams
- Bind off stitches at the underarm area of both the body and sleeves. These bound-off stitches will mark the underarm seam.
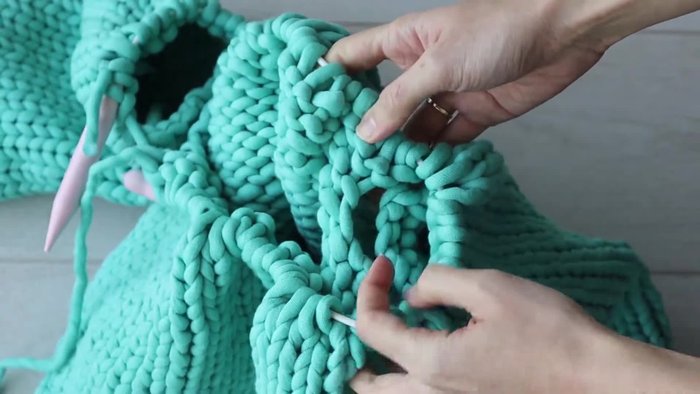
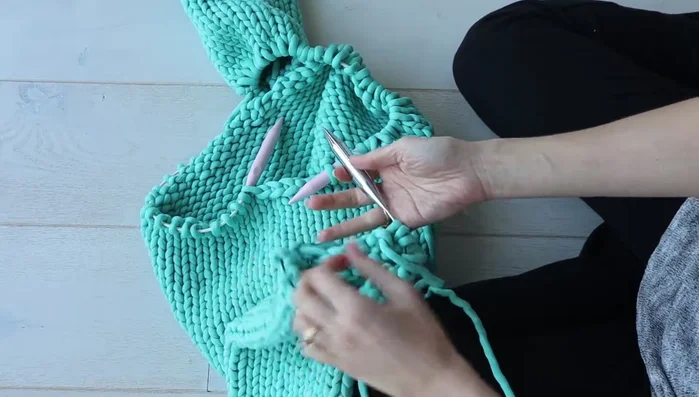
Prepare Underarm Seams Attach First Sleeve
- Work up to the bound-off stitches on one sleeve. Using the working yarn from the body, knit the sleeve stitches as a continuation of the body stitches, matching the bound-off stitches one-for-one. This creates the underarm seam.
Attach First Sleeve Knit to Second Sleeve
- Continue knitting the body stitches until you reach the bound-off stitches of the second sleeve.
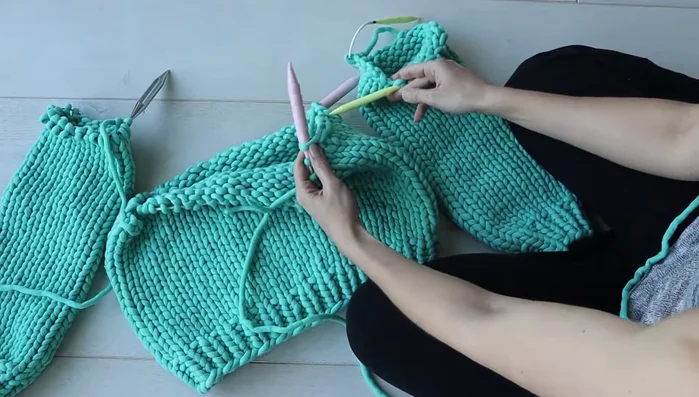
Knit to Second Sleeve Attach Second Sleeve
- Repeat step 3 for the second sleeve, knitting the sleeve stitches onto the same needle as the body stitches.
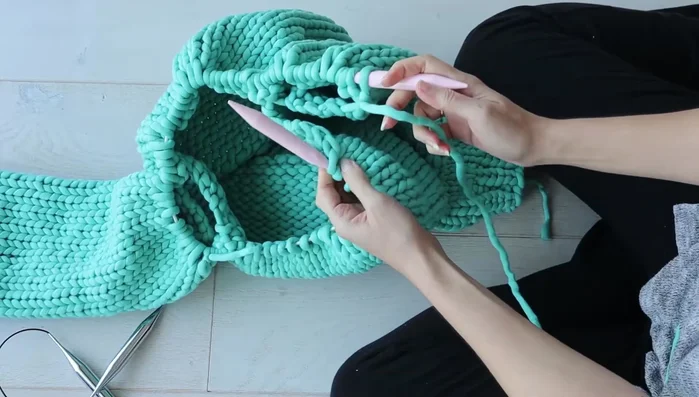
Attach Second Sleeve Join in the Round
- Now all sleeve and body stitches are on one circular needle. Continue knitting in the round.
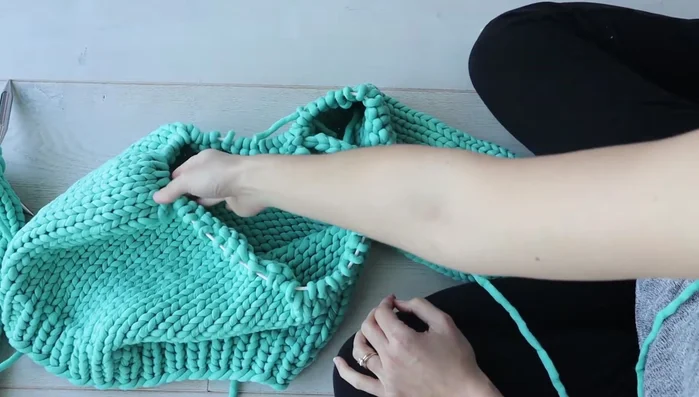
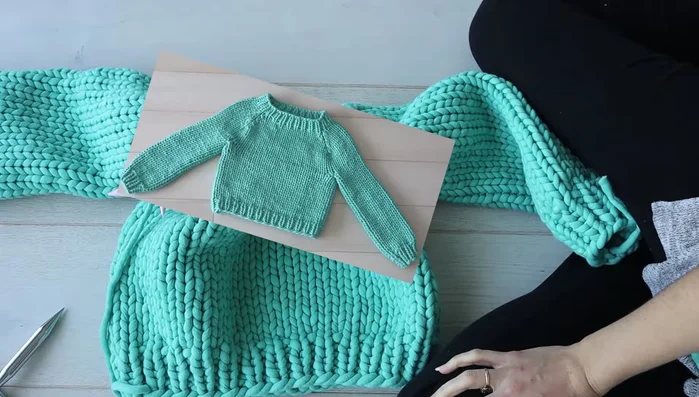
Join in the Round Shape the Shoulders and Yoke
- Follow your pattern's instructions for decreasing to shape the shoulders and yoke.
Shape the Shoulders and Yoke
Read more: Knitting a Reversible Basketweave Blanket: A Customizable Guide
Tips
- Ensure your right-hand needle comes from the body and your left-hand needle holds the sleeve stitches when knitting on the sleeves. Knit with the working yarn from the body.
- The bound-off stitches should match up perfectly, creating a neat underarm seam.
- This method keeps all stitches on one cord, making the transition to shoulder shaping much easier.