Love the rustic charm of reclaimed wood but don't have the time or skills for a complex woodworking project? Then this DIY rustic wooden wine crate is perfect for you! This quick and easy project, achievable in just 30 minutes, allows you to create a beautiful and functional storage solution, perfect for wine bottles, plants, or even as a stylish shelf. Forget expensive, mass-produced items; with a few simple tools and readily available materials, you can craft a unique piece that reflects your personal style and adds a touch of handcrafted warmth to your home.
This project requires minimal carpentry experience, making it ideal for beginners. The simple design focuses on showcasing the natural beauty of the wood, leaving plenty of room for personalization. Ready to get started on your own charming wine crate? Let's dive into the step-by-step instructions and create this rustic masterpiece together!
Preparation and Safety Guidelines
- Wood (4x4s or reclaimed skids)
- Saw
- Measuring tape
- Nails (1 1/2 inch finishing nails recommended)
- Hammer
- Always wear safety glasses to protect your eyes from flying wood chips and debris.
- Use caution when handling sharp tools like saws and chisels. Keep fingers clear of the blade.
- Ensure adequate ventilation when using wood stains or sealants, as fumes can be harmful.
Step-by-Step Instructions
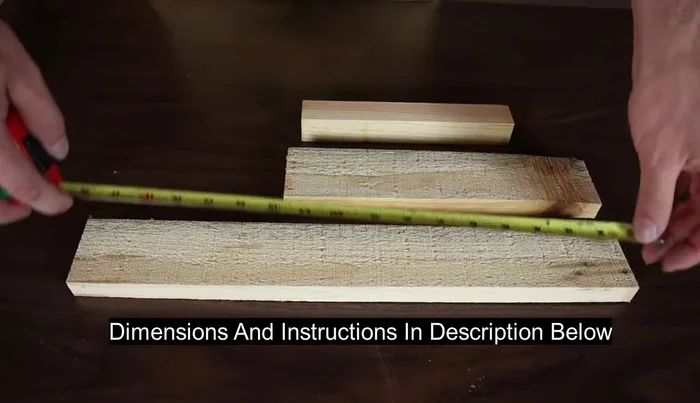
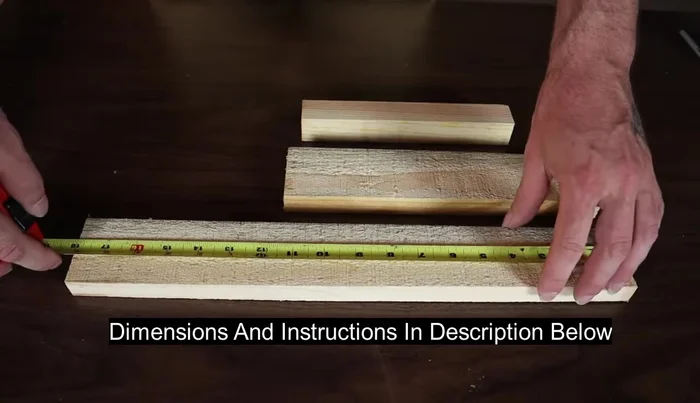
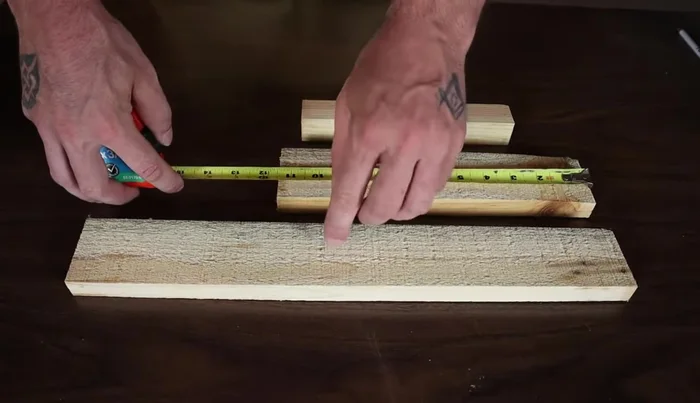
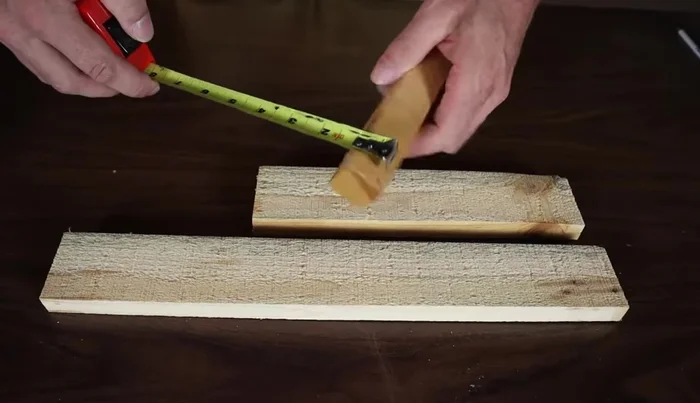
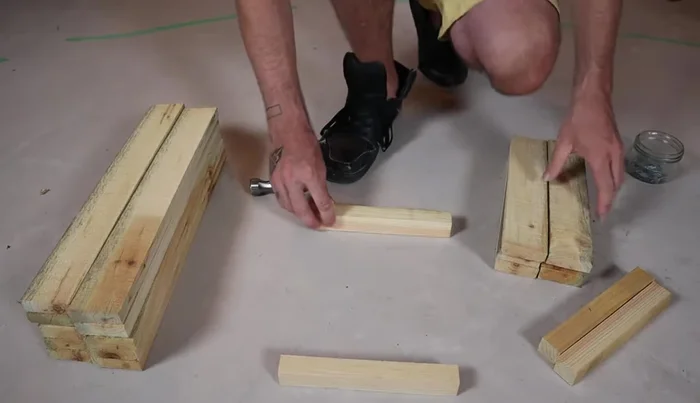
Cut the Wood
- Cut all your pieces:
- The transcript later corrects this to ten 18-inch pieces)
- Six 11 1/2-inch pieces for ends
- Four 8 1/2-inch pieces for corner posts

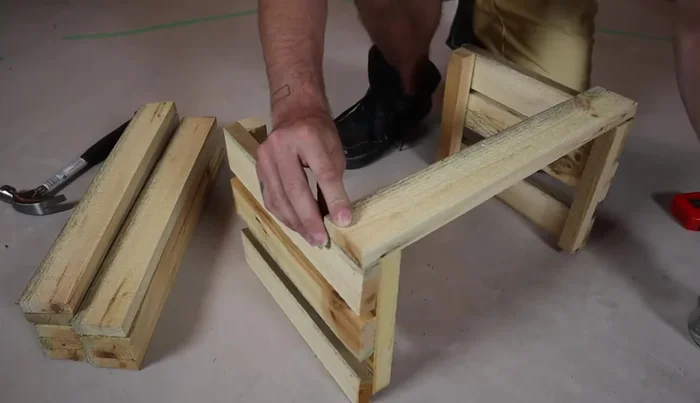
Cut the Wood Assemble the Ends
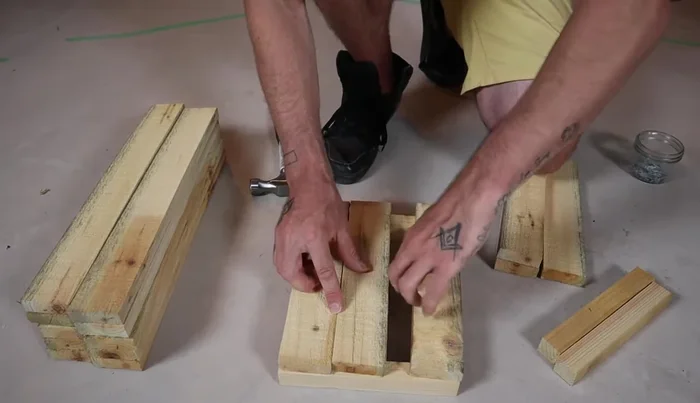
- Assemble the ends:
- Nail the end pieces onto the corner posts. Use one nail per piece initially to allow for adjustments.
- Leave a small gap (about 1/4 inch) between the top end piece and the corner post for a handle (if not cutting a handle).
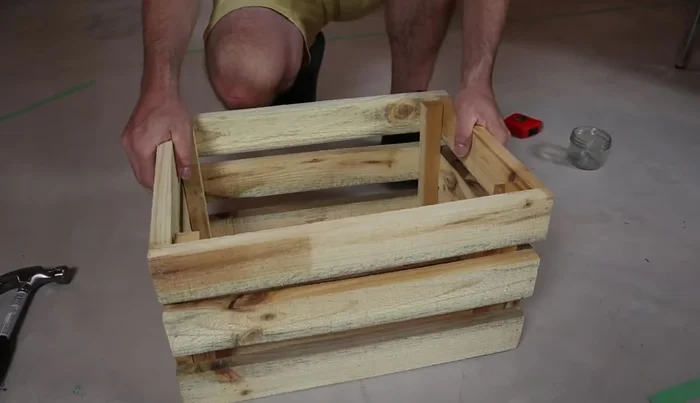
Assemble the Ends Attach Bottom and Sides
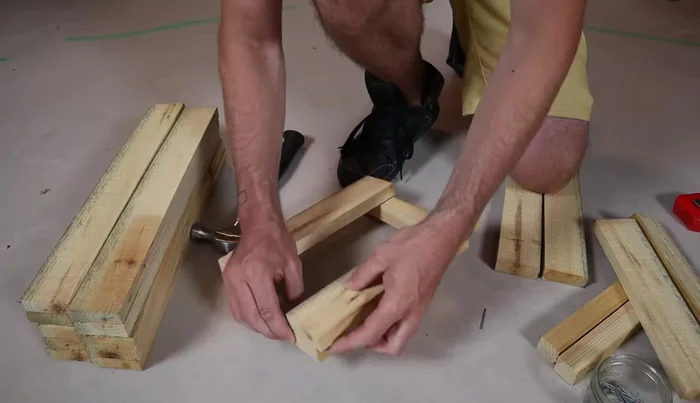
- Attach the bottom and sides:
- Nail the bottom slats to the corner posts, one nail at a time to start. Use one nail per piece initially.
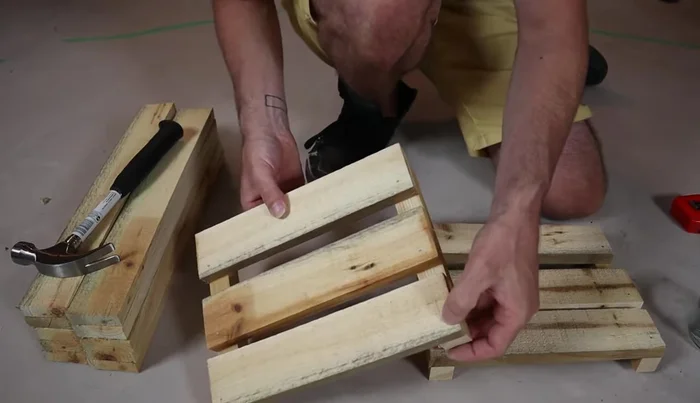
- Flip the crate and attach the side slats, three per side. Again, start with one nail per piece to allow for adjustment and squaring.
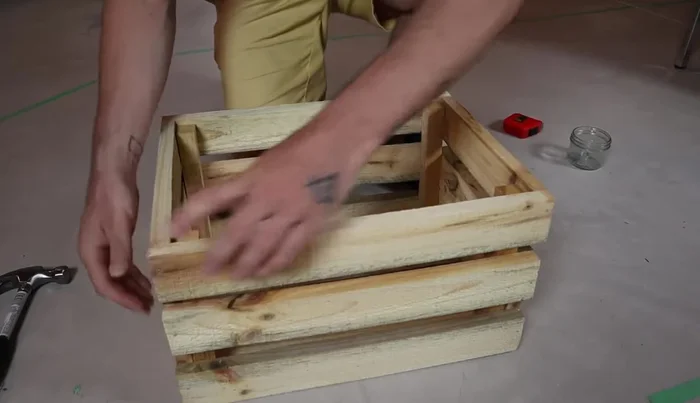
Attach Bottom and Sides Finalize and Secure
- Finalize and secure:
- Adjust the crate to ensure it's square. Then add additional nails to all joints for added strength (two nails per slat on ends).
Finalize and Secure

Read more: Build a Stunning Black Walnut Coaster Set: The Ultimate Furniture Protector
Tips
- Use 1 1/2 inch finishing nails to minimize nail head visibility.
- Start with one nail per piece to allow for adjustments and prevent splitting the wood.
- Consider the nail head look – it can enhance the rustic style.
- Nail into the posts rather than the slats to avoid splitting the wood.
- Eyeballing the spacing works well for a rustic look, but precise measurements can be used for a more perfect fit.