Rustic charm meets practical storage with the creation of a reclaimed wood storage chest. This unique project breathes new life into salvaged lumber, transforming discarded pieces into a beautiful and functional addition to any home. Whether you're a seasoned woodworker or a curious beginner, the inherent beauty of reclaimed wood, with its knots, variations in color, and history etched within the grain, makes this project incredibly rewarding. The character of the wood speaks volumes, creating a piece that's both visually stunning and imbued with a sense of nostalgia.
Imagine the satisfying feeling of building your own handcrafted storage solution, a piece that reflects your individual style and incorporates materials with a story to tell. This step-by-step guide will walk you through the entire process, from selecting your reclaimed wood to the final finishing touches, empowering you to craft a timeless treasure for your home. Let's begin!
Preparation and Safety Guidelines
- Miter saw
- Table saw
- Brad nailer
- Countersink bit
- Screws
- Speed square
- Palm driver
- Nail gun
- Kreg Jig
- Black spray paint
- Chisel
- Utility knife
- Sander
- Always wear appropriate safety gear, including eye protection and a dust mask, when working with reclaimed wood. Old wood can contain splinters, nails, and other hazards.
- Ensure the reclaimed wood is properly treated for pests (like insects and fungi) before beginning the project. Failure to do so can lead to infestation in your home.
- Use appropriate fasteners and joinery techniques for the size and weight of your chest. A poorly constructed chest can be unstable and dangerous.
Step-by-Step Instructions
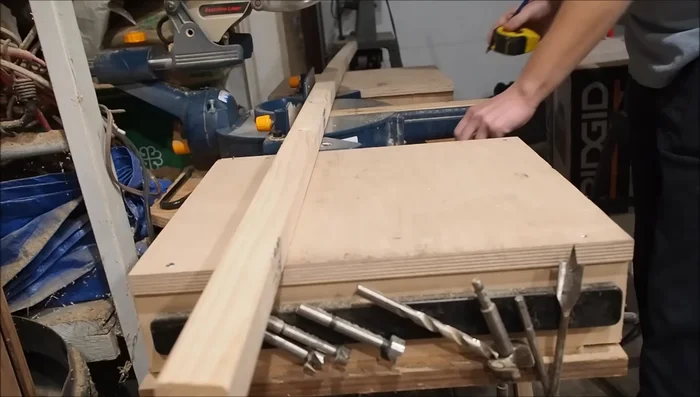
Prepare the Reclaimed Wood
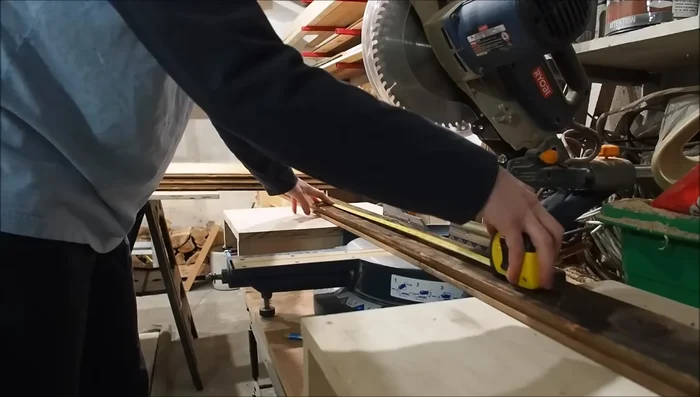
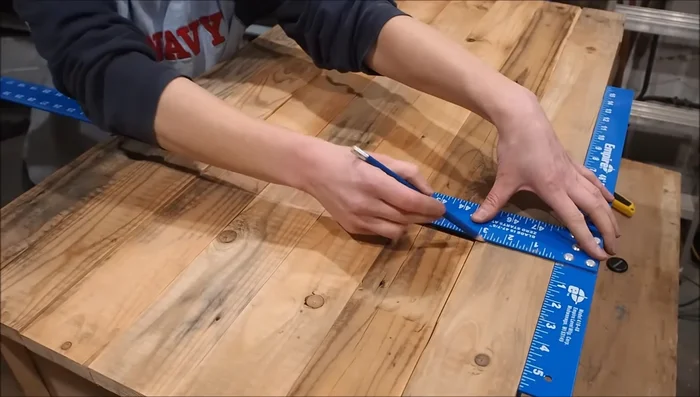
- Rough cut all pieces at the miter saw, leaving extra length for later adjustments.
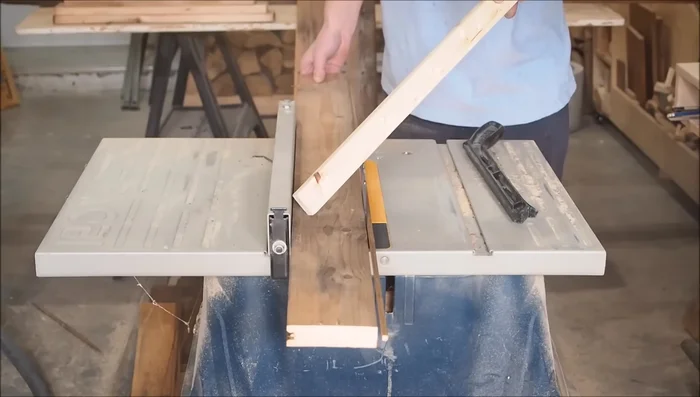
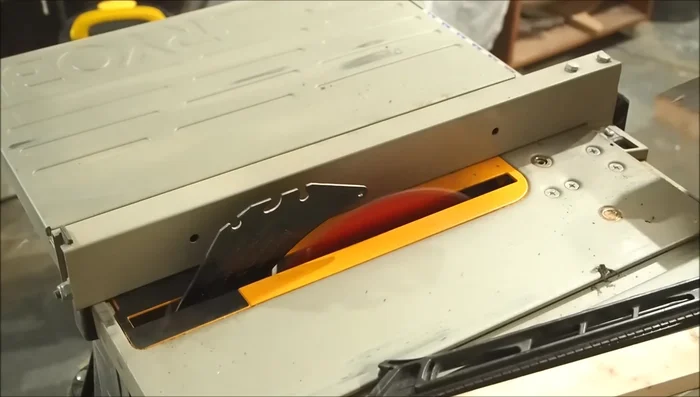
- Remove damaged tongues and grooves, then rip boards down to desired width (3 inches in this case).
- Make final cuts to exact lengths using a stop block on the miter saw.

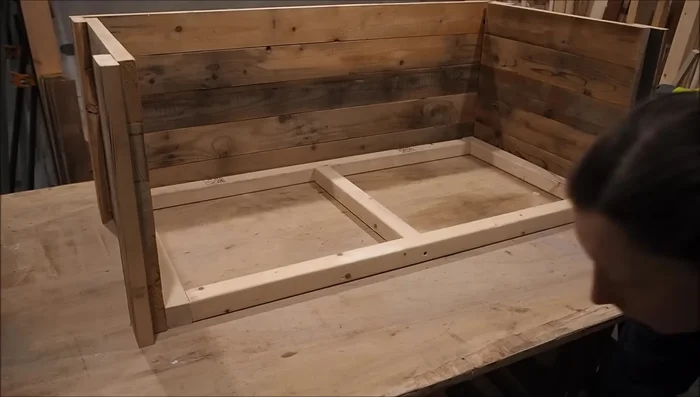
Prepare the Reclaimed Wood Create Wall Assemblies
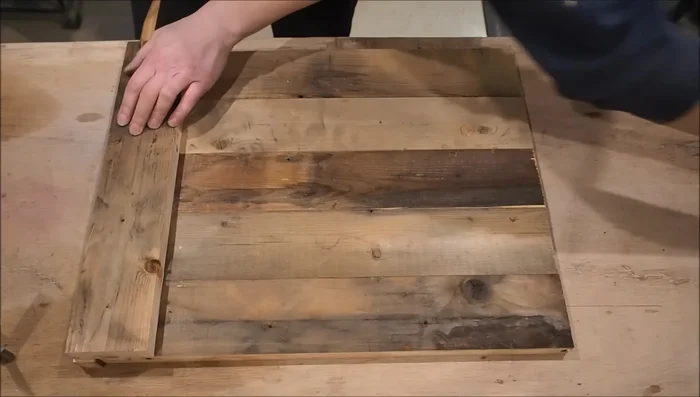
- Create a custom spacer matching the wood thickness to align boards for wall assembly.
- Assemble each wall using five boards, aligning them with the spacer and securing with brad nails.
Create Wall Assemblies Build the Base
- Construct a simple base using 2x2 pine wood. Pre-drill pilot holes for easier attachment later.
- Assemble the base, using screws and a speed square to ensure square corners.
Build the Base Assemble the Chest Box
- Attach the walls to the base, starting with a few brad nails from the outside, then screwing from the inside.
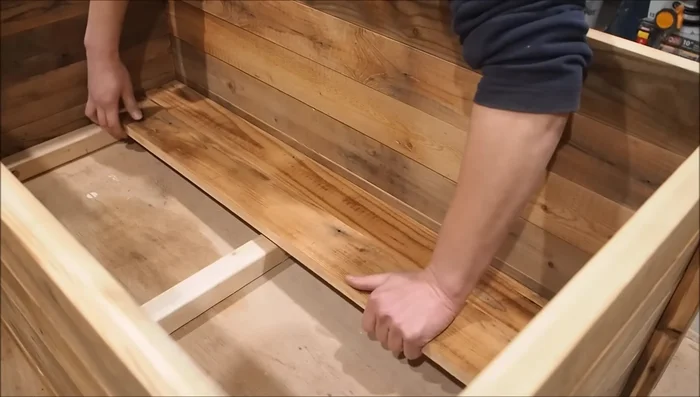
Assemble the Chest Box Install Flooring
- Install floorboards, securing them to the 2x2 base using a nail gun.
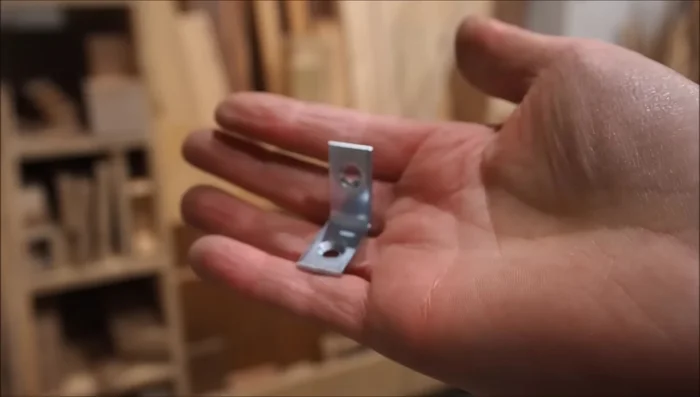
Install Flooring Reinforce and Finish the Chest
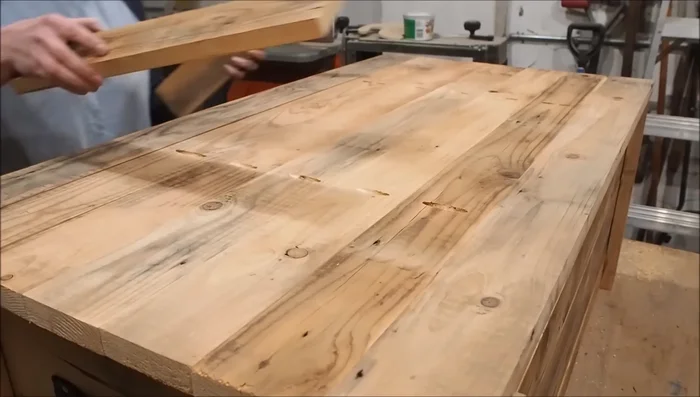
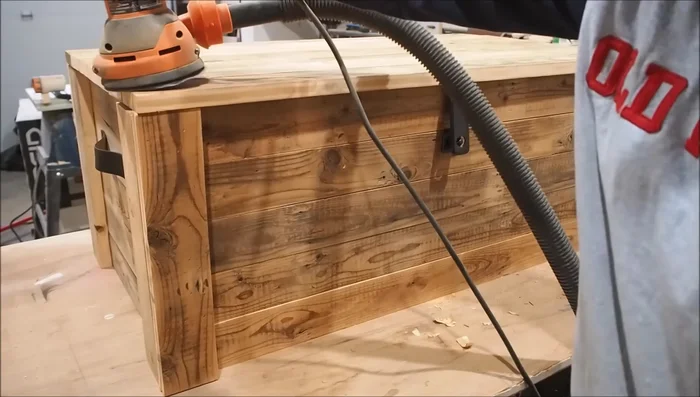
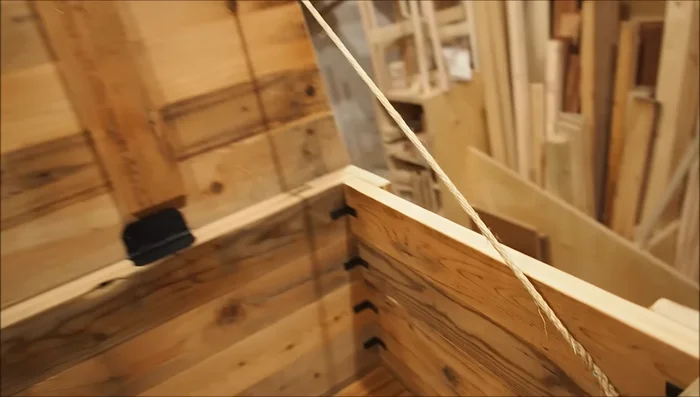
- Attach metal corner braces (painted black) to join the wall panels, ensuring panels are pushed together to close gaps.
Reinforce and Finish the Chest Construct the Lid
- Create the lid using concealed pocket screws (using a Kreg Jig).
- Add decorative support pieces to hide pocket screws and nail them into place.
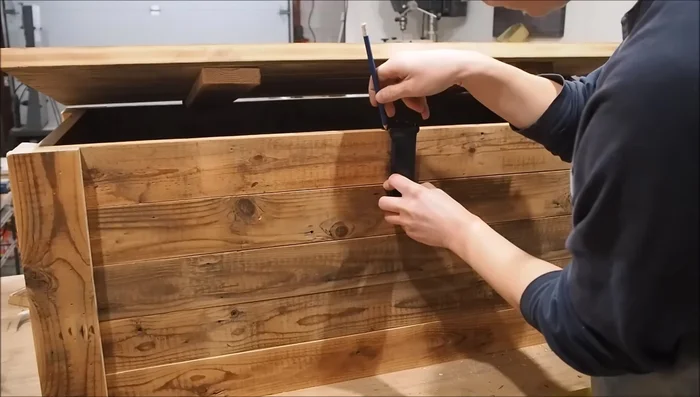
Construct the Lid Attach Hinges
- Attach 3-inch black hinges to the lid and chest, adding a support board to the back for better hinge support. Countersink hinges for a flush fit.
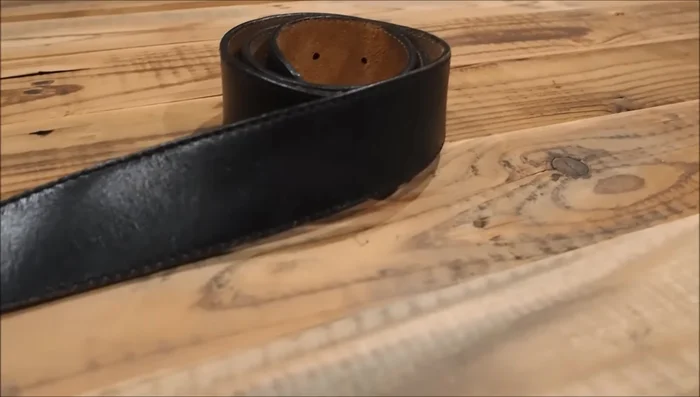
Attach Hinges Add Handles and Latch
- Attach leather belt handles.
- Install latch, making custom adjustments as needed.
Add Handles and Latch Finishing Touches
- Sand and smooth all edges, touch up visible screws with black paint.
- Add rope to hold the lid upright when open.
Finishing Touches


Read more: Build a Stunning Black Walnut Coaster Set: The Ultimate Furniture Protector
Tips
- Leave extra length when initially cutting lumber; it's easier to manage and make adjustments later.
- Use a spacer to align boards for accurate and square wall assembly.
- Pre-drill pilot holes to make screwing easier.
- Use a speed square to ensure square corners during base assembly.
- Countersink hinges for a flush fit.