Tired of a generic mailbox and a jumble of keys by the door? This simple DIY project allows you to add a touch of rustic charm to your home's exterior while simultaneously organizing your keys. Creating a personalized mailbox and key holder is surprisingly easy and rewarding, offering a fantastic opportunity to express your personal style and enhance your home's curb appeal without breaking the bank. This project utilizes readily available materials, requiring minimal tools and expertise – perfect for weekend warriors and crafting novices alike.
Imagine a sturdy, handcrafted mailbox and key holder complementing your front porch, a testament to your creativity and resourcefulness. The rustic aesthetic adds a touch of warmth and character that's both inviting and stylish. Ready to transform your entryway? Let's dive into the straightforward, step-by-step guide below, and create your own unique and functional mailbox and key holder.
Preparation and Safety Guidelines
- Wood (6 pieces, 3.5 inches wide, 18 inches long)
- Screw gun
- Wood screws
- Stain
- Paint brush
- Rags
- Utility hooks
- White acrylic paint
- Trim clad forged hammered spray paint
- Pencil
- Wood glue
- Clamps
- Safety glasses
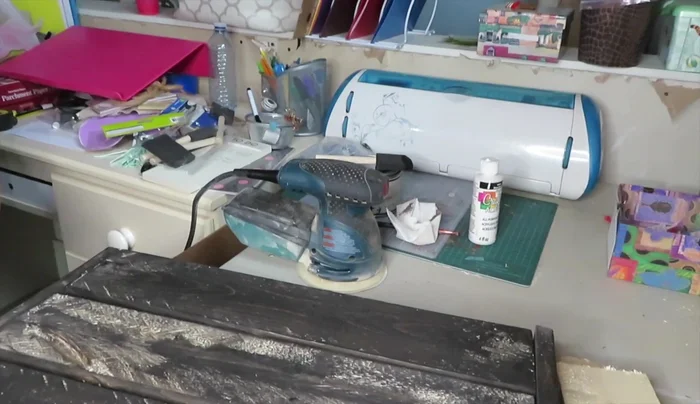
- Sandpaper
- Picture frame hangers
- Always wear safety glasses when using power tools like saws and drills.
- Ensure the mailbox post is securely cemented into the ground to withstand weather and potential impacts.
- Use appropriate-sized screws and fasteners to prevent the mailbox or key holder from becoming loose or detaching.
Step-by-Step Instructions
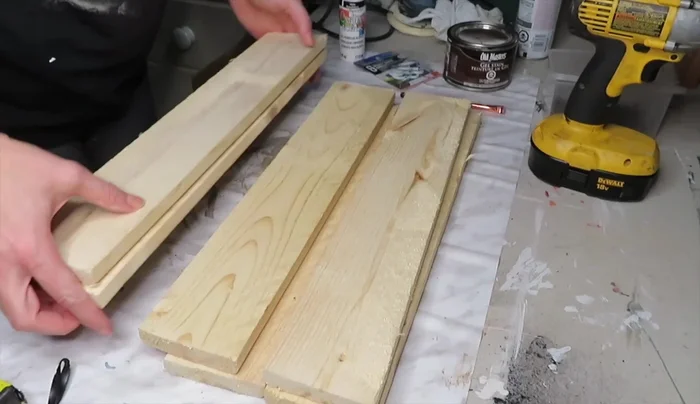
Prepare the Wood
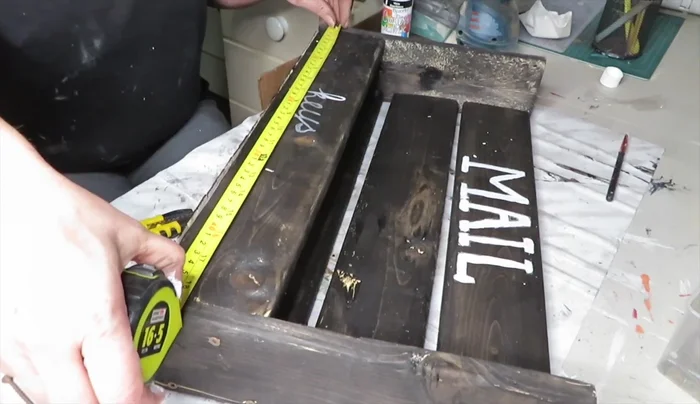
- Layout and measure wood pieces. Ensure all pieces are the same length and cut any that need adjusting.
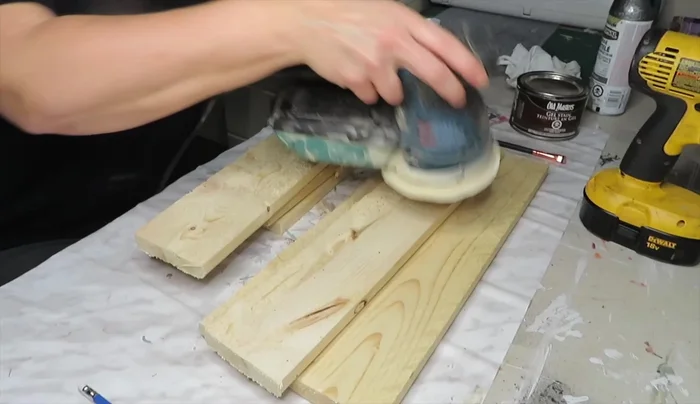
- Sand all the wood pieces to remove roughness and prevent splinters.
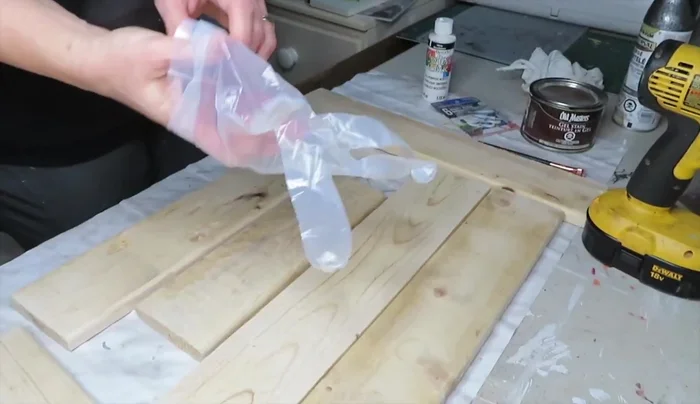
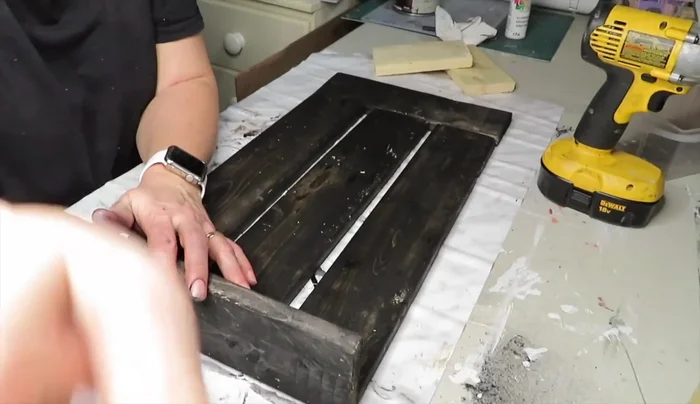
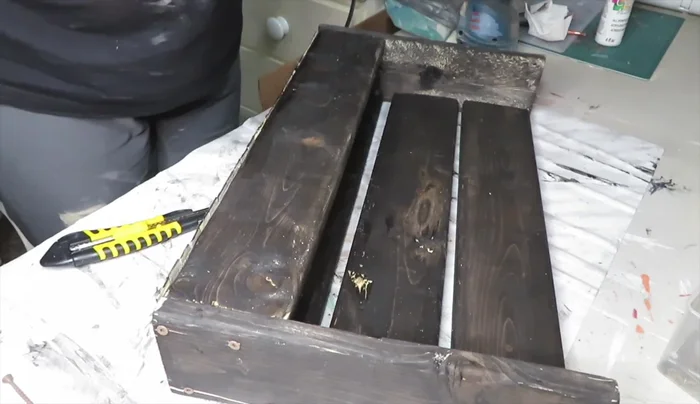
- Stain all wood pieces before assembly.

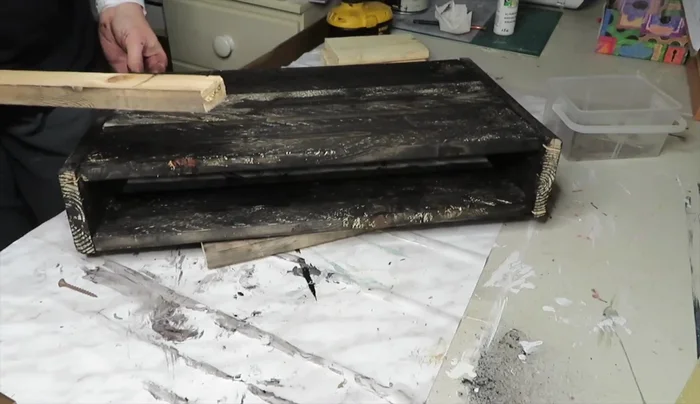
Prepare the Wood Assemble the Mailbox Frame
- Assemble the mailbox frame by spacing the stained wood pieces evenly and attaching them with screws.
Assemble the Mailbox Frame Add the Bottom
- Create a bottom for the mailbox using scrap wood pieces. Measure, cut, and glue them to the bottom of the frame, adding weight to secure while drying.
- Apply a final coat of stain over the bottom section.
Add the Bottom Reinforce and Finish
- Add additional screws to reinforce the frame.
- Paint the mailbox using a water-based paint marker.
Reinforce and Finish Install Hooks and Hangers
- Attach utility hooks to the inside of the mailbox. This may require drilling depending on your hooks.
- Attach picture frame hangers to the back for hanging.
Install Hooks and Hangers


Read more: Build a Stunning Black Walnut Coaster Set: The Ultimate Furniture Protector
Tips
- Always wear safety glasses when using power tools.
- Plan ahead; account for all necessary parts (e.g., the bottom).