Cozy up with the charming charm of a hand-knitted Robin blanket! This delightful project is perfect for beginner knitters looking to expand their skills and create a beautiful, functional piece. Imagine the satisfaction of crafting a warm, whimsical throw featuring adorable robin motifs, a perfect addition to your living room or a thoughtful, handmade gift. This pattern avoids complex techniques, focusing instead on easy-to-learn stitches and clear instructions, making it ideal for those new to knitting or those seeking a relaxing, achievable project.
Forget complicated charts and confusing jargon; this guide provides a step-by-step approach to knitting your own robin blanket. We’ll cover everything from choosing the right yarn to mastering the basic stitches needed to bring these cheerful robins to life, ensuring you have a fun and rewarding crafting experience. Let's get started with the detailed instructions below!
Preparation and Safety Guidelines
- Circular knitting needles (120cm cable)
- Double knit yarn (400g)
- Embroidery scissors
- Tapestry needle
- Two stitch markers
- Use appropriate sized needles for your chosen yarn weight. Using needles too small can lead to tight, difficult-to-work stitches and potential hand strain. Too large, and the fabric will be loose and may not hold its shape.
- Always check your gauge before beginning the main project. Knitting a gauge swatch ensures your finished blanket will be the correct size. This is especially crucial for a project as large as a blanket.
- Be mindful of your posture while knitting. Long periods of knitting can cause back, neck, and wrist pain. Take breaks and stretch regularly to avoid discomfort.
Step-by-Step Instructions
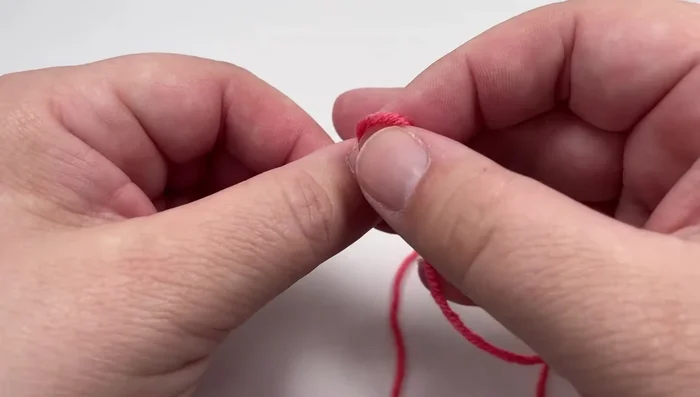
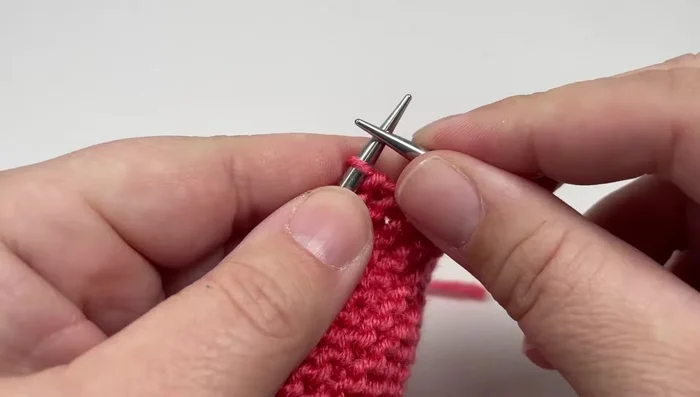
Casting On
- Cast on stitches using the long-tail cast-on method (or your preferred method). The total number of stitches will depend on your desired blanket size. The pattern multiple for the middle textured panel is 10 + 4.

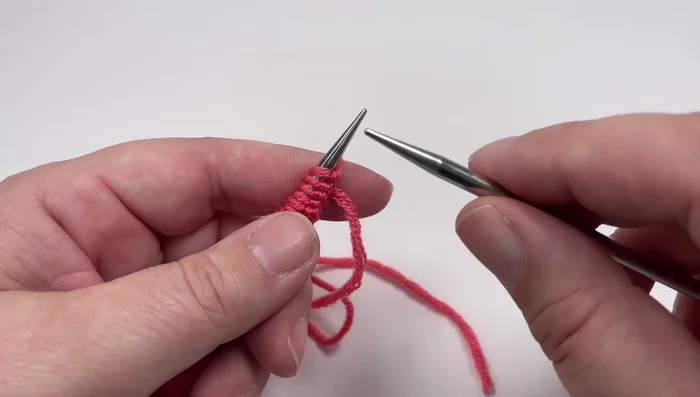
Casting On Bottom Border
- Knit the bottom garter stitch border (15 rows, all knit stitches except the last stitch of each row, which is slipped purlwise with yarn in front).
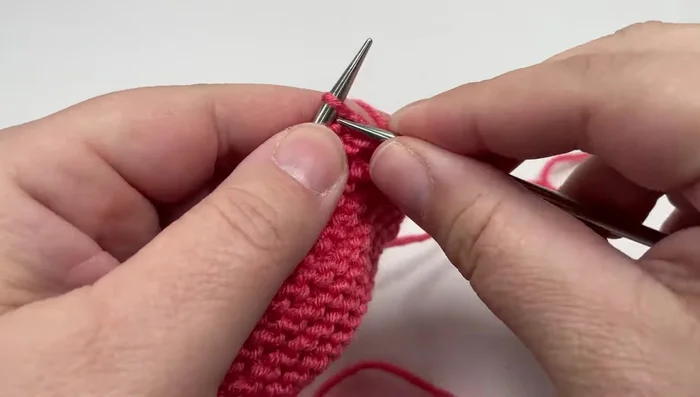
Bottom Border Setting up the Pattern Repeat
- Begin the eight-row repeat pattern. Place stitch markers after the 9th and before the 9th last stitch from each end of the row on Row 1.
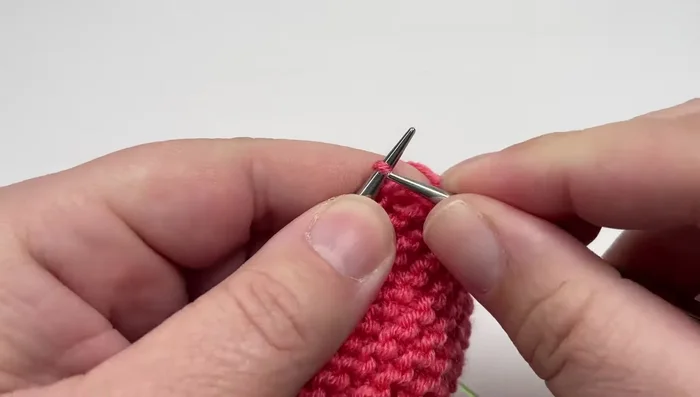
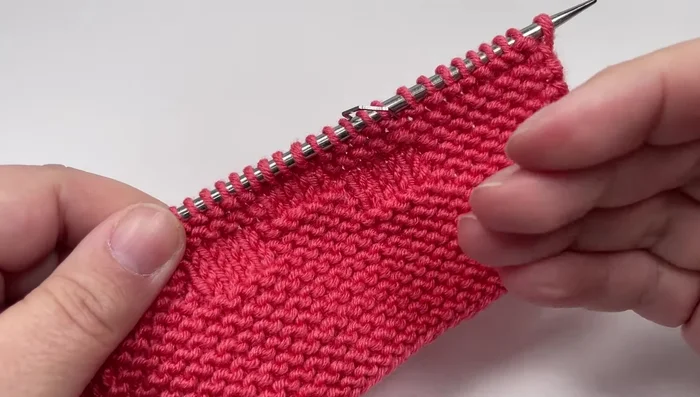
Main Pattern Repeat
- Knit nine stitches, slip first marker, knit to nine stitches before end, slip second marker, knit eight stitches, slip last stitch purlwise with yarn in front.
- Knit nine stitches before marker, slip marker, purl four stitches, *knit six, purl four; repeat from * to second marker, slip marker, knit eight stitches, slip last stitch purlwise with yarn in front.
- Knit all stitches except the last, which is slipped purlwise with yarn in front. Slip markers as you encounter them.
- Knit nine stitches, slip marker, purl four stitches, *knit six, purl four; repeat from * to second marker, slip marker, knit eight, slip last stitch purlwise with yarn in front.
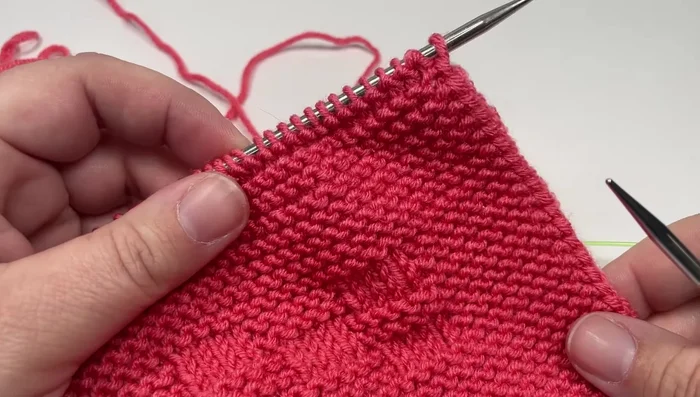
Main Pattern Repeat - Repeat Rows 1-8 until the blanket is approximately 5cm shorter than the desired final length.
Main Pattern Repeat Final Pattern Rows
- Knit rows 1-4 one more time.
Final Pattern Rows Top Border
- Knit the top garter stitch border (16 rows, all knit stitches except the last stitch of each row, which is slipped purlwise with yarn in front). Remove stitch markers.
Top Border Casting Off
- Cast off using a basic knit cast-off method.
Casting Off Finishing
- Weave in loose ends.
Finishing


Read more: Knitting a Reversible Basketweave Blanket: A Customizable Guide
Tips
- Use the long-tail cast-on method for a neat edge.
- Slip the last stitch purlwise with the yarn in front on each row to create a neat edge.
- Use stitch markers to easily identify the border and textured sections.
- Keep stitches relaxed during cast-off to prevent curling.