Are you dreaming of a cozy, handmade blanket but intimidated by complex crochet patterns? Fear not, fellow crafters! This beginner-friendly tutorial will guide you through creating a stunning reversible granny square blanket, perfect for showcasing your newfound skills. We'll break down the process into manageable steps, focusing on clear instructions and helpful visuals so you can confidently tackle this project, regardless of your experience level. Even if you've only just learned the basics of chain, single crochet, and double crochet, you'll be surprised at how quickly you can master this classic design.
This versatile pattern allows you to create a beautiful, textured blanket with two distinct sides, offering twice the style and warmth. Each granny square is individually crafted and then joined, making it a perfect project for working on in short bursts or longer crafting sessions. Ready to transform simple yarn into a cherished heirloom? Let's dive into the step-by-step process to create your own reversible granny square blanket!
Preparation and Safety Guidelines
- Bernat Premium yarn (or any #4 medium weight yarn, approximately 860 yards)
- 5mm/H8 crochet hook
- Darning needle
- Scissors
- Use sharp scissors to cut yarn. Dull scissors can snag or fray the yarn, making your work look messy and potentially causing injury.
- Maintain consistent tension throughout your crochet. Inconsistent tension will result in an uneven and misshapen blanket.
- Always check your stitch count regularly. A dropped or added stitch can throw off the entire pattern, especially in a reversible granny square, creating a noticeable error.
Step-by-Step Instructions
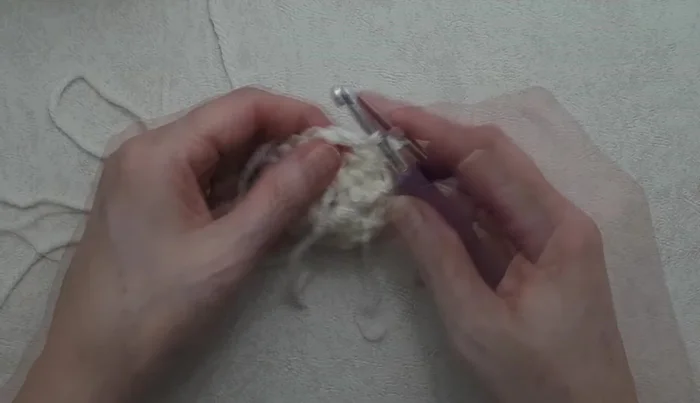
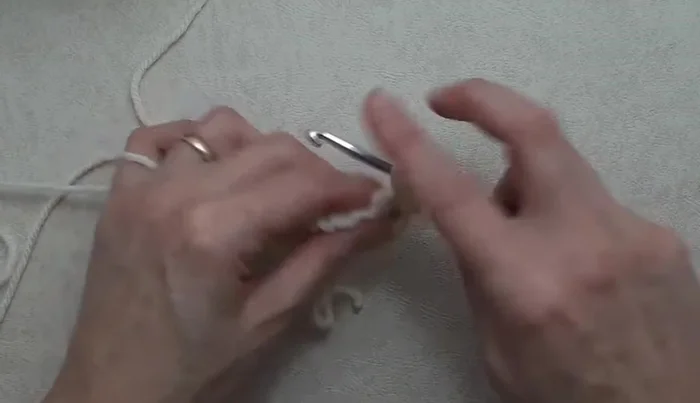
Creating the Initial Ring
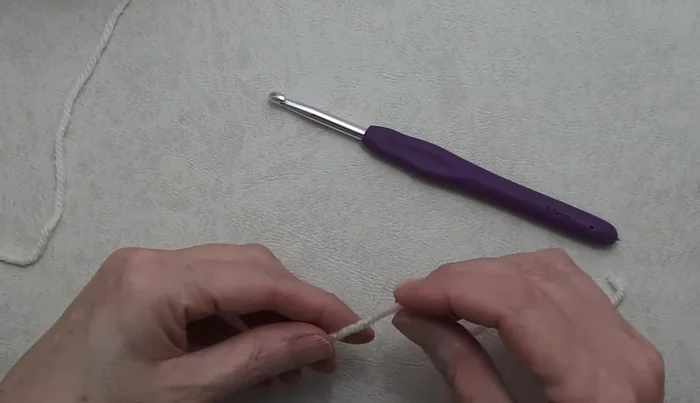
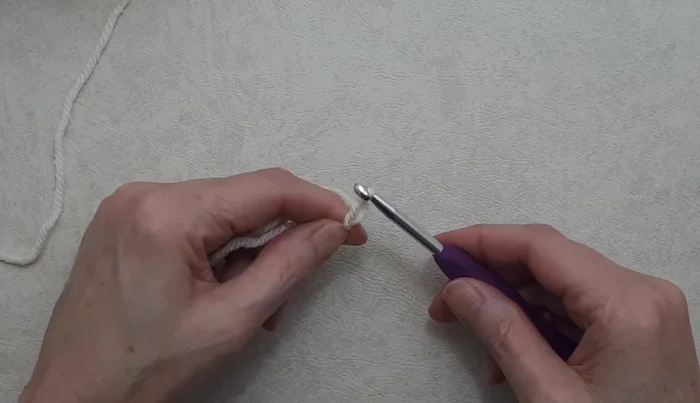
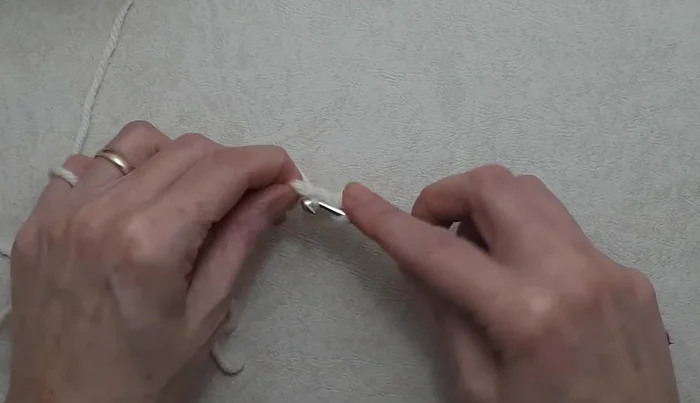
- Create a slip knot and place it on your hook.
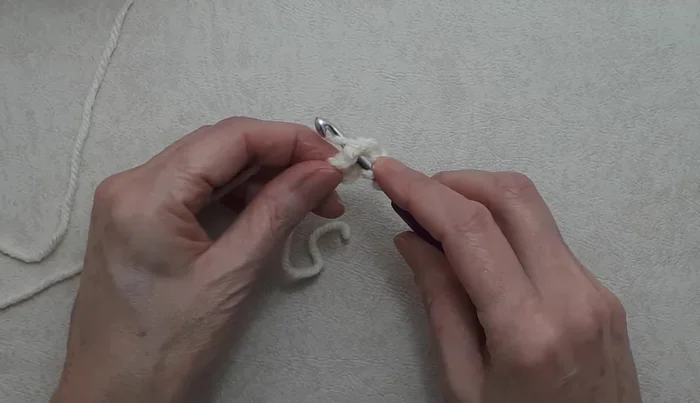
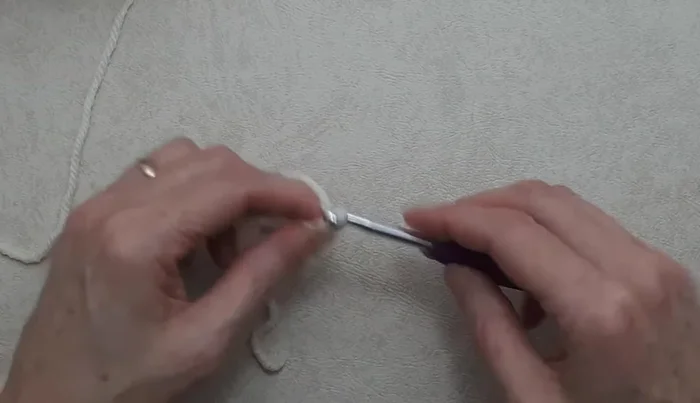
- Chain 5, then slip stitch into the first chain to form a ring.

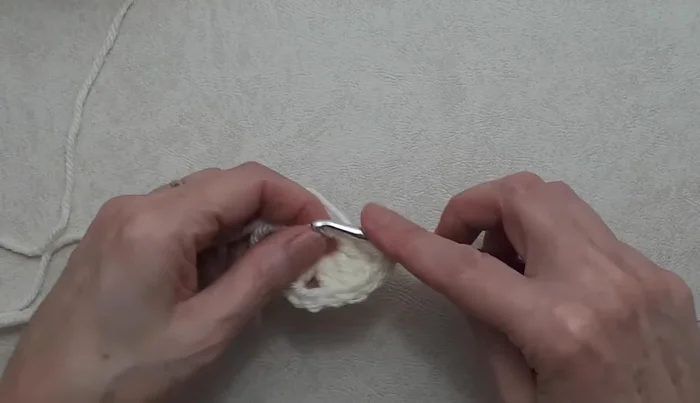
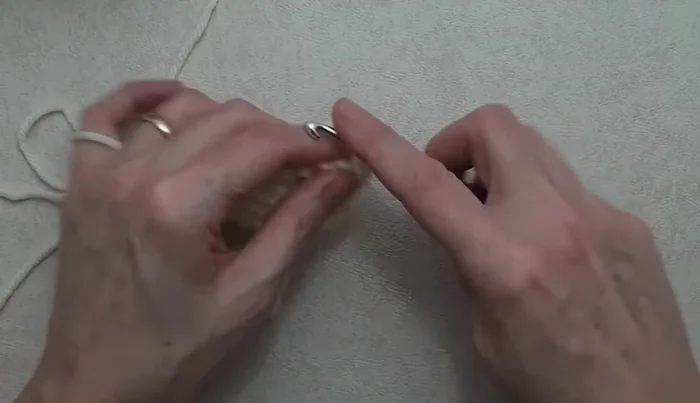
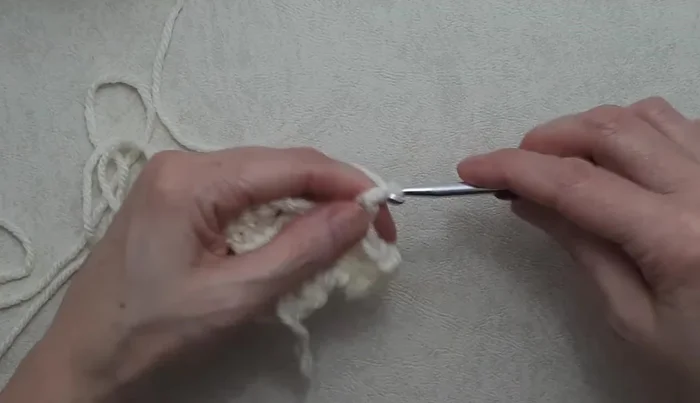
Creating the Initial Ring First Round: Creating the First Granny Square
- Chain 2 (counts as your first double crochet).
- Work three double crochet in the ring.
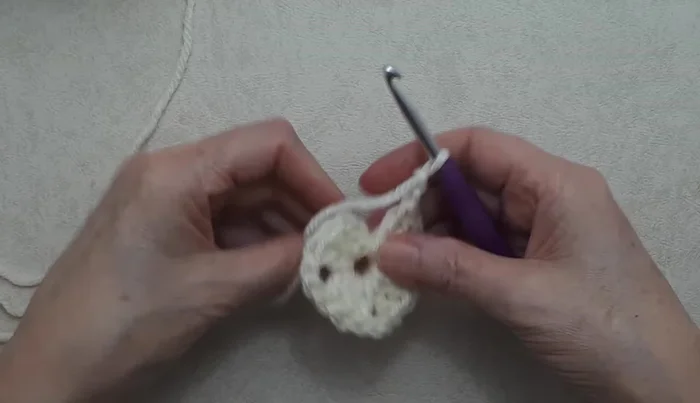
- Chain 2 (future corner).
- Work three double crochet in the ring.
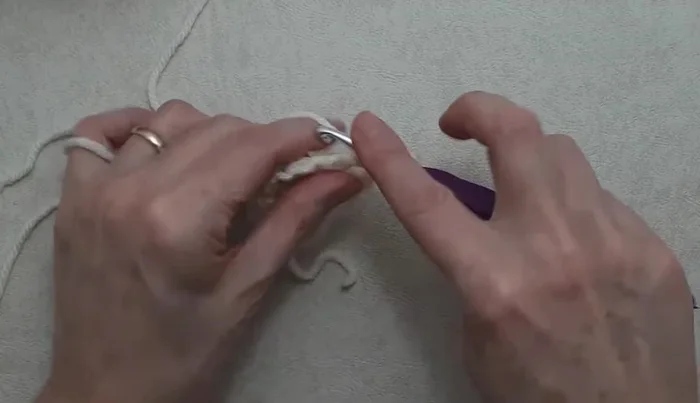
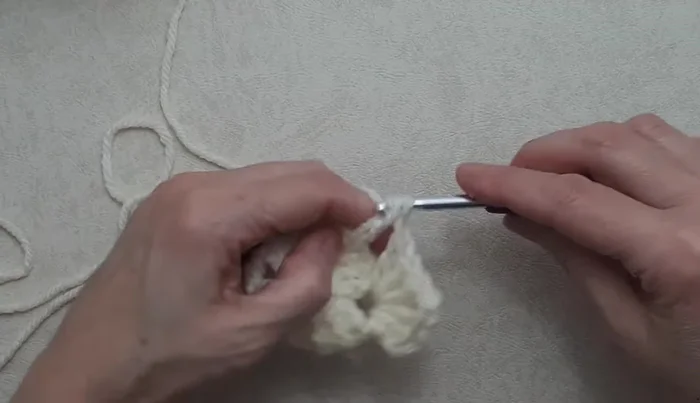
First Round: Creating the First Granny Square - Repeat steps 5 and 6 three more times.
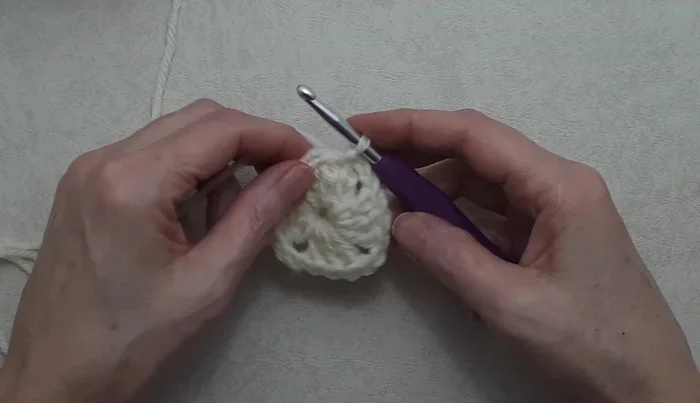
- Slip stitch to join the round, skipping the beginning chain 2.
- Turn your work.
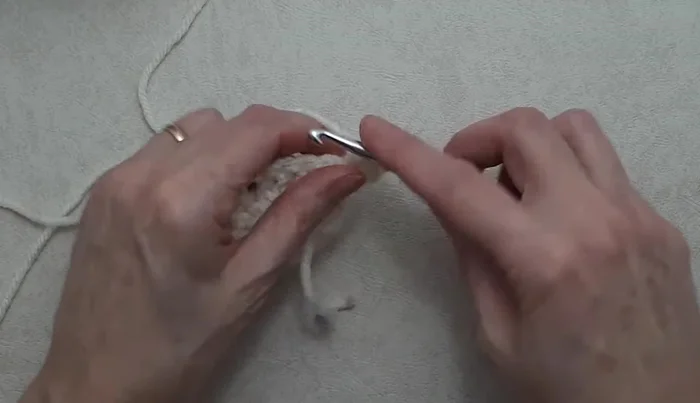
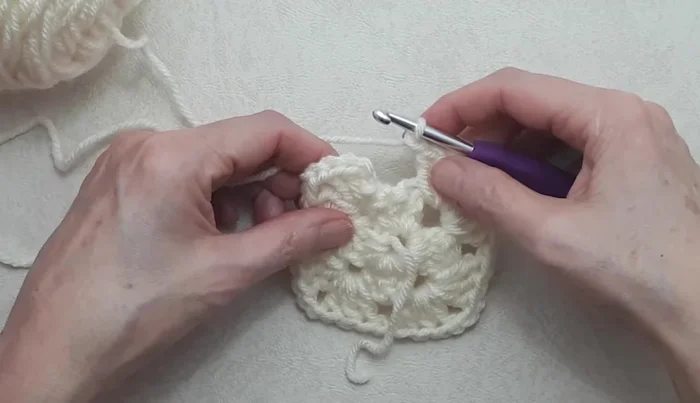
First Round: Creating the First Granny Square Second Round: Increasing Granny Square
- Slip stitch into the chain-2 space.
- Chain 2.
- Work two double crochet in the chain-2 space.
- Chain 2.
Second Round: Increasing Granny Square - Work three double crochet in the chain-2 space.
- Chain 1.
- Repeat steps 13-15 around.
- Slip stitch to join, skipping the beginning chain 2.
Second Round: Increasing Granny Square Subsequent Rounds: Adding More Granny Squares
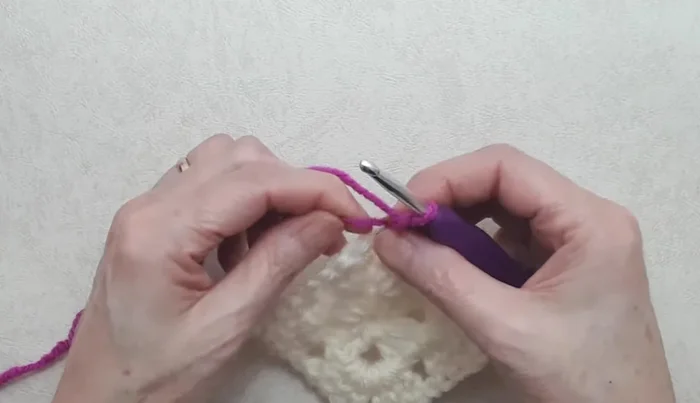
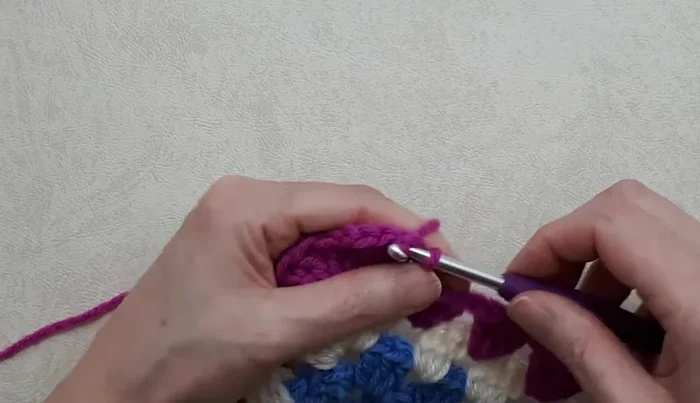
- Join a new color with a slip stitch into a corner chain-2 space.
- Repeat steps 11-16 for subsequent rounds, changing colors as desired. Remember to turn your work after each round.
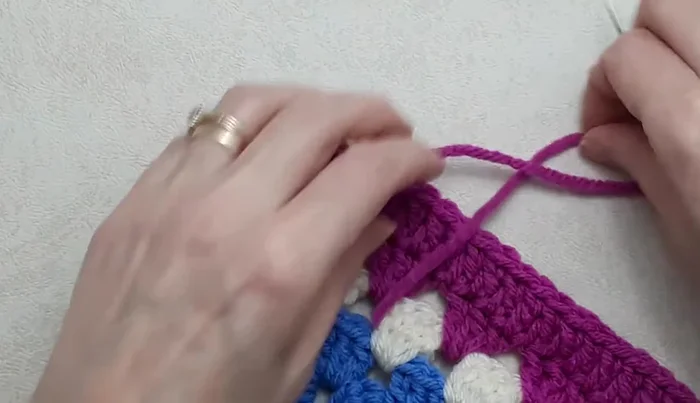
Subsequent Rounds: Adding More Granny Squares Finishing: Adding a Border
- For the final border, join as before but do not turn your work. Chain 2, then work double crochet around, working 5 double crochet in each corner.
- Fasten off with an invisible slip stitch for a clean finish.
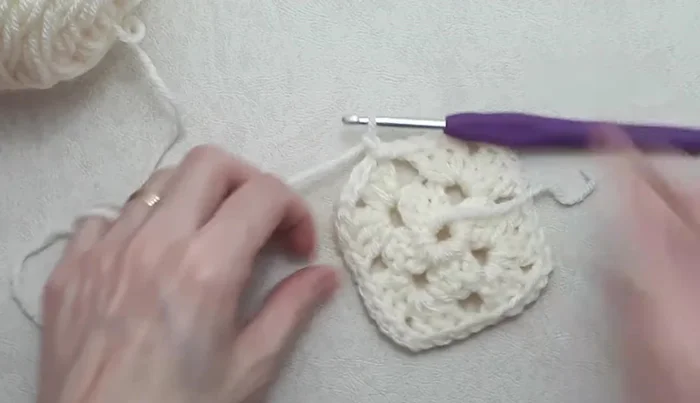
Finishing: Adding a Border Finishing the First Granny Square
- Fasten off.
Finishing the First Granny Square


Read more: Easy Color Block Crochet Blanket Tutorial for Beginners
Tips
- Turning your work after each round prevents the blanket from warping due to tension.
- Weave in your ends as you go to avoid extra work at the end.
- Use a hand steamer to neaten the edges after washing.