Are you dreaming of a cozy, colorful blanket that's as beautiful on one side as it is on the other? Then look no further! This tutorial will guide you through creating a stunning reversible daisy blanket using a surprisingly simple knitting technique. Forget complicated patterns and endless rows – this project is designed for knitters of all skill levels, from confident beginners to seasoned pros seeking a quick and satisfying project. The cheerful daisy motif adds a touch of charming whimsy, making this blanket perfect for snuggling up on the sofa or gifting to a loved one.
This easy-to-follow pattern utilizes a clever stitch combination that creates a beautiful, textured reversible design, meaning you get double the visual appeal with minimal extra effort. We’ll break down each step with clear instructions and helpful images, ensuring you'll be well on your way to knitting your own vibrant daisy blanket in no time. Ready to get started? Let's dive into the step-by-step process!
Preparation and Safety Guidelines
- 100g double knit yarn (or light weight yarn)
- Circular knitting needles (120cm for 60cm wide blanket)
- Embroidery scissors
- Tapestry needle
- Use appropriately sized needles for your chosen yarn weight. Using needles too small can make the fabric too tight and difficult to work with, while needles too large can result in a loose, drafty blanket.
- Pay close attention to your stitch counts at the end of each row to prevent errors that can become difficult to correct later in the project. Consider using stitch markers to help track your progress.
- Always check your tension regularly to maintain a consistent fabric. Tension inconsistencies can lead to unevenness in your finished blanket and may affect the reversibility.
Step-by-Step Instructions
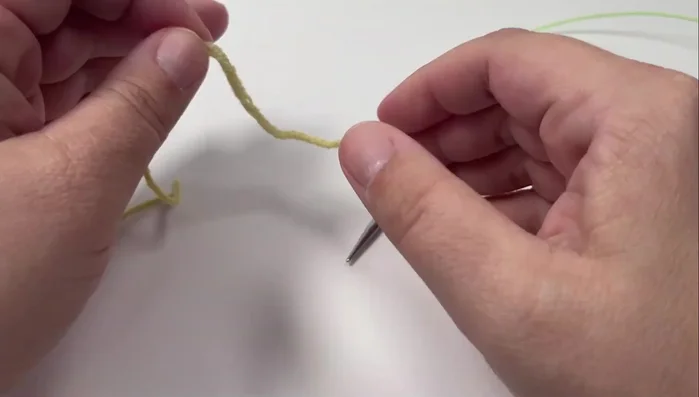
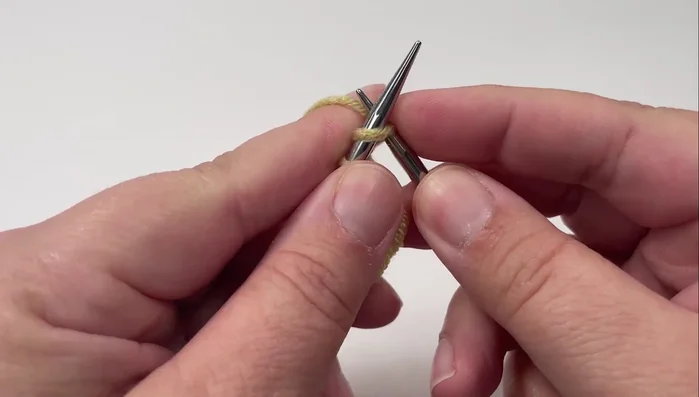
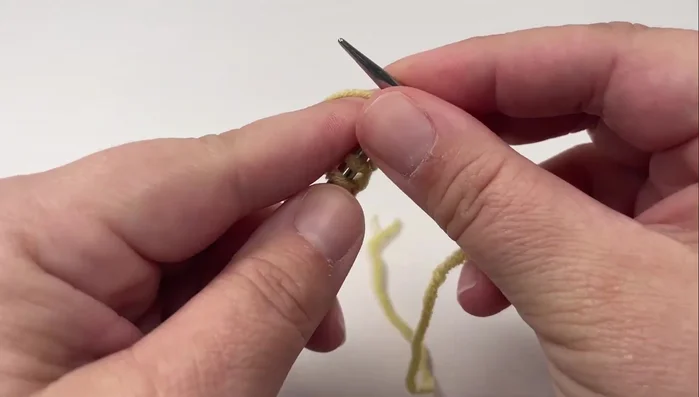
Casting On
- Cast on a multiple of six stitches plus one extra stitch. The longtail cast-on is recommended.

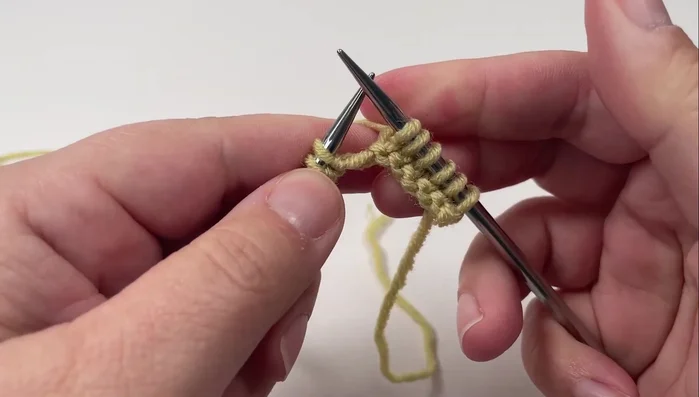
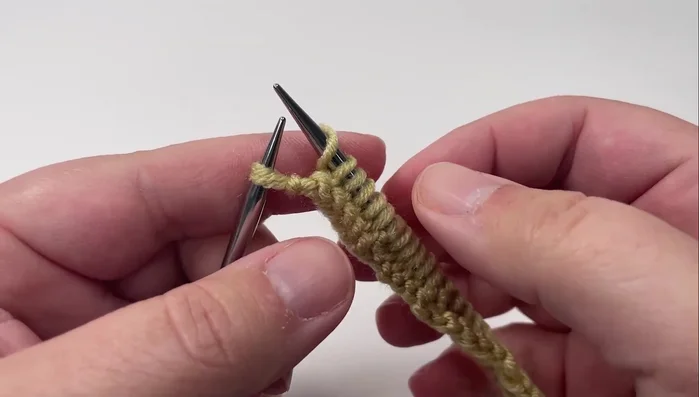
Casting On Establishing the Pattern (Row 1)
- Knit the first six stitches.
- Repeat the next six stitches until one stitch is left.
- Purl one, knit five.
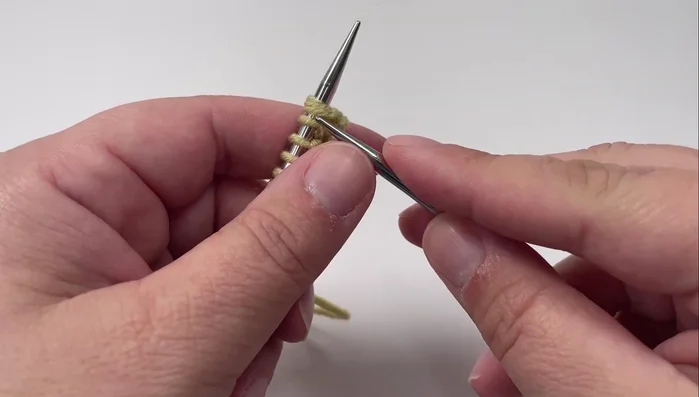
Establishing the Pattern (Row 1) Completing the First Row
- Repeat step 4 until one stitch remains.
- Slip the last stitch purlwise with the yarn in front.
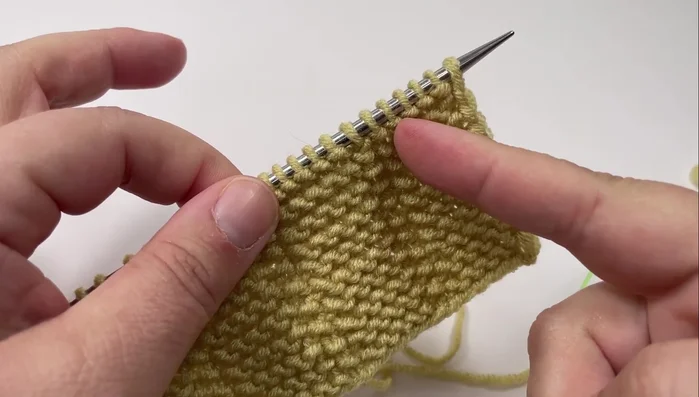
Completing the First Row Repeating Rows
- Repeat steps 2-6 for each row.
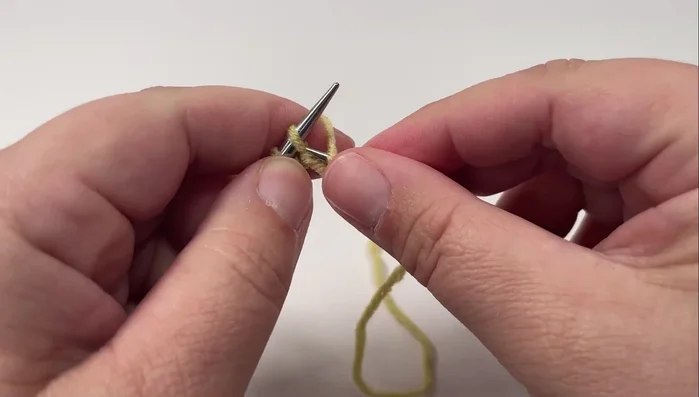
Repeating Rows Casting Off
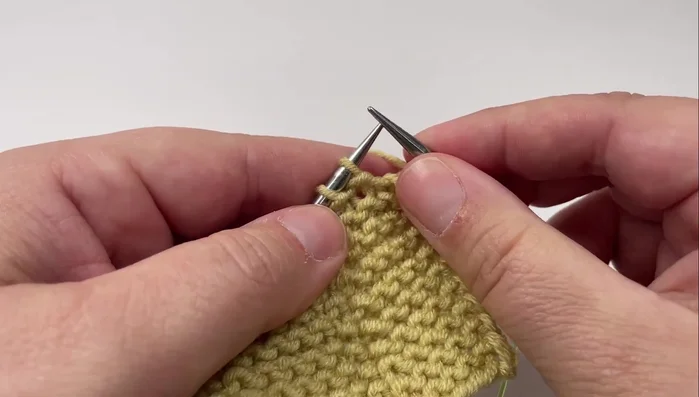
- To cast off, knit or purl stitches according to the established pattern (knit stitches are knitted, purl stitches are purled). Never have more than two stitches on the right-hand needle.
- Knit the first two stitches, then lift the first stitch over the second and off the right-hand needle.
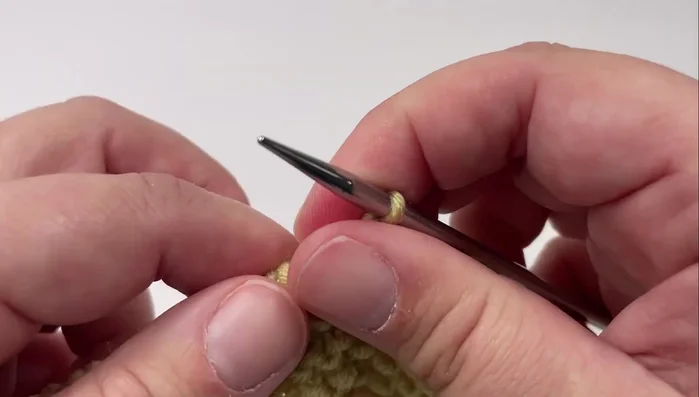
- Repeat step 9 across the row until one stitch remains.
- Knit the last stitch.
Casting Off - Cut the yarn, leaving a tail, and pull it through the final loop. Sew in ends.
Casting Off

Read more: Knitting a Reversible Basketweave Blanket: A Customizable Guide
Tips
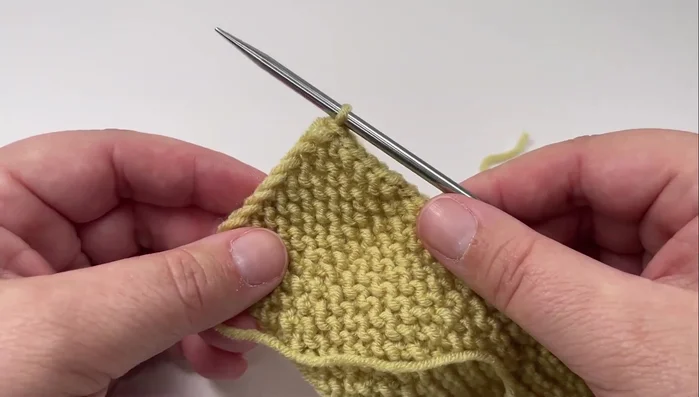
- Maintain a neat side edge by slipping the end stitches purlwise with the yarn in front.
- For a symmetrical top and bottom edge, when casting off, have the smooth side of your longtail cast-on facing you. The tail should be on the left-hand bottom corner of your work.