Have you ever admired the delicate beauty of pressed flowers, wishing you could preserve their ephemeral charm forever? Now you can, by transforming them into stunning, wearable art! This guide explores the captivating world of resin jewelry making, specifically focusing on the creation of elegant pendants featuring your own carefully pressed floral specimens. Imagine showcasing the vibrant hues of summer blooms or the intricate details of autumn leaves, all encased in a glossy, protective resin that enhances their natural beauty. The possibilities are truly endless, limited only by your imagination and the pressed flowers you choose.
This detailed tutorial will walk you through each step of the process, from preparing your flowers and selecting the right resin to mastering the pouring technique and achieving a flawlessly smooth finish. Get ready to unleash your creativity and learn how to create breathtaking resin pendants that are both unique and unforgettable. Let's dive into the step-by-step guide and begin crafting your own exquisite floral jewelry!
Preparation and Safety Guidelines
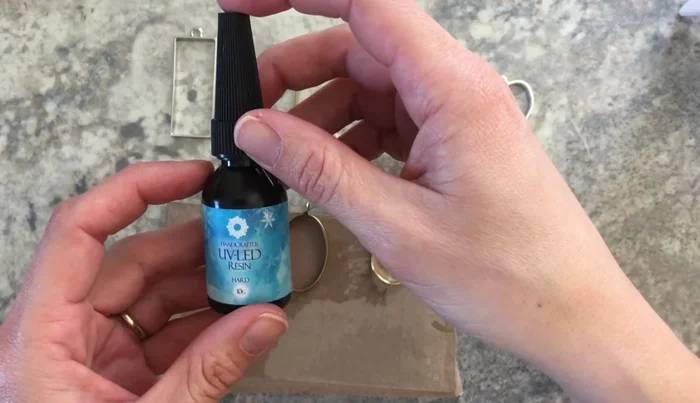
- UV resin
- UV light
- Packing tape
- Cardboard
- Toothpicks
- Tweezers
- Lighter
- Soapy water
- Always work in a well-ventilated area. Resin fumes can be harmful if inhaled.
- Wear gloves to protect your skin from resin and avoid skin irritation.
- Use resin in a designated workspace away from heat sources and direct sunlight to prevent premature curing and spills.
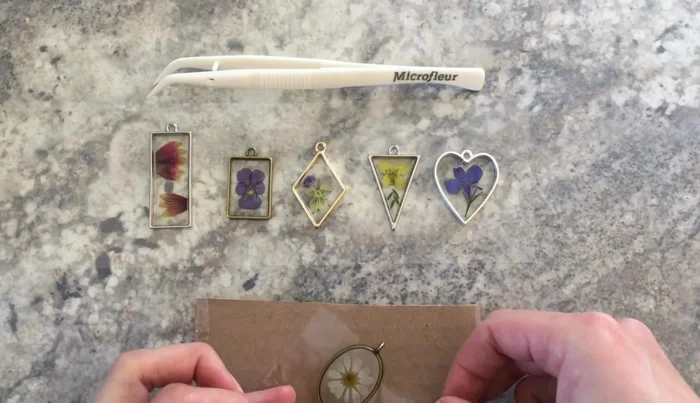
Step-by-Step Instructions
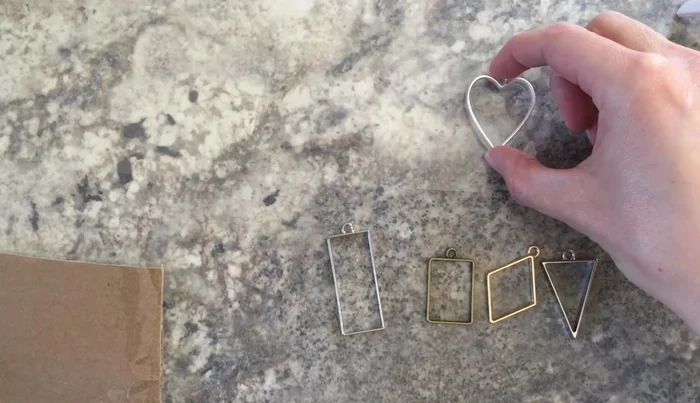
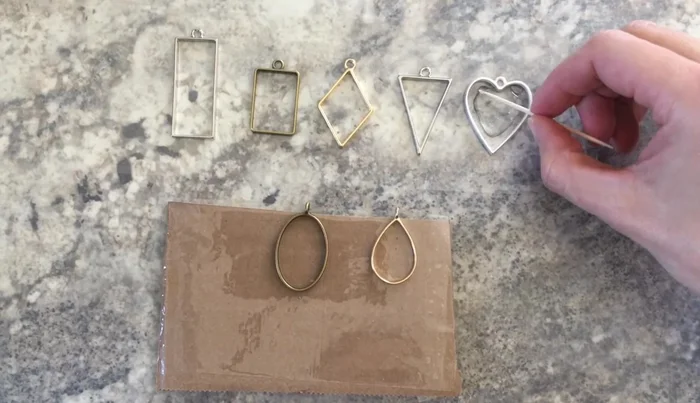
Prepare Bezels
- Clean bezels with alcohol to remove residue.
- Secure bezels to packing tape using additional tape if needed to ensure they lay flat.

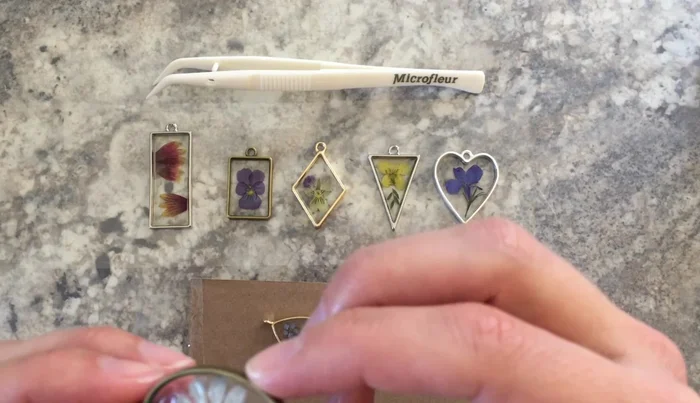
Prepare Bezels Apply First Resin Layer
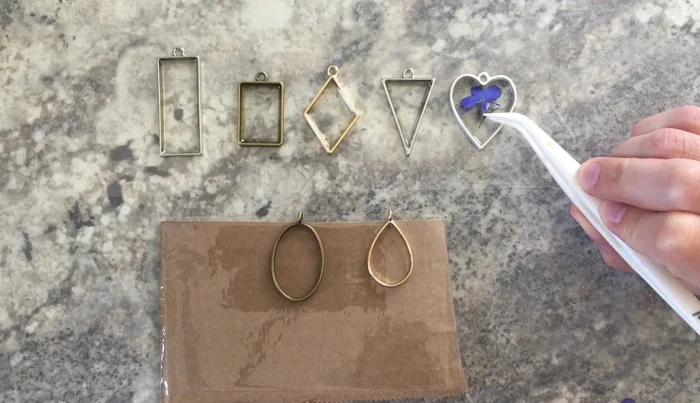
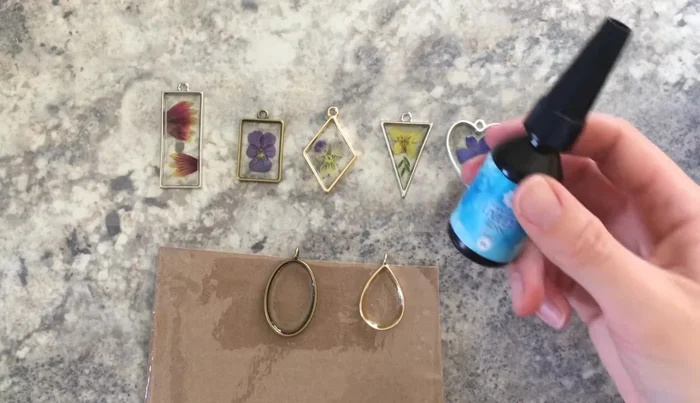
- Add a small amount of resin to the bottom of each bezel to seal it and center the flowers.
- Spread resin using a toothpick, removing any bubbles by gently pulling them out from underneath.
- Carefully place flowers using tweezers or toothpicks, avoiding pushing too hard to prevent water spots.
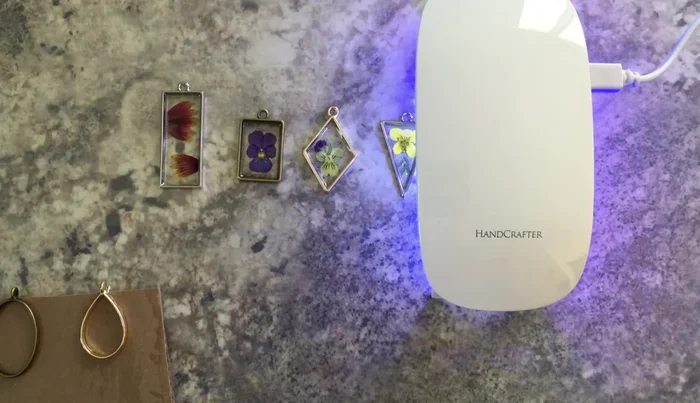
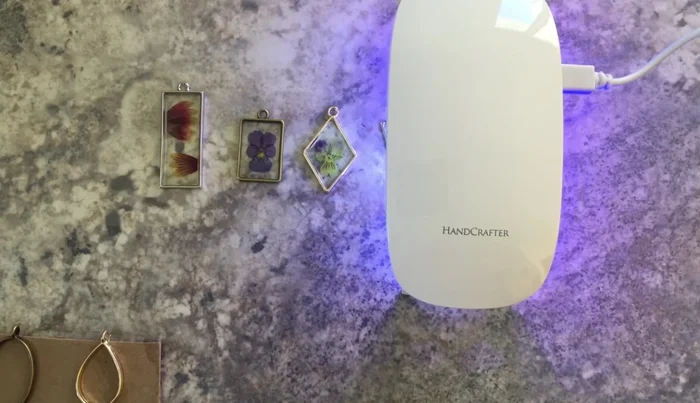
- Cure the first layer of resin with UV light.
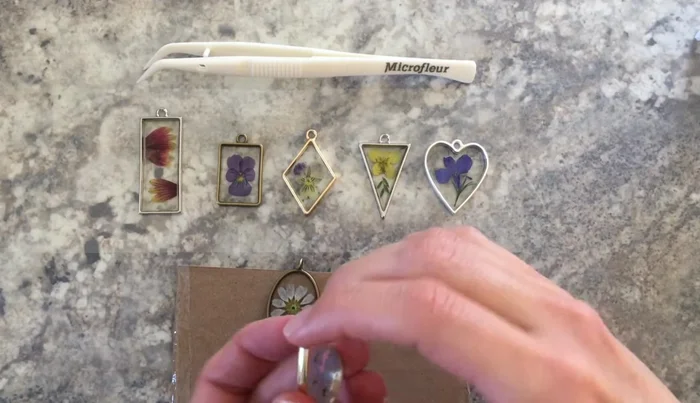
Apply First Resin Layer Apply Subsequent Resin Layers
- Add another layer of resin on top, spreading it carefully and removing bubbles.
- Cure the second layer of resin with UV light.
- Repeat steps 7 and 8 for remaining bezels.
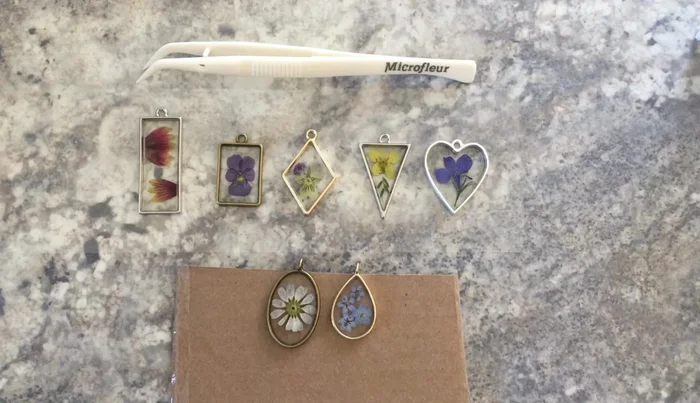
Apply Subsequent Resin Layers Remove from Tape and Clean
- Gently peel bezels from tape, placing them face down to cure the underside.
- Clean any tape residue using soapy water and a toothpick.
Remove from Tape and Clean Dome the Back
- Ensure bezels are completely dry before applying a final layer of resin to dome the back.
- Cure the final layer with UV light.
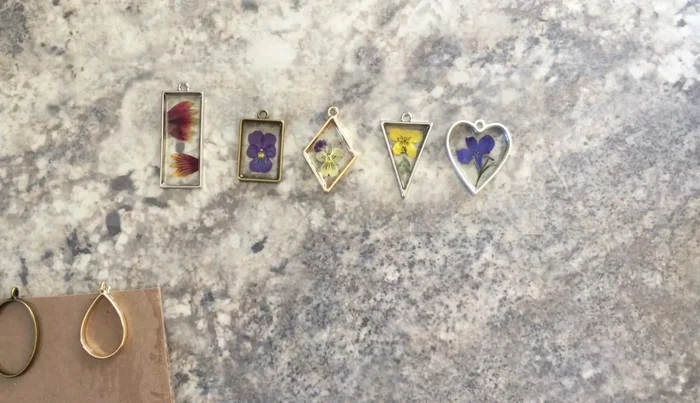
Dome the Back
Read more: DIY Tiered Tassel Earrings: A Quick & Easy Jewelry Tutorial
Tips
- Use a lighter to quickly pop finer bubbles, avoiding overheating the resin.
- Lay out flowers before applying resin to plan arrangement.
- Avoid pushing too hard on flower petals to prevent water spots.
- Push resin into corners to prevent bubble formation.
- Be careful not to overfill the bezel with resin in the final layer to avoid spillage.