White oak, with its rich grain and enduring strength, is a coveted material for furniture and home décor. But what happens to the scraps? Don't let those beautiful remnants go to waste! This detailed guide will show you how to transform reclaimed white oak pieces – perhaps salvaged from a demolition project or a lumber yard's discards – into a stunning and functional DIY tray. This project is perfect for those seeking a unique, rustic piece with a minimal environmental footprint, adding a touch of reclaimed elegance to your home. The process is surprisingly straightforward, even for beginner DIY enthusiasts.
From sourcing your materials to achieving a polished finish, we'll cover every step of creating your own beautiful reclaimed white oak tray. This guide offers clear instructions and helpful tips to ensure a successful project, no matter your skill level. Ready to get started and build your own unique piece of handcrafted beauty? Let's dive into the step-by-step instructions.
Preparation and Safety Guidelines
- Reclaimed white oak
- Belt sander
- Clamps
- Table saw
- Router
- Cove bit
- Straight edge
- Scrap wood
- Tabletop router
- Bevel bit
- Roundover bit
- Sandpaper
- Low VOC Tung oil
- Always wear safety glasses when using power tools like saws and sanders. Wood dust can also irritate eyes.
- Use caution when working with sharp tools like chisels and knives. Cut away from yourself and maintain a firm grip.
- Ensure adequate ventilation when sanding or using any finishing products. Wood dust is harmful when inhaled, and some finishes release fumes.
Step-by-Step Instructions
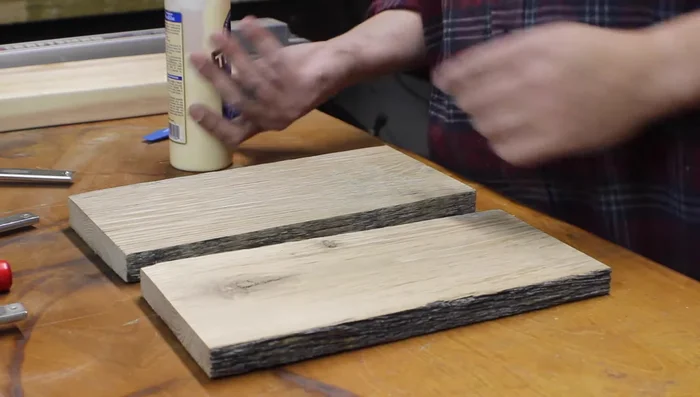
Prepare the White Oak
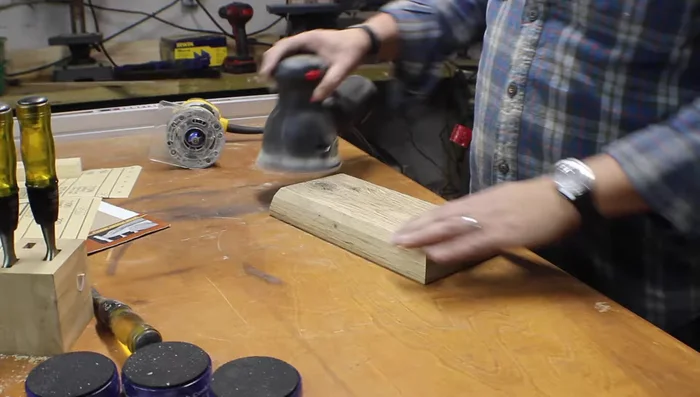
- Clean up one face of each piece of reclaimed white oak using a belt sander.
- Glue the pieces together, clamp, and let it set up.
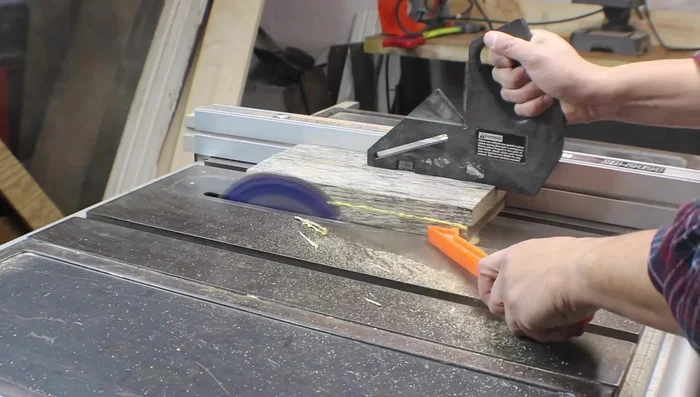
- Use a table saw to square the sides.

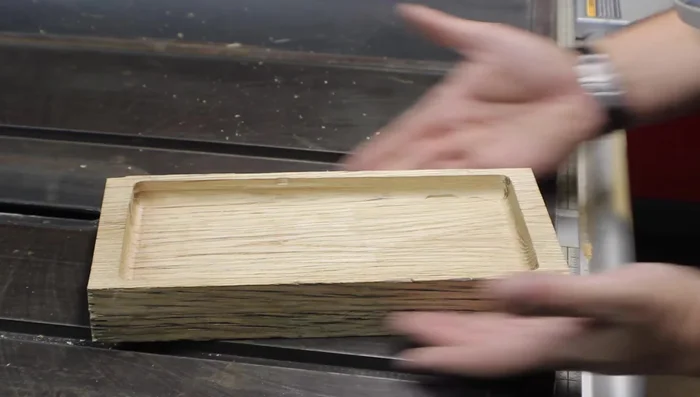
Prepare the White Oak Rough Out the Tray Interior
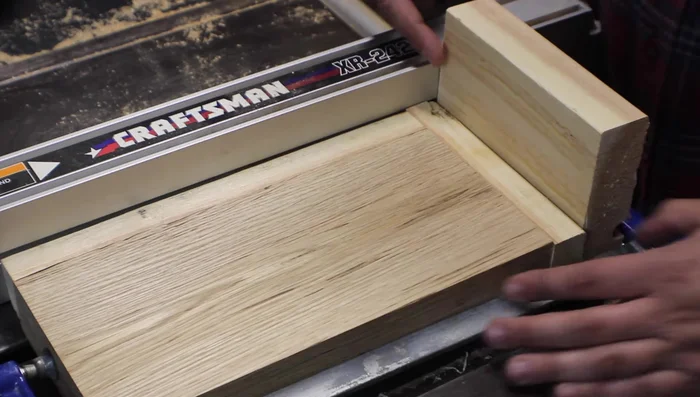
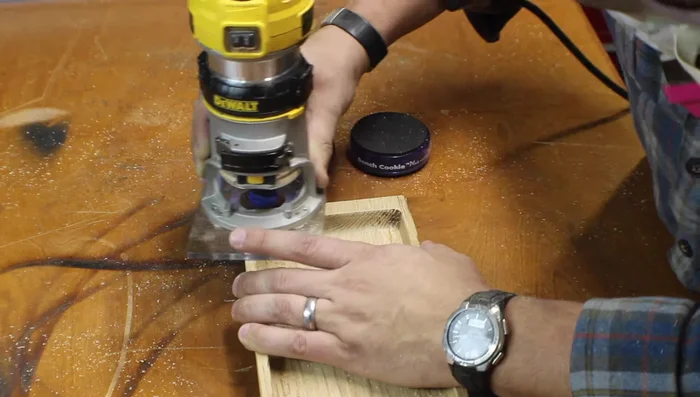
- Use a router and straight edge with scrap wood as guides to plow out the inside of the tray.
- Use a cove bit for the initial routing, lowering the bit gradually.
- Flip the piece and repeat step 5 for the other sides.
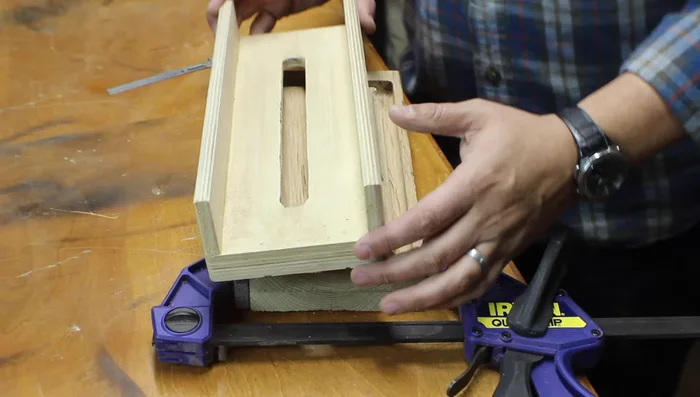
Rough Out the Tray Interior Refine the Tray Shape
- Use a sled and router to flatten the bottom and refine the inside profile.
- Use a tabletop router and bevel bit to lighten the edges and refine the overall profile.
- Use a roundover bit to clean up the top edge.
Refine the Tray Shape Finishing Touches
- Sand and finish with several coats of low VOC tung oil.
Finishing Touches


Read more: Build a Stunning Black Walnut Coaster Set: The Ultimate Furniture Protector
Tips
- Using a template cutting jig or CNC would make the process more efficient and precise.