The Raindrop Lace Shawl is a stunning project, its delicate, cascading pattern a testament to the beauty of knitting lace. However, the elegance of this shawl hinges on successfully navigating Chart F, specifically the corner turn. This crucial section, often a source of confusion for even experienced knitters, requires a precise understanding of yarn overs, decreases, and maintaining consistent tension to achieve the characteristic graceful curve of the shawl's edge. Mastering this technique is key to unlocking the full potential of this captivating design.
This article provides a comprehensive, step-by-step guide to tackling Chart F's corner turn, breaking down the seemingly complex instructions into manageable segments. We'll walk you through each row, explaining the purpose of every stitch and offering helpful tips and visual aids to ensure your success. Let's unravel the mystery of Chart F and together, knit a perfect Raindrop Lace Shawl.
Preparation and Safety Guidelines
- knitting needles
- yarn
- Before starting Chart F, ensure you have a firm grasp of the previous chart's decreases and increases. A mistake early on will significantly impact the corner's shape and the overall shawl pattern.
- Pay close attention to the yarn overs (yo) and decreases (k2tog, ssk, etc.) in Chart F. Accurate placement is key to creating the characteristic raindrop shape of the lace. Count stitches meticulously after each row.
- Use stitch markers to help track your place within the chart, especially across the corner turn section. This will prevent mistakes and frustration.
Step-by-Step Instructions
Initial Setup
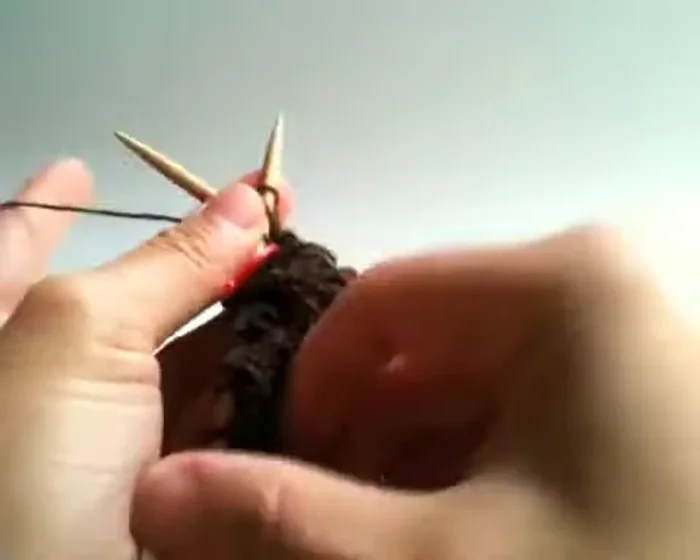
- Cast on four stitches.

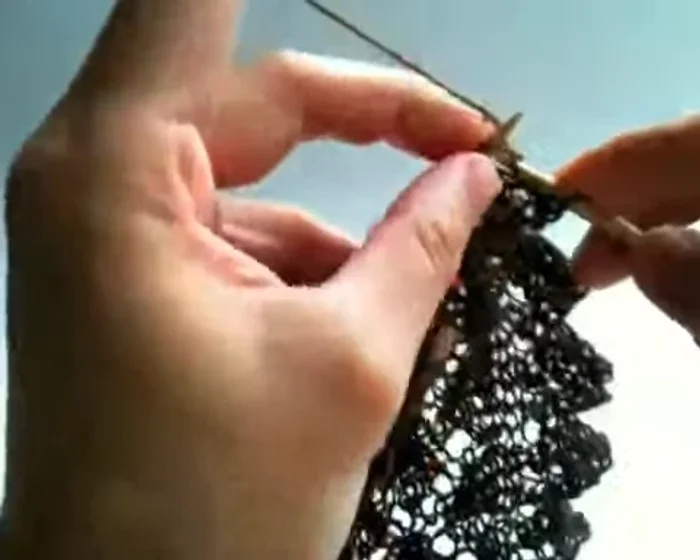
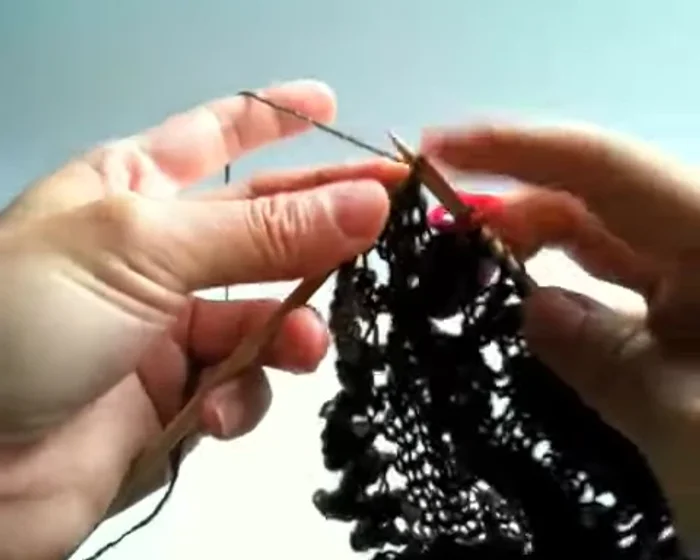
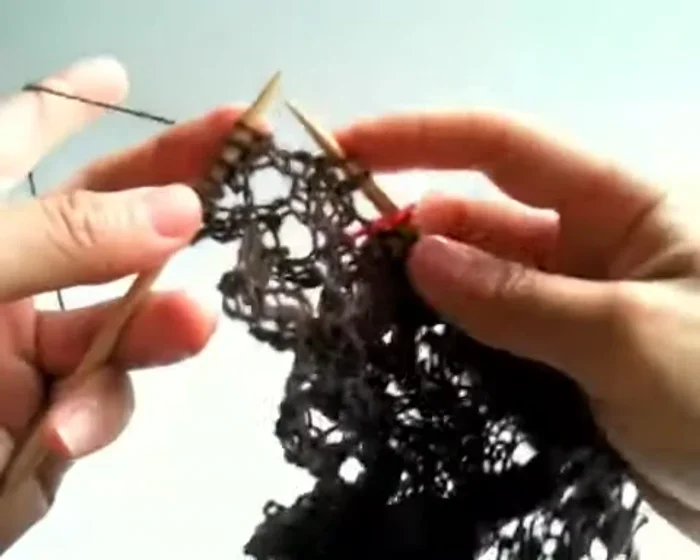
Initial Setup First Corner Turn Row (Wrong Side)
- Knit to the last stitch before the first stitch marker.
- Knit the last stitch through the back loop without wrapping.
- Turn the work to the wrong side.
- Slide the first stitch purlwise.
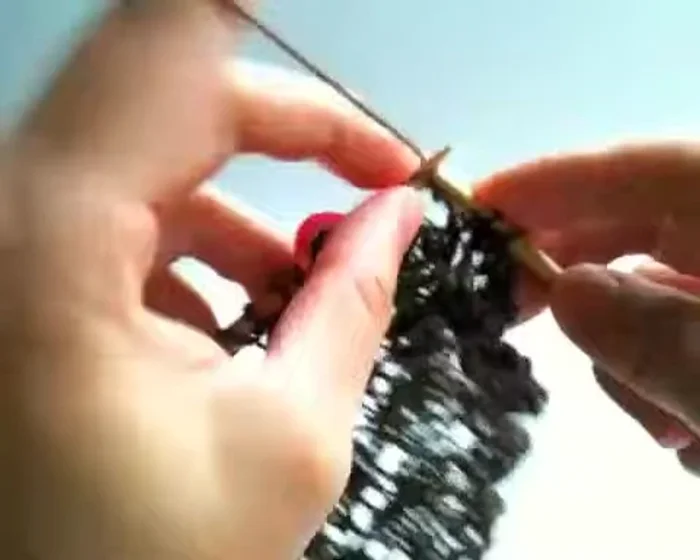
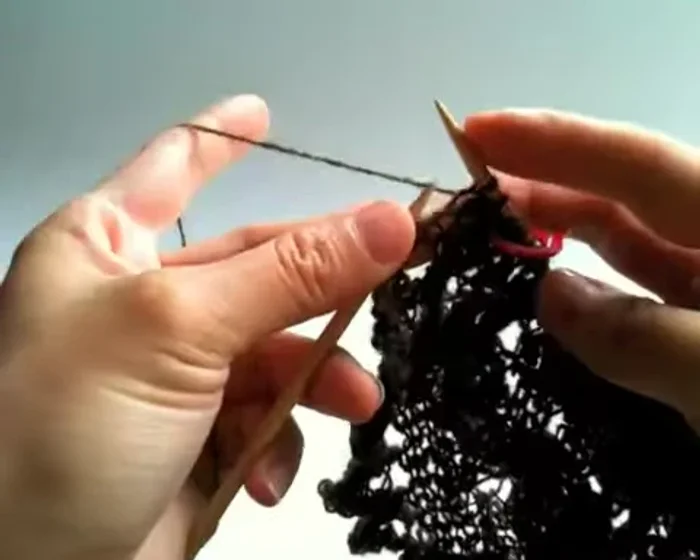
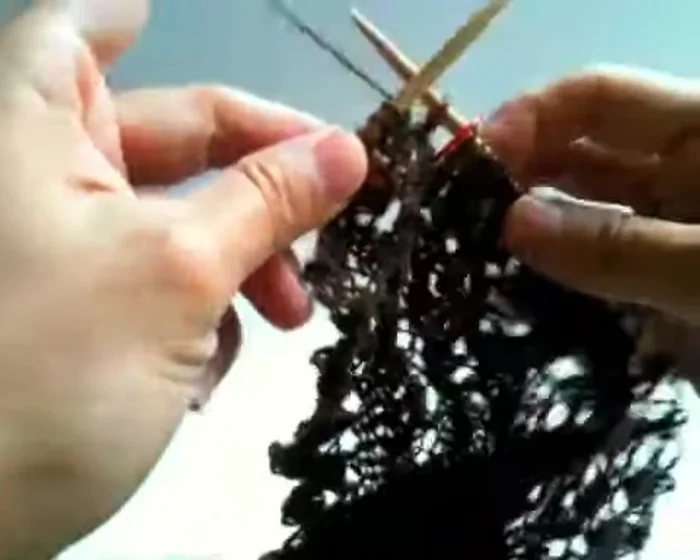
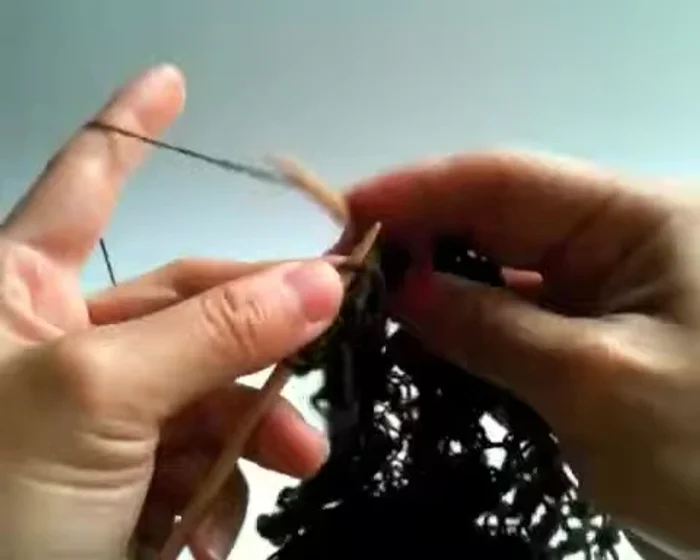
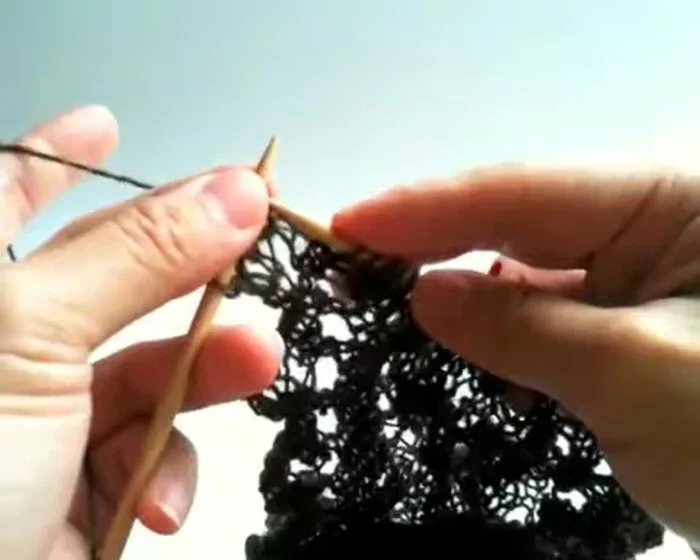
First Corner Turn Row (Wrong Side) - Knit two, yarn over twice, slide, slide, knit, knit to complete row two.
First Corner Turn Row (Wrong Side) First Corner Turn Row (Right Side)
- Turn the work to the right side.
- Knit three, purl one (over two yarn overs from previous row), knit two.
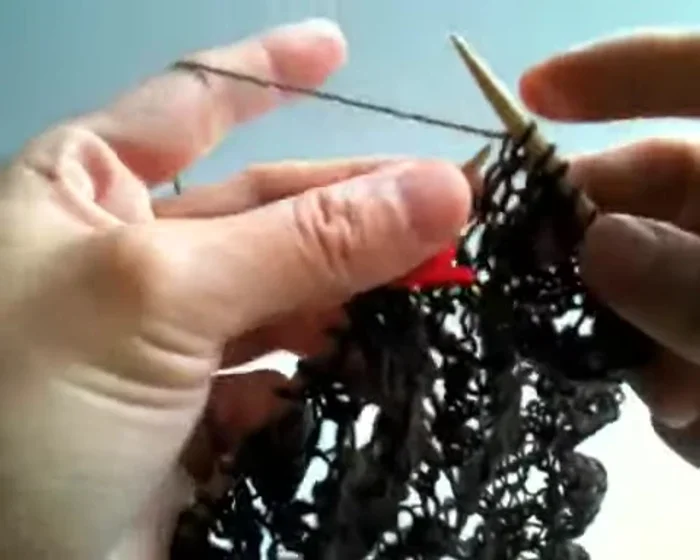
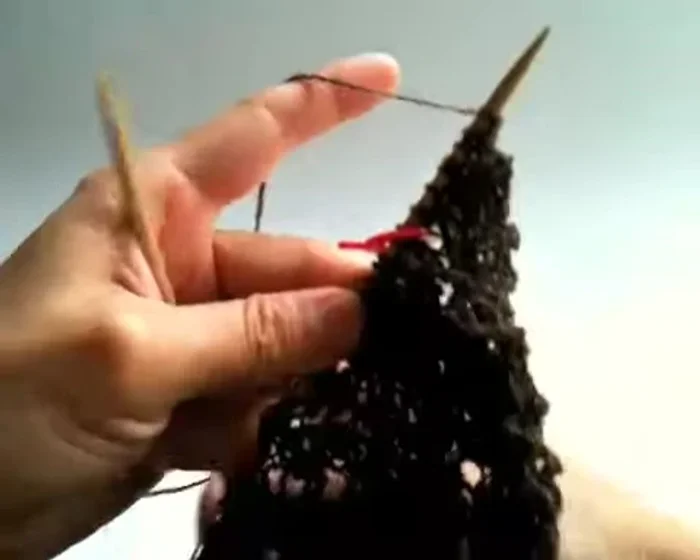
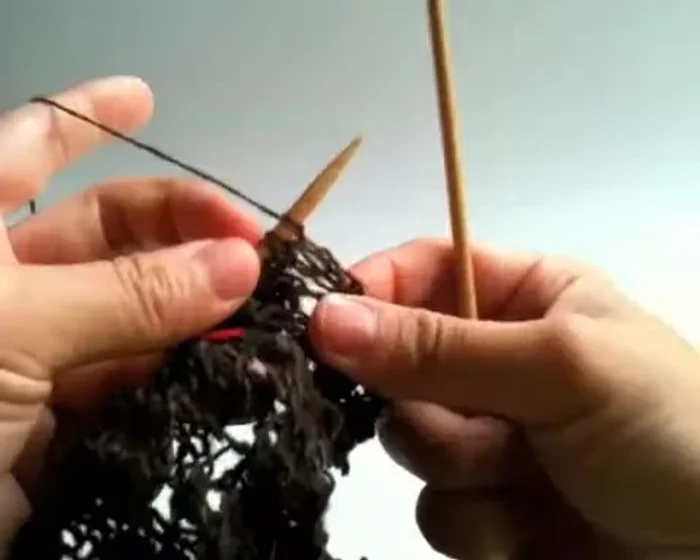
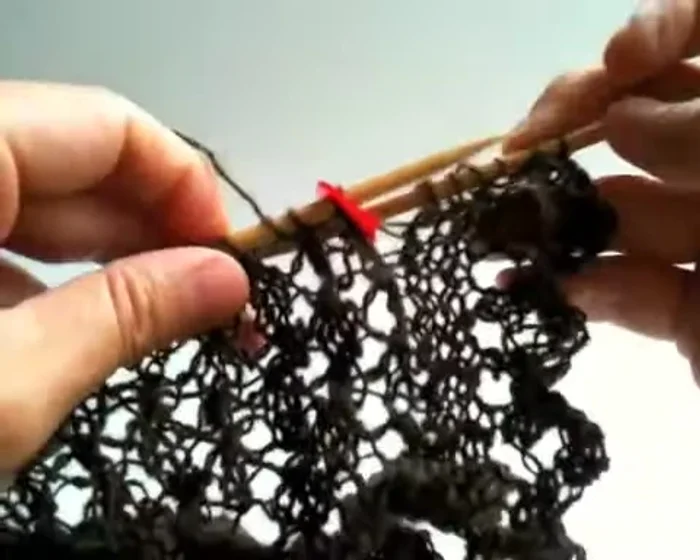
First Corner Turn Row (Right Side) Second Corner Turn Row (Wrong Side)
- Turn the work to the wrong side.
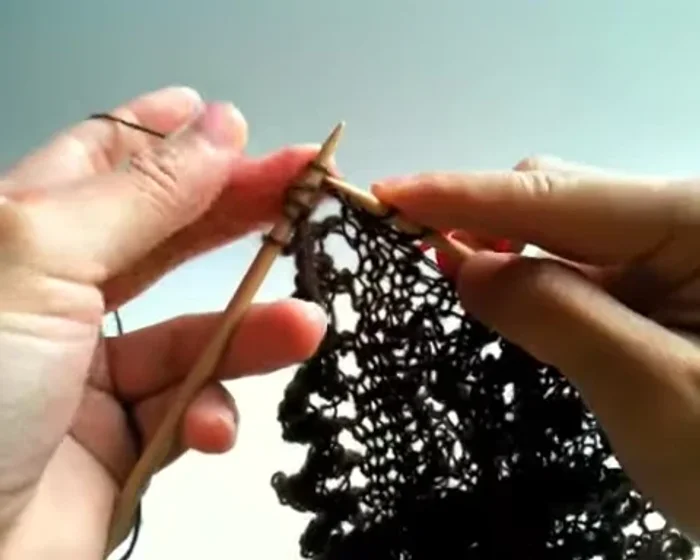
- Slide the first stitch, knit three, yarn over twice, knit two.
Second Corner Turn Row (Wrong Side) Second Corner Turn Row (Right Side)
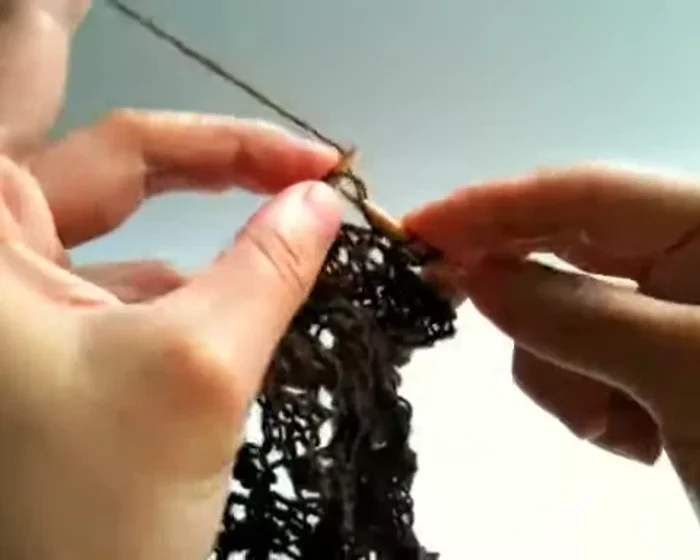
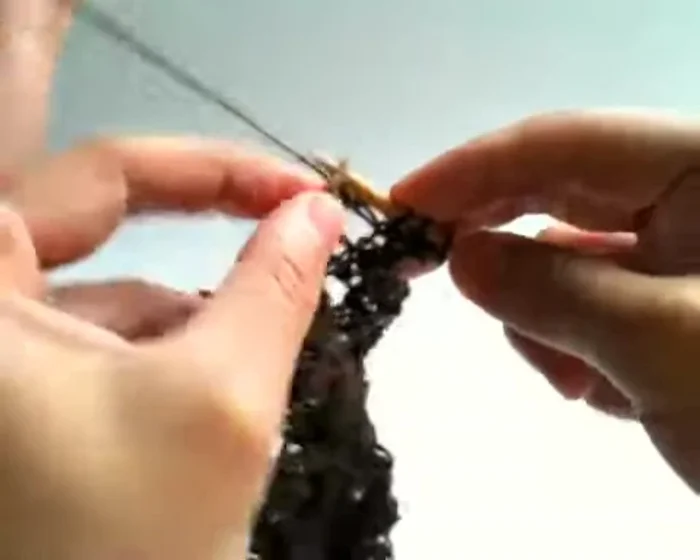
- Turn the work to the right side.
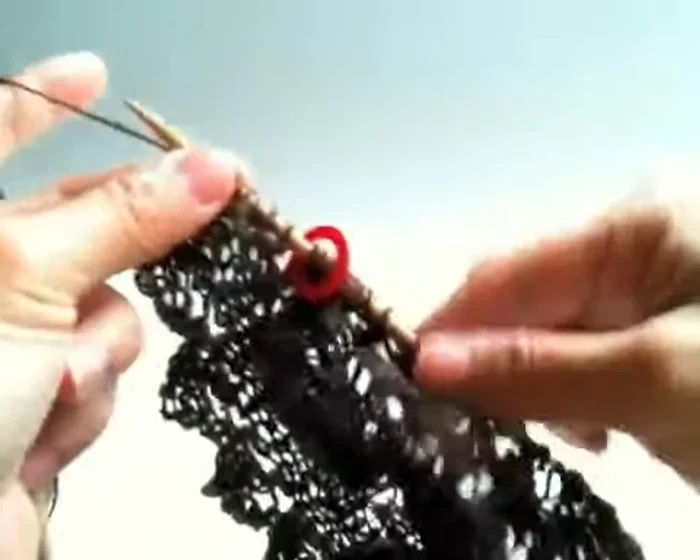
- Knit three, purl one (to make a big eyelet), knit three.
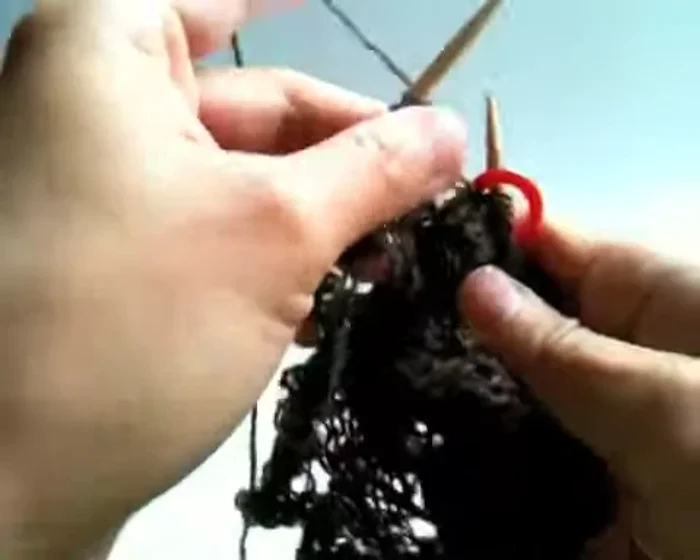
Second Corner Turn Row (Right Side) Third Corner Turn Row (Wrong Side)
- Turn the work to the wrong side.
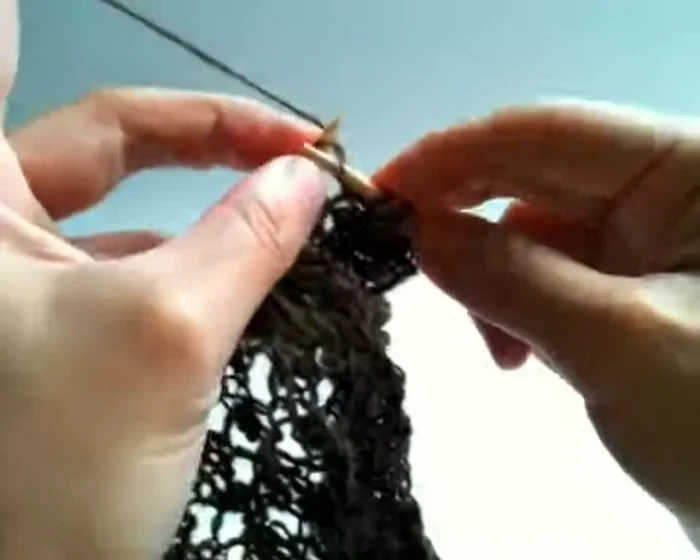
- Yarn over twice, slide, slide, knit, knit.
Third Corner Turn Row (Wrong Side) Third Corner Turn Row (Right Side)
- Turn to the right side.
- Knit six, purl one.
Third Corner Turn Row (Right Side) Finishing the Corner Turn
- Turn the work to the wrong side.
- Slide the first stitch and knit to the end.
Finishing the Corner Turn Repeat for Complete Corner
- Repeat rows 2-8 once more to complete the corner turn.
Repeat for Complete Corner
Read more: Knitting a Reversible Basketweave Blanket: A Customizable Guide
Tips
- Pay close attention to the instructions for knitting through the back loop and the placement of yarn overs.
- Practice the short-row technique to get comfortable with the process before working it into your project.