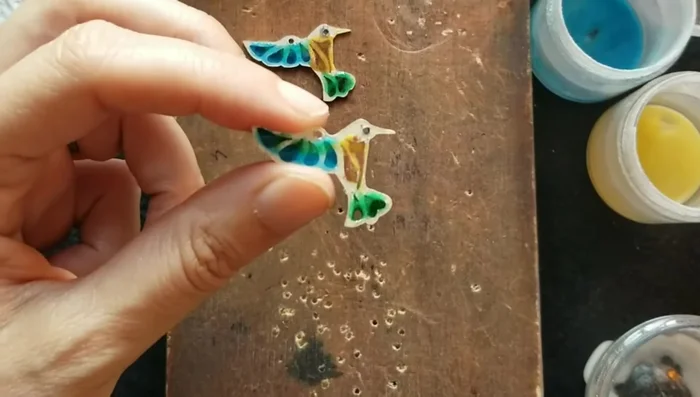
Prepare to be captivated by the exquisite artistry of plique-à-jour enamel! This delicate technique, known for its breathtaking translucent beauty, is rarely seen outside of high-end jewelry design. Today, we'll unlock the secrets to creating a pair of stunning hummingbird earrings using this challenging yet incredibly rewarding method. Imagine the shimmering, jewel-toned wings of a hummingbird, seemingly suspended in mid-air, captured in these miniature works of art. The intricate detail and vibrant colors will transform even the most novice enamelist into a confident artisan.
This tutorial provides a comprehensive, step-by-step guide to crafting your own plique-à-jour hummingbird earrings. From preparing your design and metalwork to the precise application and firing of the enamel, we'll walk you through every stage of the process. So, gather your tools and materials, and let's embark on this incredible journey of creating these enchanting, one-of-a-kind earrings!
Preparation and Safety Guidelines
- Silver sheet
- Spray glue
- Punching tool
- Hammer
- Steel block
- Drill
- Saw
- Files
- Enamels
- Paintbrush
- Kiln
- Diamond pads
- Water
- Polishing sticks
- Plique-à-jour enamel work involves extremely high temperatures. Always use appropriate safety equipment, including heat-resistant gloves and eye protection, and work in a well-ventilated area.
- The enamel powder is very fine and can be inhaled. Wear a respirator mask to avoid inhaling the dust, and work in a clean area to minimize airborne particles.
- Sharp tools are involved in this process. Handle all tools with extreme care to avoid cuts and injuries. Use a steady hand and appropriate cutting mats.
Step-by-Step Instructions
Design and Preparation
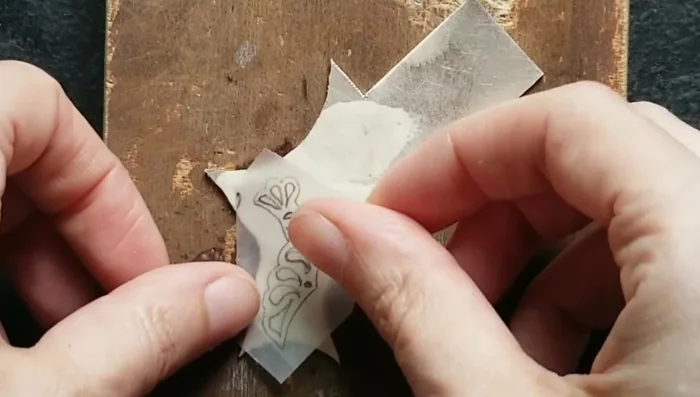
- Draw designs and glue them onto a silver sheet using spray glue.

Design and Preparation Drilling and Cutting
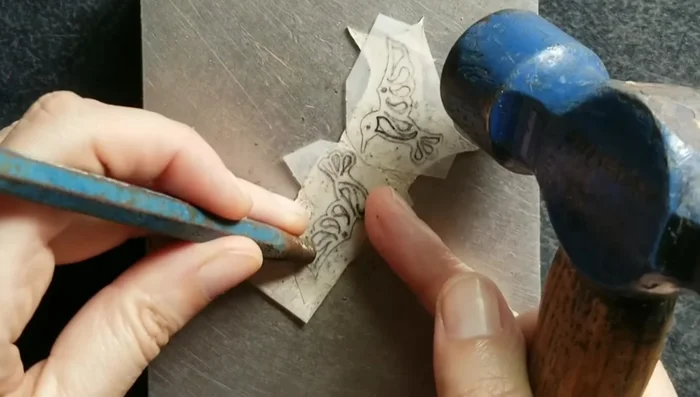
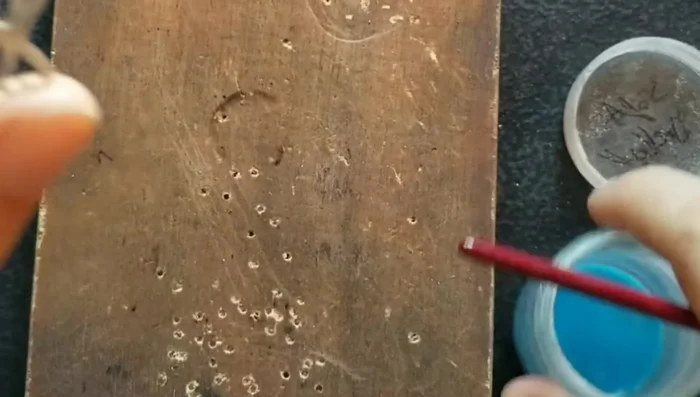
- Punch small marks in the cells to guide the drill bit.
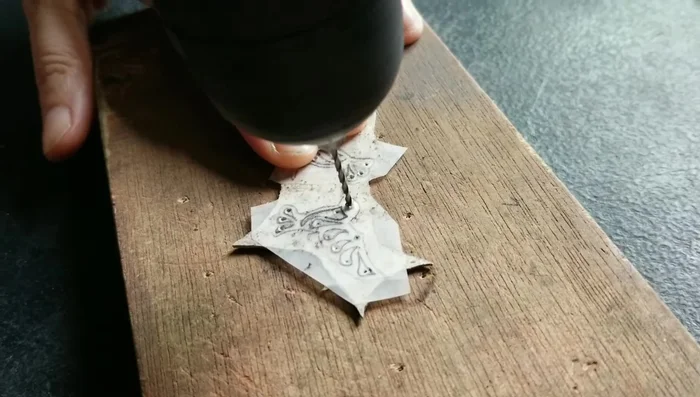
- Drill holes to thread the saw blade through.
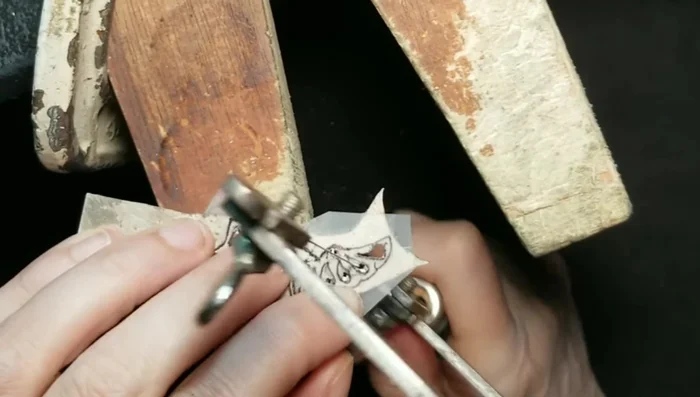
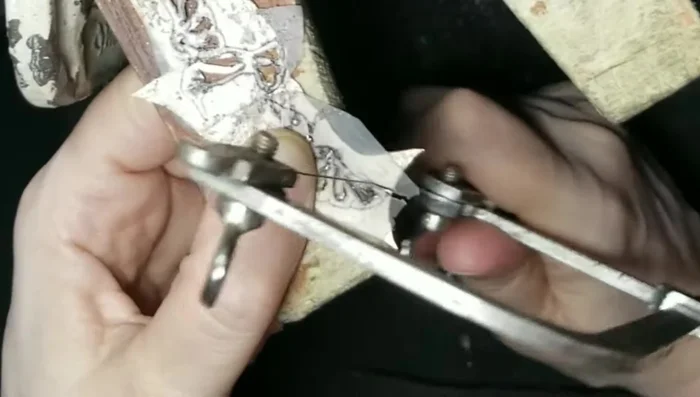
- Cut out the hummingbird shapes using the saw.
Drilling and Cutting Filing and Shaping
- File the edges of the cut-out shapes, smoothing both the inner and outer contours.
Filing and Shaping First Enamel Application and Firing
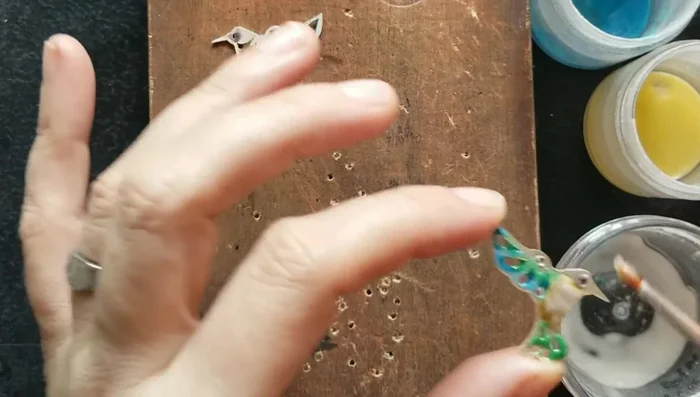
- Apply washed enamels into the cells, ensuring the enamels are clean of any impurities.
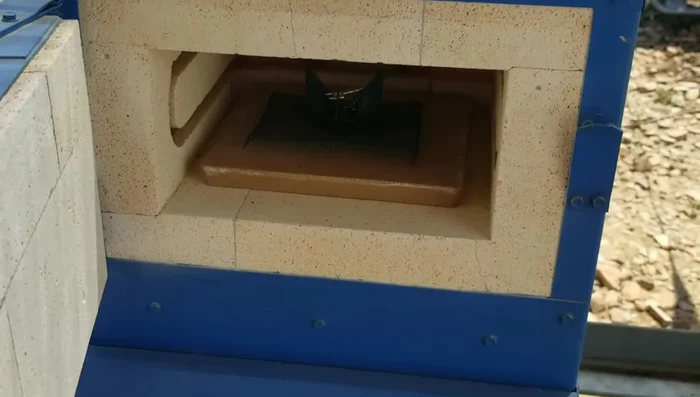
- Fire the earrings in a kiln at 1400°F for 90 seconds.
First Enamel Application and Firing Second Enamel Application and Firing
- Apply a second layer of enamel to fill any gaps created during firing.
- Fire the earrings again in the kiln.
Second Enamel Application and Firing Finishing and Polishing
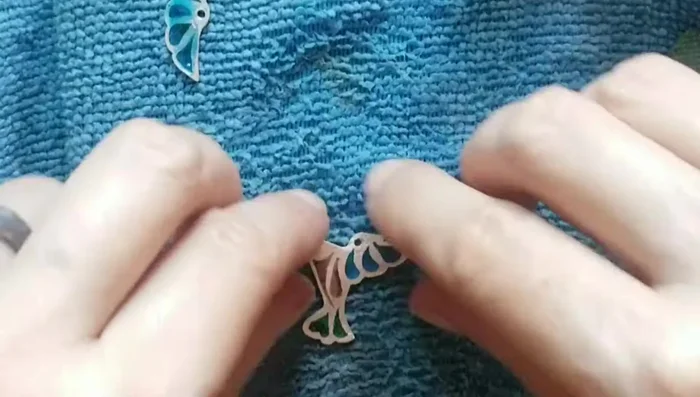
- Sand and polish the earrings to smooth the surfaces and restore shine.
Finishing and Polishing
Read more: DIY Tiered Tassel Earrings: A Quick & Easy Jewelry Tutorial
Tips
- Use fine silver for enameling.
- Wash enamels before use to remove impurities and avoid a murky end result.
- Don't worry about enamel getting on the top surface of the silver; it will be sanded off later.