Are you ready to add a touch of playful sophistication to your wardrobe? This tutorial will guide you through creating a charming Pico Headband using a simple yet captivating knotted front and textured stitch. Forget complicated patterns and frustrating techniques; this project is perfect for beginner crocheters looking to expand their skills and create a stylish accessory in no time. The delightful texture and the elegant pico edge add a unique touch that will elevate any outfit, from casual jeans to a chic dress.
This Pico Headband boasts an effortlessly chic design achieved through a combination of easy-to-master knots and a subtly textured stitch. The knotted front adds a visual interest that's both modern and timeless, while the pico edge provides a beautifully finished touch. Ready to get started on your own handmade masterpiece? Let's dive into the step-by-step instructions and learn how to craft this beautiful accessory!
Preparation and Safety Guidelines
- Medium 4 weight yarn
- 5.5 millimeter or I hook
- Yarn needle
- Scissors
- Always use appropriate yarn weight and hook size as specified in your chosen pattern. Using incorrect sizes can affect the headband's fit and durability.
- Ensure your knots are tight to prevent the headband from unraveling or becoming loose during wear. Practice the knotting technique before starting the main project.
- If using a new yarn, wash and dry a small sample beforehand to check for colorfastness and shrinkage to avoid surprises with your finished headband.
Step-by-Step Instructions
Foundation Row
- 67 FHDC for teen/adult small).
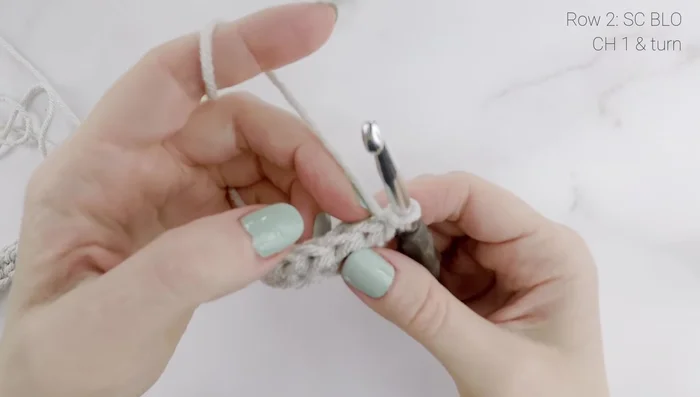
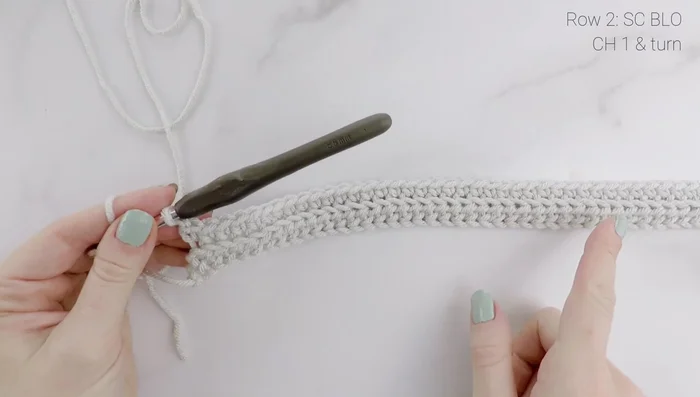
Initial Row 2
- Chain one and turn your work.
- Single crochet in the back loop only of each stitch across.

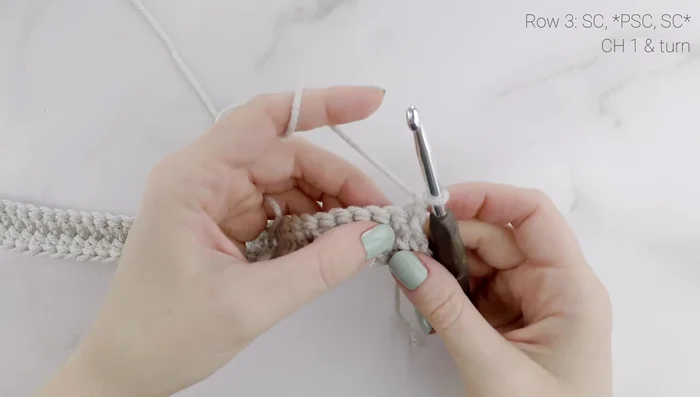
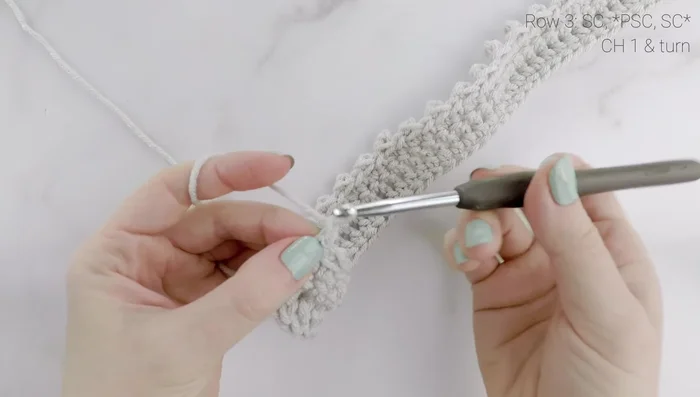
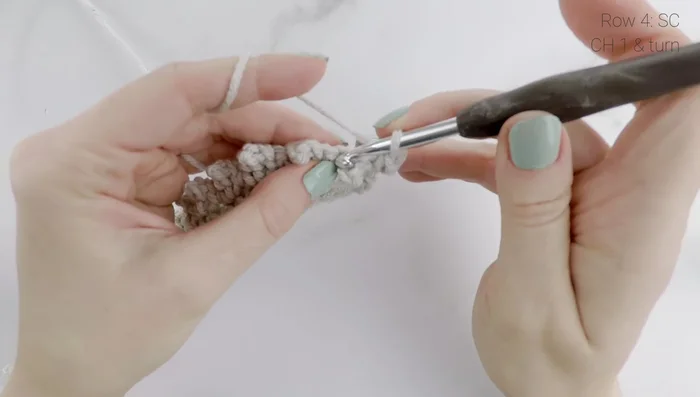
Initial Row 2 Repeating Pattern
- Chain one and turn.
- Alternate between single crochet and pico single crochet stitches across. (Single crochet, pico single crochet, single crochet, pico single crochet, and so on).
- Chain one and turn.
- Single crochet in each stitch across.
Repeating Pattern Repeat Pattern to Desired Length
- Repeat steps 4-7 until the desired length is achieved (10 rows for baby/child sizes, 14 rows for adult sizes).
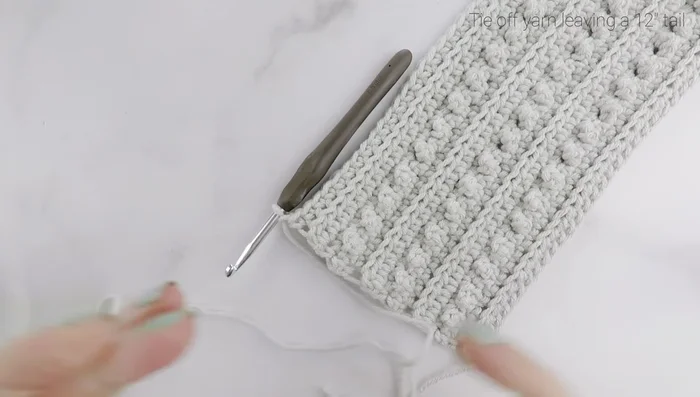
Finishing the Band
- Chain one, tie off, leaving a 12-inch tail.
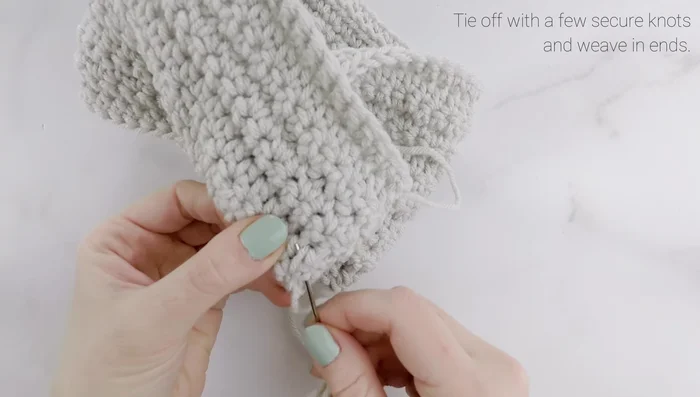
Finishing the Band Creating the Knotted Front
- Fold the short ends together, interlocking them. Whip stitch the rows together in an 'S' pattern to create the knotted front.
Weaving in Ends
- Weave in the ends.
Weaving in Ends

Read more: Easy Color Block Crochet Blanket Tutorial for Beginners
Tips
- Practice foundation half double crochet until comfortable. Use a stitch marker to help.
- Maintain even tension while crocheting.
- If pico stitches are flat, gently pick at them to make them pop out.