The allure of a finely crafted pen box transcends mere functionality; it speaks to a dedication to detail and the enduring beauty of handcrafted artistry. This elegant accessory, a testament to precision woodworking, is far more than a simple container; it’s a miniature masterpiece capable of showcasing a cherished writing instrument or becoming a captivating addition to a desk or study. The rich textures of the wood, the smooth, precise joins, and the satisfying weight in the hand all contribute to an object that offers both practical use and aesthetic pleasure.
This tutorial will guide you through the process of creating your own elegant pen box, from selecting the right wood to the final finishing touches. Whether you’re a seasoned woodworker or a curious beginner, we'll break down each step clearly and concisely, ensuring you can confidently build a pen box you'll be proud to own and perhaps even gift. Let's delve into the precise woodworking techniques required to bring this beautiful project to life.
Preparation and Safety Guidelines
- Cherry wood block
- Accenting wood (Oak)
- Table saw
- Band saw
- Planer
- Router
- Clamps
- Boiled linseed oil
- Drill
- Brass pins
- Spring loaded center punch
- Always use appropriate safety glasses to protect your eyes from flying wood chips and dust.
- Sharp tools require caution. Handle chisels, knives, and sandpaper with care to avoid cuts and injuries. Keep tools sharp for better control and precision.
- Ensure your workspace is well-ventilated, especially when using finishes or stains, to prevent inhalation of harmful fumes. Wear a dust mask if necessary.
Step-by-Step Instructions
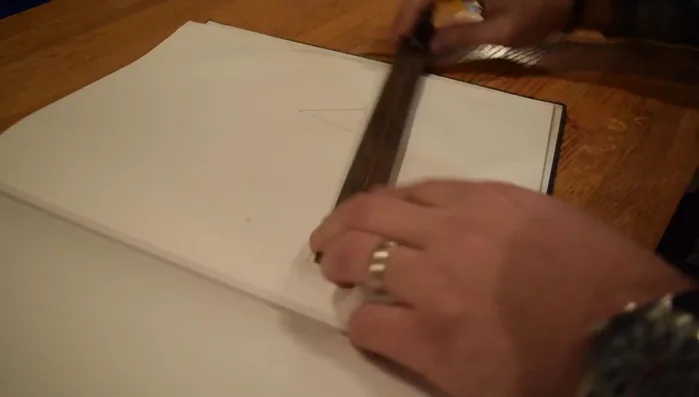
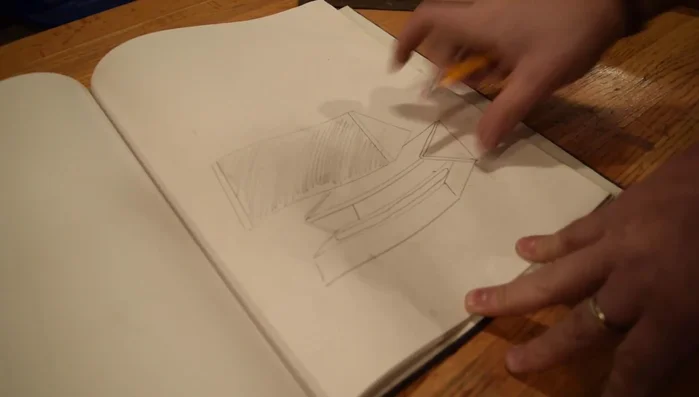
Design and Planning
- Sketch out the pen box design, including the hinged lid.

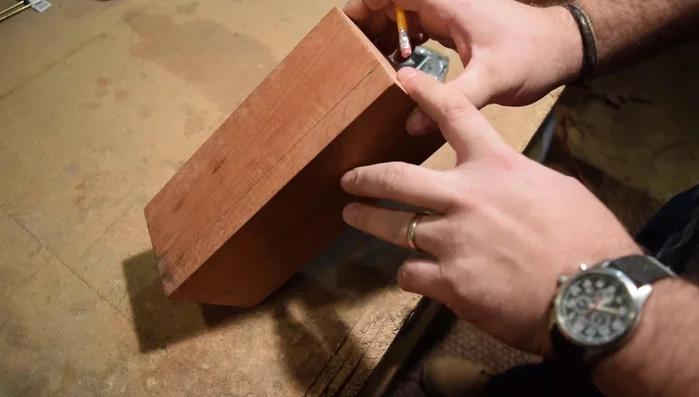
Design and Planning Prepare Box Base
- Cut the cherry wood block to the desired dimensions for the box base (8.5 inches initially, then adjusted).
Prepare Box Base Prepare Box Top
- Cut the top piece from the cherry block, ensuring alignment with the grain.
Prepare Box Top Create Pen Groove
- Route out a groove for the pen using a router, adjusting the fence for proper depth (final successful attempt after adjustments).
Create Pen Groove Prepare Side Pieces
- Use the table saw (for efficiency) to accurately cut the triangular pieces for the hinged sides, achieving clean angles after initial adjustments.
Prepare Accenting Wood
- Plane the oak to the correct thickness and cut to size. Dry-fit to ensure proper alignment.
Prepare Accenting Wood Assemble Box Sides
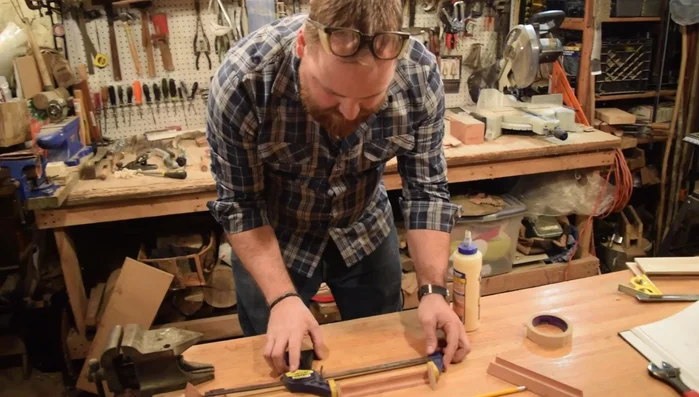
- Glue and clamp the triangular sides to the base, ensuring proper alignment and removing excess glue.
Assemble Box Sides Prepare for Hinges
- Drill pilot holes for the brass hinge pins using a spring loaded center punch for accuracy.
Prepare for Hinges Install Hinges
- Insert the brass pins, adding a small amount of glue for secure attachment, carefully addressing glue squeeze out.
Install Hinges Finishing Touches
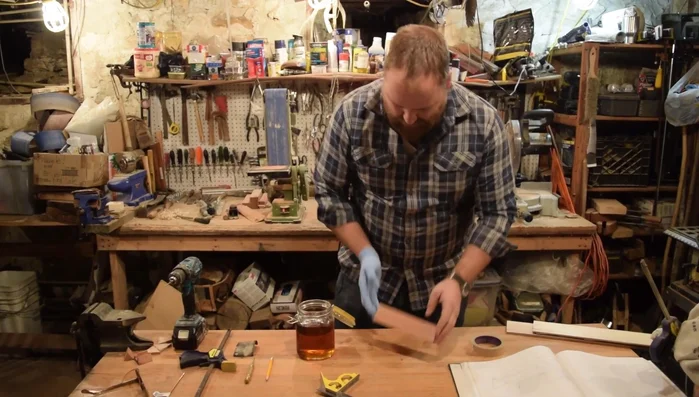
- Sand all surfaces smooth and apply boiled linseed oil for protection and to enhance the wood grain.
Finishing Touches


Read more: Build a Stunning Black Walnut Coaster Set: The Ultimate Furniture Protector
Tips
- Dry-fitting is crucial before gluing to ensure proper alignment and prevent mistakes.
- Use a spring-loaded center punch for accurate hole placement before drilling.
- Apply a minimal amount of glue for a clean finish and prevent glue squeeze out issues.
- Remove excess glue immediately while it's still wet for easier cleanup.