Are you looking for a quick, adorable, and completely beginner-friendly craft project? Then look no further than this no-sew crochet octopus keychain! This charming little creature is surprisingly easy to make, requiring minimal materials and even less time. Perfect for adding a pop of personality to your keys, bag, or even a gift for a friend, this project is ideal for those new to crochet or anyone looking for a satisfyingly speedy craft to unwind with. Forget fiddly needles and complicated stitches; this pattern uses simple techniques that even absolute beginners can master.
This delightful octopus keychain can be whipped up in a mere 15 minutes, making it the perfect project for a quick crafting fix. No sewing is required, making it completely accessible for those who shy away from needles and thread. Ready to get started on your own adorable eight-legged friend? Let's dive into the step-by-step instructions and create your very own no-sew crochet octopus keychain!
Preparation and Safety Guidelines
- Size 4 yarn
- Scissors
- 4.5 mm crochet hook
- Darning needle
- Keychain rings
- Pliers
- 6 mm safety eyes
- Stuffing
- Always supervise young children when crafting. Small parts like the finished keychain could pose a choking hazard.
- Use yarn specifically designed for amigurumi or other small projects. Regular yarn may be too bulky or loose for a neat keychain.
- Ensure your yarn needle is sharp enough to easily weave in ends, preventing unraveling and maintaining a professional finish.
Step-by-Step Instructions
Prepare the Slip Knot and Initial Chain
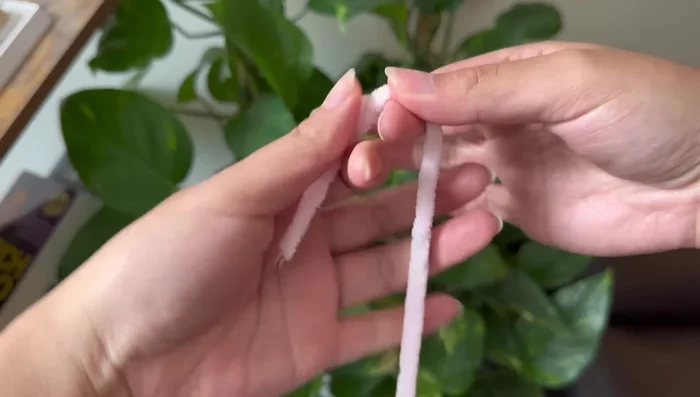
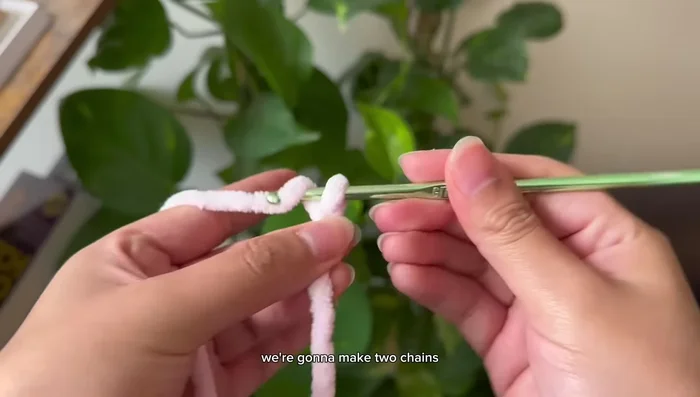
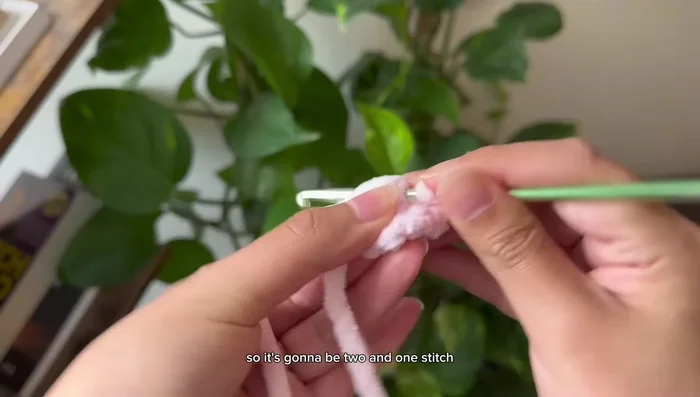
- Make a slip knot.
- Chain 2.

Prepare the Slip Knot and Initial Chain Create the Octopus Body
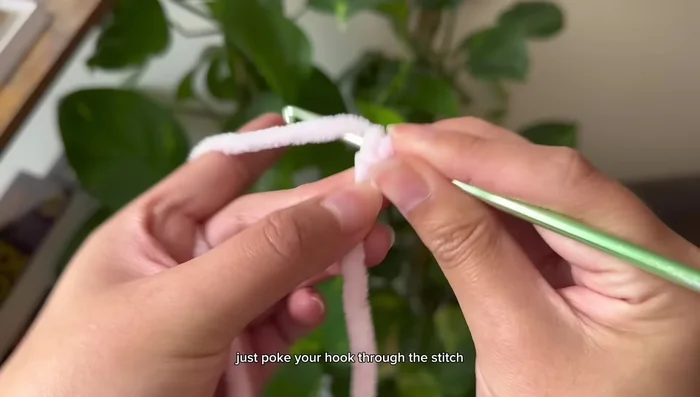
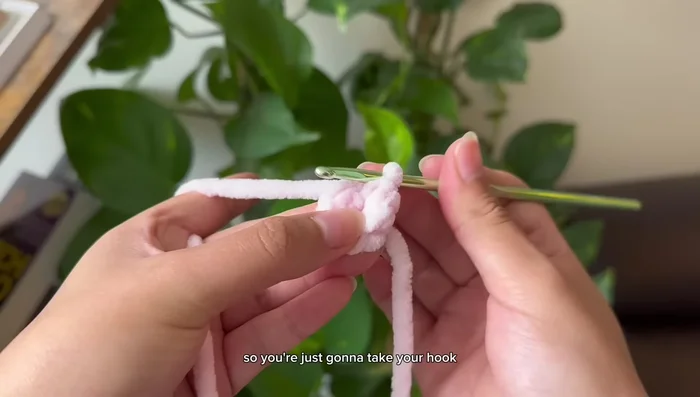
- Single crochet 6 stitches into the chain closest to your finger.
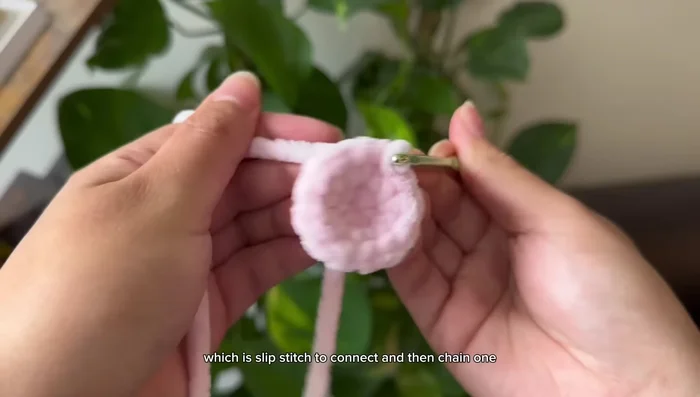
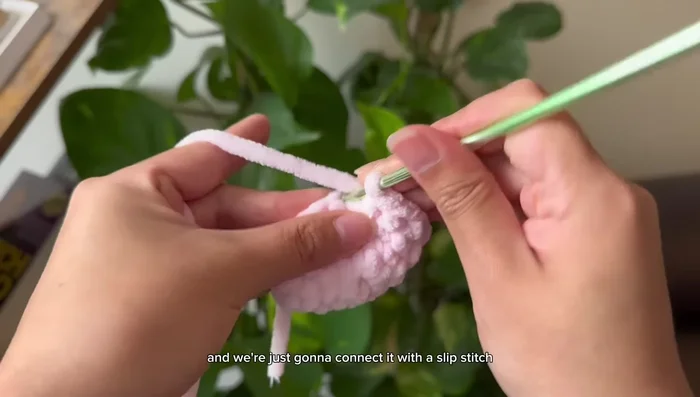
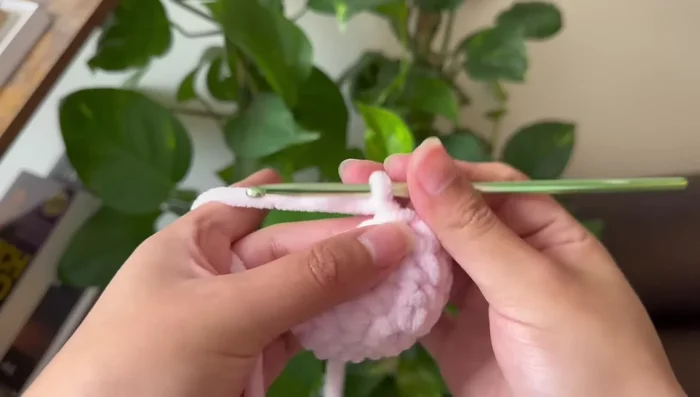
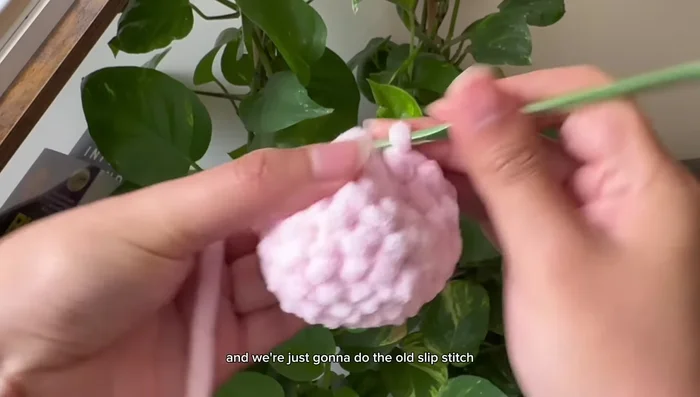
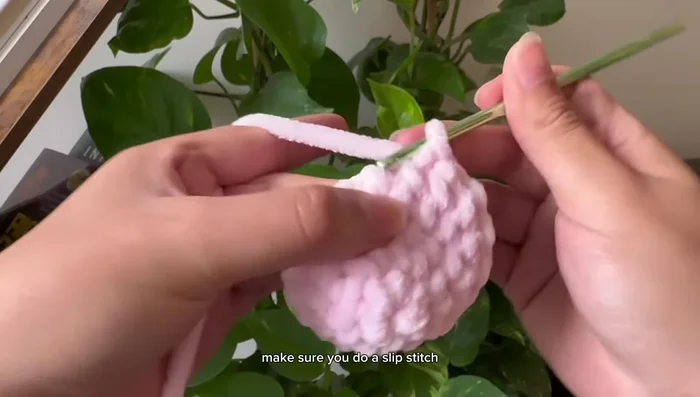
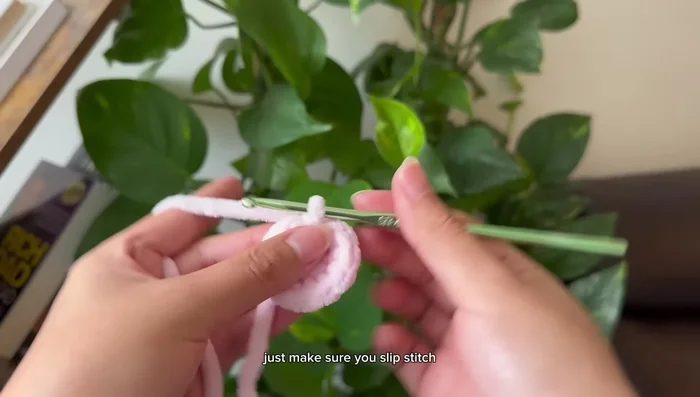
- Connect the two ends with a slip stitch and chain 1.
- 2 single crochets in each stitch (increase). You should have 12 stitches.
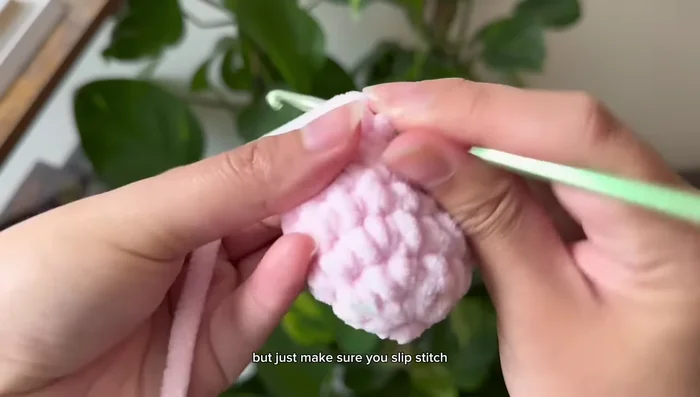
- Slip stitch to connect and chain 1.
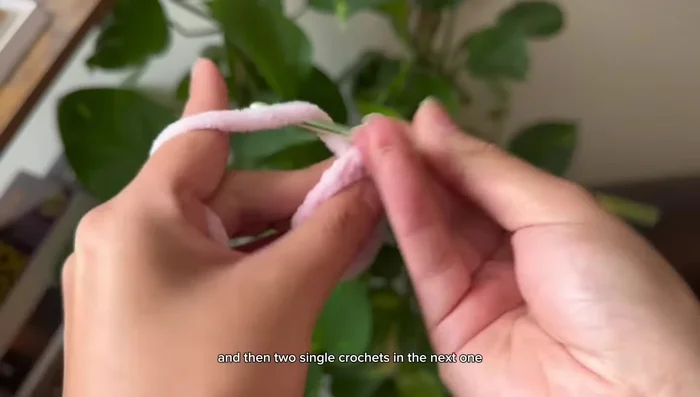
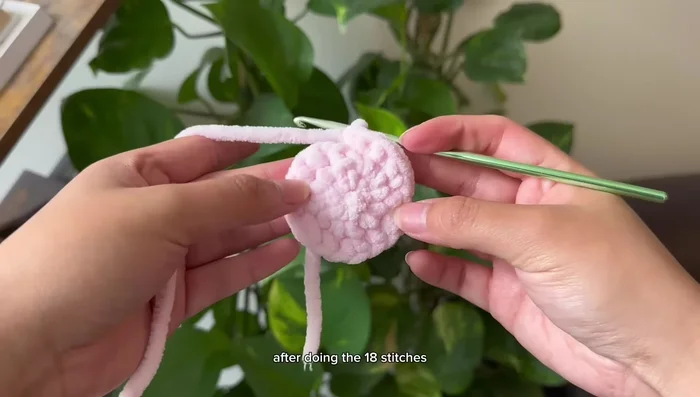
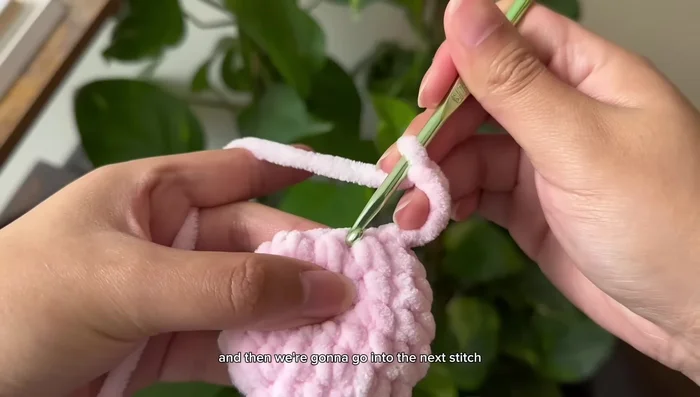
Create the Octopus Body - *1 single crochet, 2 single crochets in the next stitch*; repeat until the end. You should have 18 stitches.
- Slip stitch to connect and chain 1.
- 18 single crochets.
- Slip stitch to connect and chain 1.
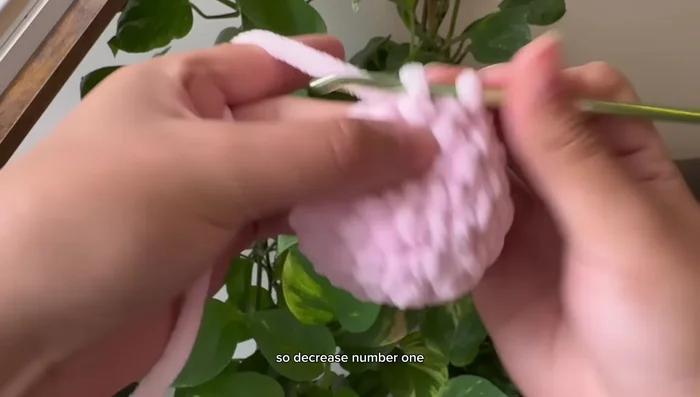
Create the Octopus Body - *Decrease (combine 2 stitches), single crochet*; repeat until the end. You should have 17 stitches.
- Slip stitch to connect and chain 1.
- 8 single crochets, decrease, single crochets until the end. You should have 16 stitches.
- Slip stitch to connect and chain 1.
Create the Octopus Body - Decrease in every stitch until you have 8 stitches.
- Slip stitch to connect.
Create the Octopus Body Make the Tentacles
- chain 4, slip stitch to the next stitch to attach to the body.
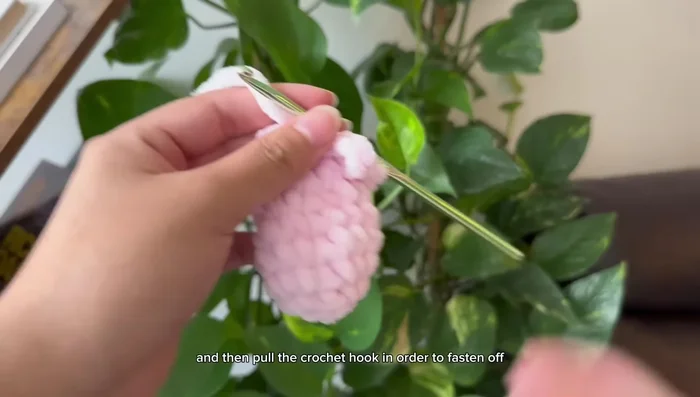
- Chain 1, cut yarn, and fasten off.
Make the Tentacles Create the Bottom Stopper
- slip knot, chain 2, 6 single crochets, round 2: 2 single crochets in each stitch (12 total).
- Slip stitch to connect, chain 1, cut yarn.
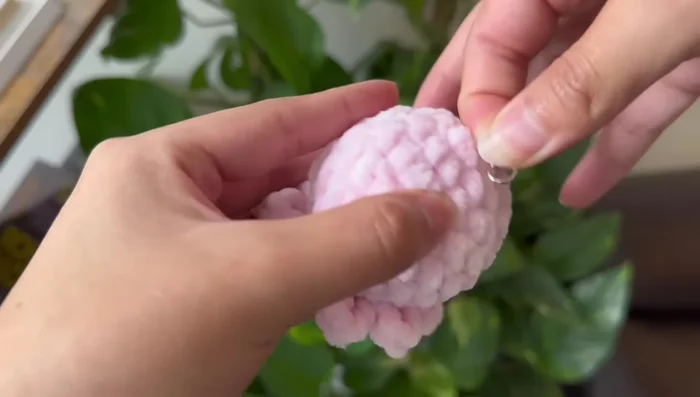
Create the Bottom Stopper Finishing Touches
- Attach eyes.
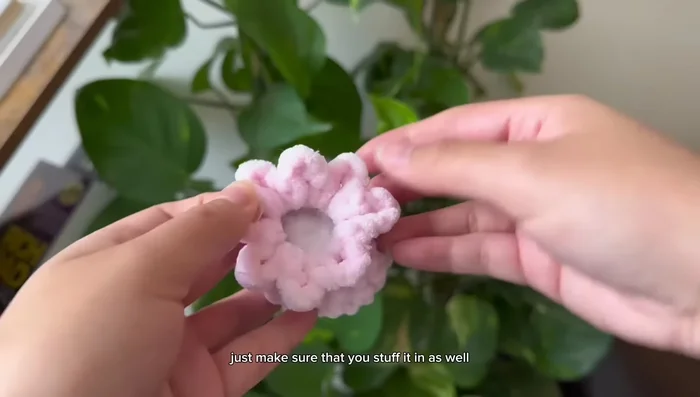
- Stuff the octopus.
- Attach keychain ring.
Finishing Touches


Read more: Easy Color Block Crochet Blanket Tutorial for Beginners
Tips
- Count stitches at the end of each round to ensure accuracy.
- Increasing and decreasing stitches creates shape and size.
- Ensure 8 tentacles for the octopus.
- Stuffing prevents the eyes and stopper from falling out.