The allure of handcrafted warmth is undeniable, and few items embody this cozy charm quite like a perfectly knitted pair of mittens. More than just a practical winter accessory, mittens represent a tangible connection to a rich history of craft and creativity. From the intricate cable patterns of Scandinavian designs to the simple, elegant stitches of classic styles, the possibilities for personalization are endless. The satisfaction of transforming humble yarn into a wearable work of art is a rewarding experience for knitters of all skill levels. Learning to knit mittens, however, can sometimes seem daunting.
This guide will demystify the process, providing a comprehensive, step-by-step approach to knitting your own perfect pair. Whether you're a seasoned knitter looking to refine your technique or a beginner eager to tackle a new project, we'll walk you through each stage, from casting on and shaping the thumb to binding off and adding those final finishing touches. Let's get started!
Preparation and Safety Guidelines
- Double pointed needles
- Yarn
- Use sharp needles appropriate for your yarn weight to prevent dropped stitches and ensure even fabric. Dull needles can snag the yarn.
- Always check your gauge before starting the project to ensure your mittens will be the correct size. Knit a small swatch and measure it against the pattern's gauge.
- Be mindful of your needle size and yarn weight when working decreases. Too tight decreases can distort the shape of your mittens and make them uncomfortable.
Step-by-Step Instructions
Ribbing
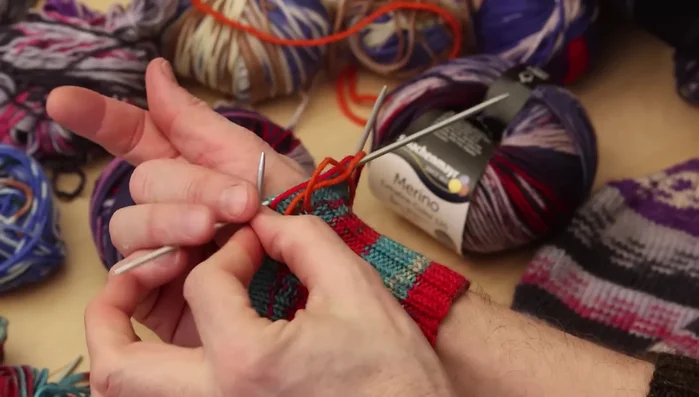
- Cast on 48 stitches and divide them into four double-pointed needles.
- Knit two knit two Pearl for about 30 rounds to create the ribbing.
Thumb Placement and Shaping
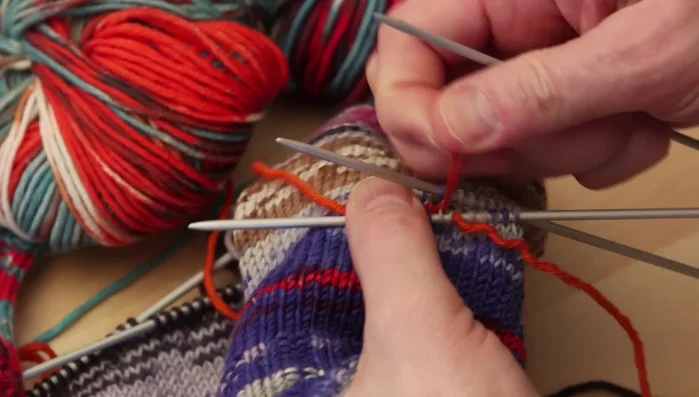
- Mark three stitches where the thumb will be placed (approximately 2 inches from the rib).
- Decrease on each side of the marked thumb stitches. On the left side, knit one, mark three stitches, knit the rest, and decrease on each side of the three marked stitches. On the right side, mark three stitches before the last stitch of the round and decrease.
- Knit until you reach the desired thumb placement. Use scrap yarn to mark the thumb location.
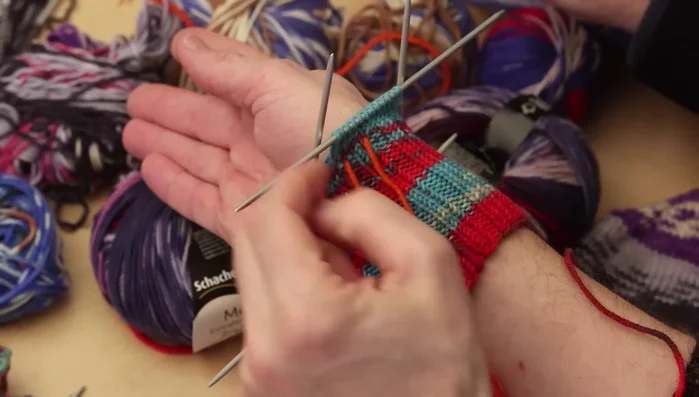
- Increase stitches on either side of the marked thumb stitches until you have nine stitches for the thumb (adjust based on thumb size).

Thumb Placement and Shaping Creating the Thumb Opening
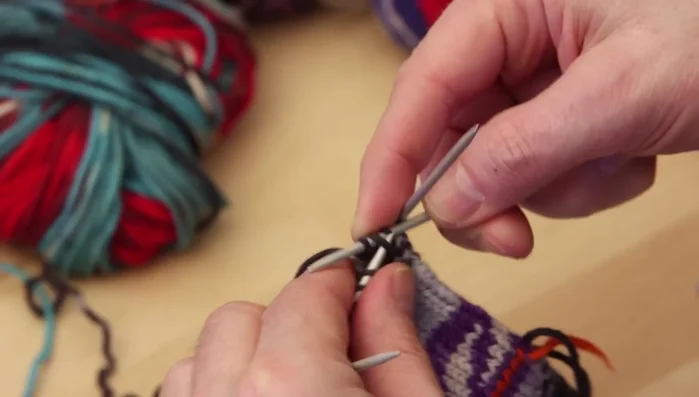
- Knit the nine thumb stitches using the scrap yarn. Continue knitting the mitten with the main yarn. Pick up stitches below and over the scrap yarn to create the thumb opening (similar to the easy sock technique).
- Divide the picked-up thumb stitches onto four needles.
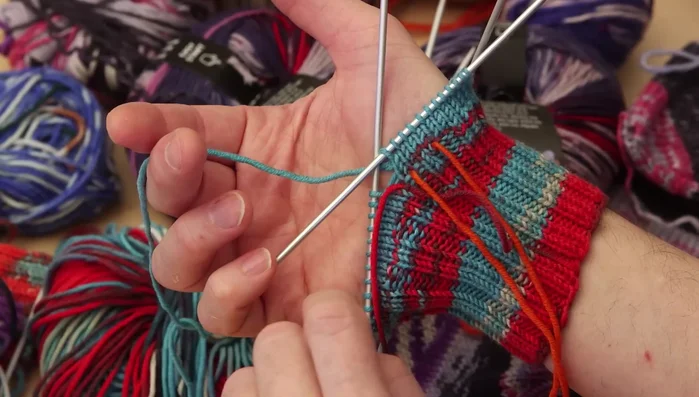
Creating the Thumb Opening Knitting the Thumb
- Knit the thumb, adjusting the length as needed. Decrease stitches at the beginning and end of the thumb to shape it.
Knitting the Thumb Completing the Mitten Body
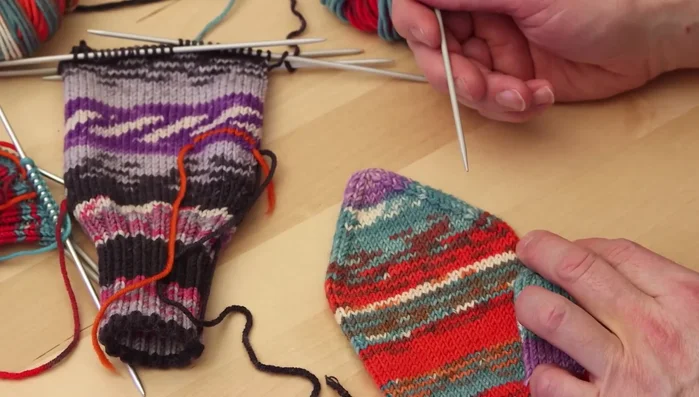
- Continue knitting the mitten body until the desired length is reached, starting to decrease stitches when the mitten is approximately the height of your pinky finger.
- Decrease stitches on both sides of the mitten (palm and inside) on every second round until the top is closed. Knit one, slip one, knit one, pass slipped stitch over (or a similar decrease method).
Completing the Mitten Body Finishing
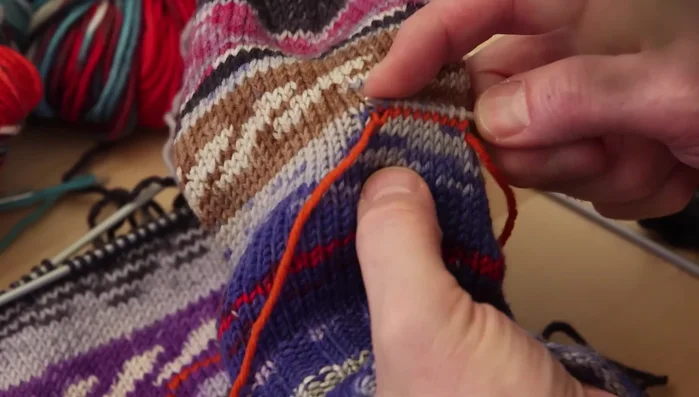
- Cut the yarn, weave in the ends, and sew the seams.
Finishing
Read more: Knitting a Reversible Basketweave Blanket: A Customizable Guide
Tips
- Knit the ribbing tightly to prevent stretching.
- Determine thumb placement by trying the mitten on and marking where your thumb aligns with the rest of your hand.
- If you miss a stitch, pick it up later.
- Adjust the thumb size and mitten length to fit your own hand.
- It's okay to unravel and try again if the sizing isn't right.