Are you ready to add a touch of adorable whimsy to your everyday life? This tutorial will guide you through creating the cutest, tiniest crochet bunny you've ever seen! Perfect as a charming keychain to brighten up your bag or a snuggly little bed chum for a child (or yourself!), this mini bunny is surprisingly easy to make, even for beginner crocheters. Its petite size and simple design make it a quick and satisfying project, ideal for a relaxing evening or a fun weekend craft session. You’ll be amazed at how much personality you can pack into such a small creation.
Prepare to be charmed as we embark on this delightful crochet adventure! We'll be using simple stitches and readily available yarn to craft this miniature marvel. From its floppy ears to its tiny button nose, every detail will bring this adorable bunny to life. Follow the step-by-step instructions below to begin creating your very own super tiny and adorable crochet bunny keychain or bed chum.
Preparation and Safety Guidelines
- 5 mm crochet hook
- 3 mm crochet hook
- 5 mm size eyes
- Lemmy cotton yarn (or any yarn)
- Always supervise young children while crocheting or handling small finished items to prevent choking hazards. Miniature projects contain small parts.
- Use only yarn and stuffing specifically designed for toys to ensure safety and durability. Avoid using materials that could present a choking hazard or cause allergic reactions.
- Securely fasten any loose ends or embellishments to prevent them from detaching and becoming a choking hazard.
Step-by-Step Instructions
Creating the Bunny Body
- Make a magic ring. Put the yarn on your two fingers, then rub it and put your thumb on the eggs. Hold the yarn with the middle finger, insert your hook, pull the second one to the front, and then hand over and pull through the loop to make one chain.
- Make six single crochets into the magic ring.
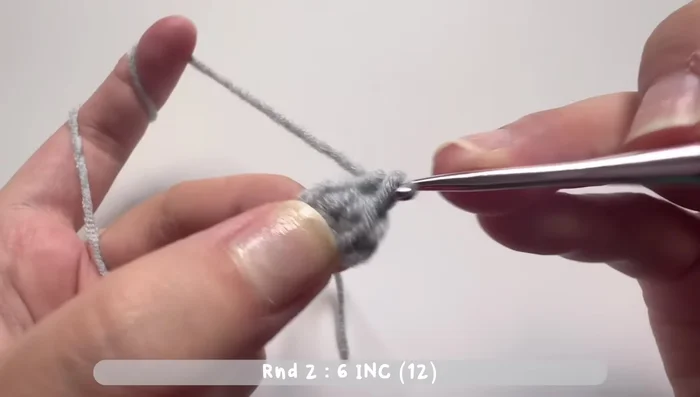
- Increase stitches for six times (two single crochets in each stitch). Total of 12 single crochets.
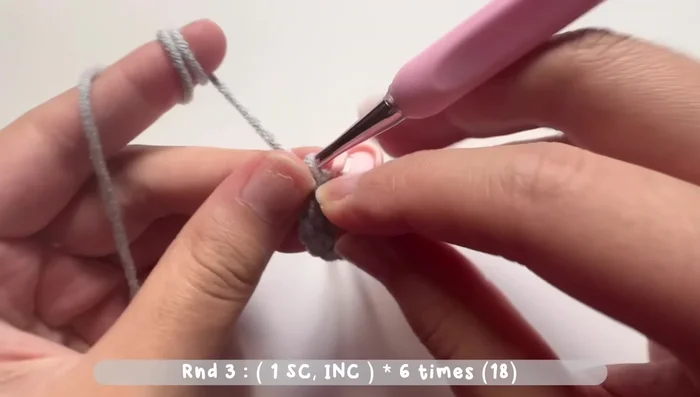
- Increase stitch (two single crochets in one stitch) after one single crochet. Repeat six times. Total of 18 single crochets.

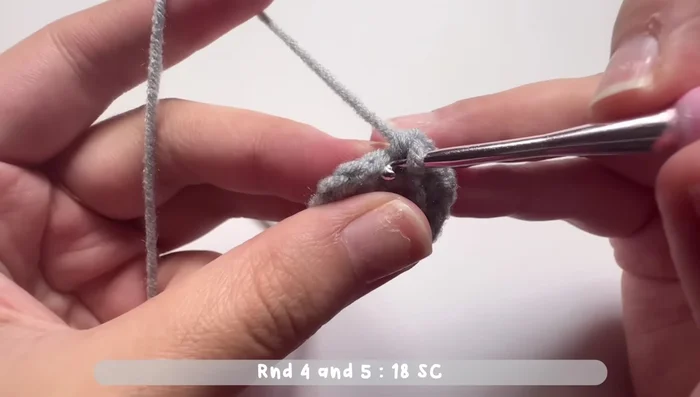
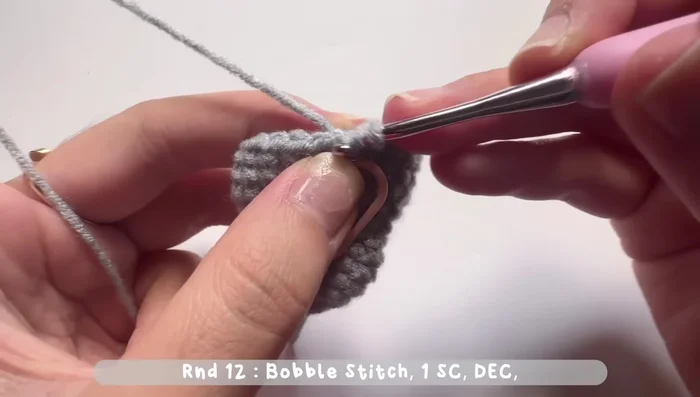
Creating the Bunny Body - One single crochet in each stitch. No increases. Total of 18 single crochets.
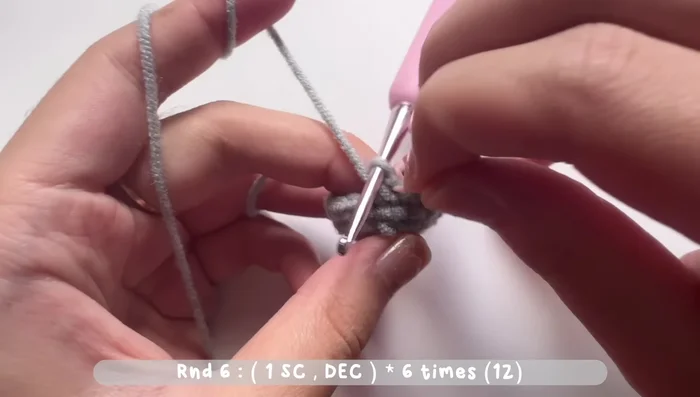
- One single crochet and one decrease stitch. Repeat six times. Total of 12 stitches.
- One single crochet and one increase stitch. Repeat six times. Total of 18 stitches.
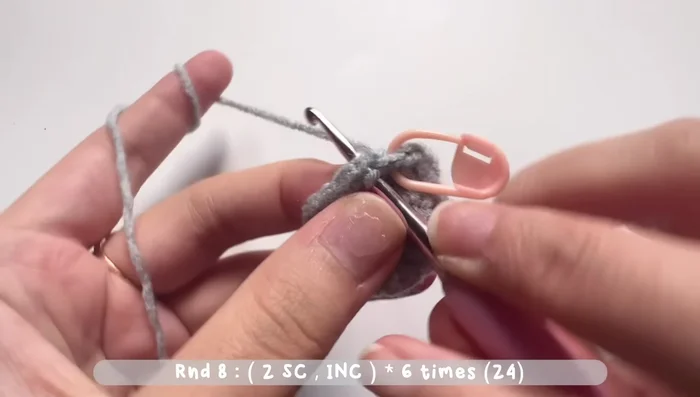
- One single crochet, one single crochet, one increase stitch. Repeat six times. Total of 24 stitches.
Creating the Bunny Body - One single crochet in each stitch. Total of 24 stitches.
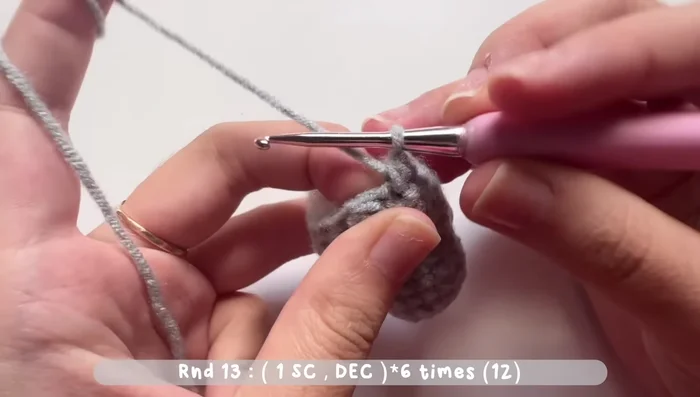
- One single crochet, one decrease stitch. Repeat six times. Total of 12 stitches.
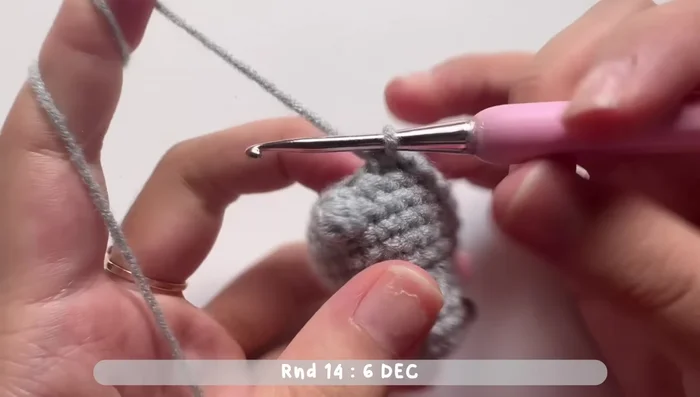
- Six decrease stitches (or skip one stitch and single crochet the next). Total of six stitches. Sew the last round closed.
Creating the Bunny Body Adding Facial Features
- Make a tiny tail (five loops), then one single crochet, one decrease stitch. Repeat five times. Total of 18 stitches. Add safety eyes between rounds 4 and 5.
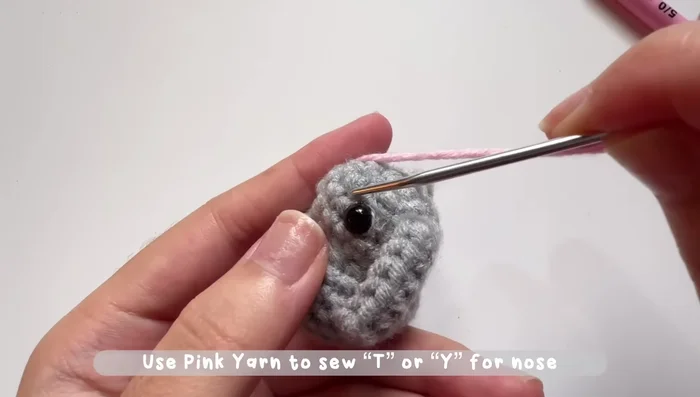
- Add a nose using pink yarn by sewing a 't' or 'Y' shape between the eyes.
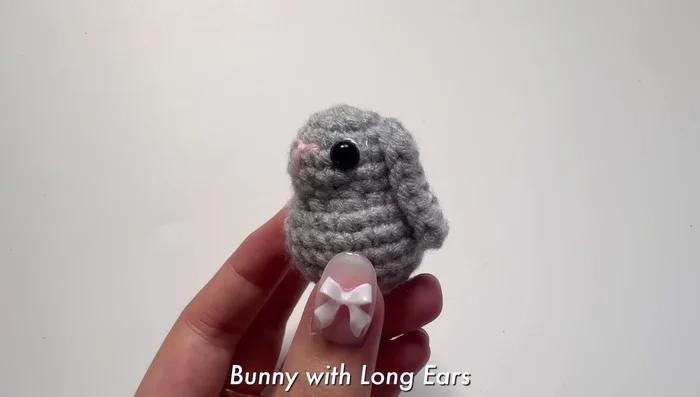
Adding Facial Features Making and Attaching the Ears
- Make ears (long or short) using chains and half double crochets. Sew or glue the ears onto the bunny.
Making and Attaching the Ears

Read more: Easy Color Block Crochet Blanket Tutorial for Beginners
Tips
- You can turn the bunnies into keychains, bed chums, or gifts.
- If selling, give full credit to the original designer.
- Add ribbons or bows to make the bunnies cuter.