Welcome, crafters! Are you eager to knit a sweet, snuggly hat for a precious little one, but short on time and intimidated by complicated techniques? Then you've come to the right place! This tutorial will guide you through knitting a baby hat using the incredibly efficient and surprisingly simple magic loop method. Forget struggling with double-pointed needles – this technique utilizes just one circular needle, making the process significantly faster and less prone to dropped stitches. It's the perfect solution for busy knitters, or those new to hat-making, wanting a beautifully crafted result without the fuss.
This method allows you to seamlessly work in the round without the need for multiple needles, significantly speeding up your knitting time. Prepare to be amazed at how quickly you can whip up a charming baby hat. Let's dive right into the step-by-step instructions and discover the magic of knitting a baby hat using the magic loop method!
Preparation and Safety Guidelines
- Size 7 (4.5mm) circular knitting needles (40 inches)
- Premier Bloom Chunky yarn (or similar bulky yarn)
- Always use yarn appropriate for babies – soft, hypoallergenic fibers are crucial to prevent irritation. Check yarn labels for certifications like OEKO-TEX Standard 100.
- Ensure your needles are the correct size for your chosen yarn. Using needles that are too small can result in a tight, uncomfortable hat, while needles that are too large may create a loose, floppy fit.
- Never leave a baby unattended while wearing a knitted hat. Always check for any loose threads or potential choking hazards before putting the hat on the baby.
Step-by-Step Instructions
Casting On and Preparing
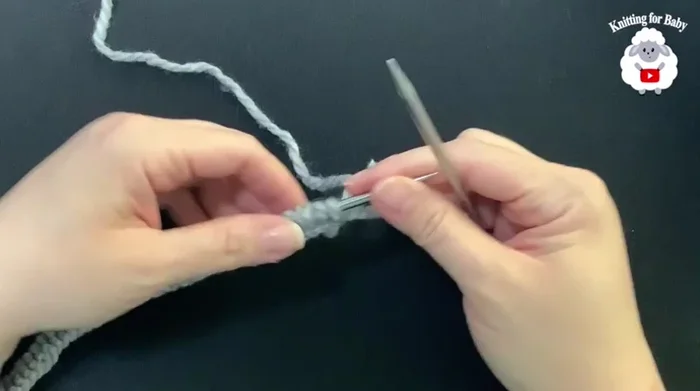
- Cast on 48 stitches using your preferred method (long-tail cast on recommended).
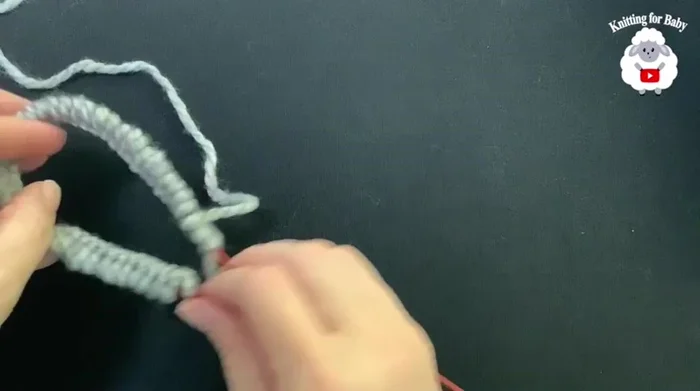
- Divide stitches between needles for magic loop.

Casting On and Preparing Creating the Brim
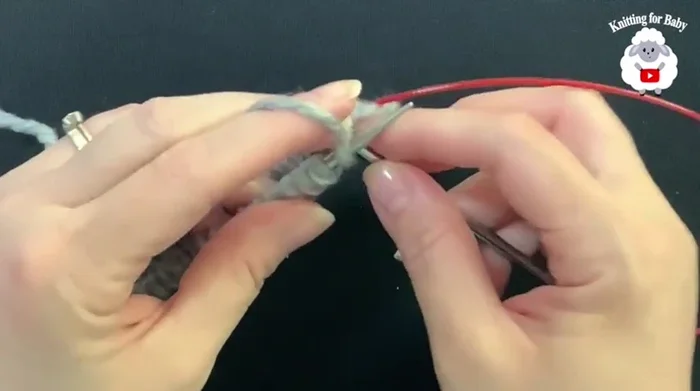
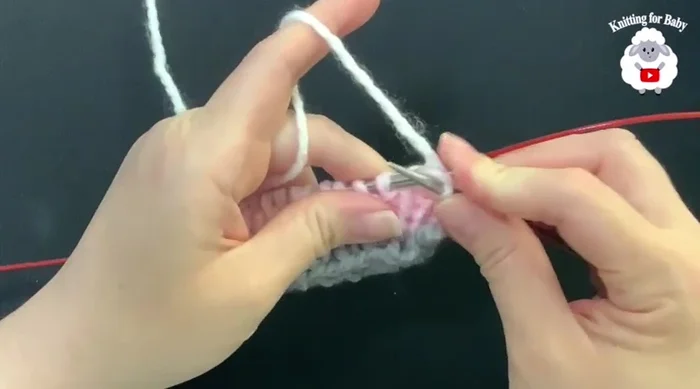
- Join in the round. Knit the first stitch.
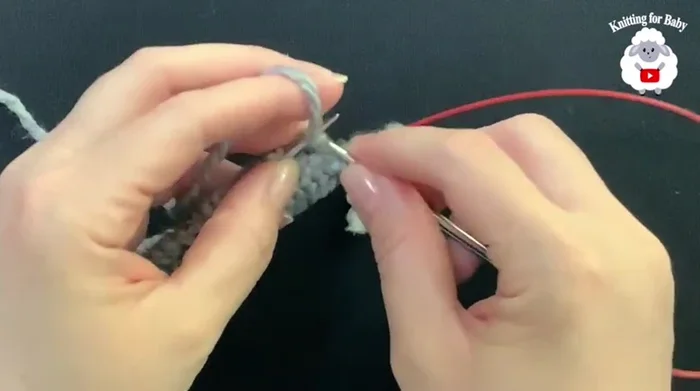
- Knit one, purl one ribbing for the brim (5 rows).
Creating the Brim Knitting the Hat Body
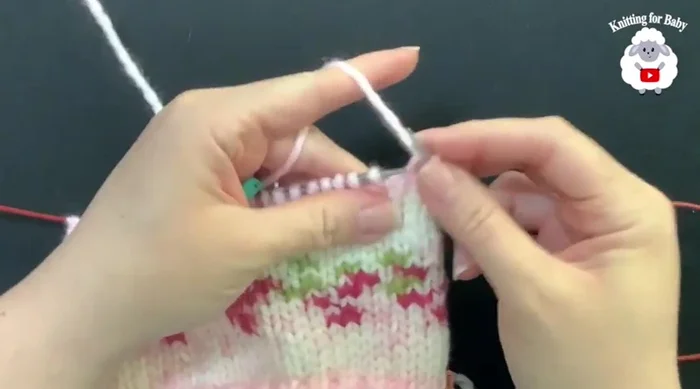
- Knit every stitch for approximately 20 rows to create the hat body.
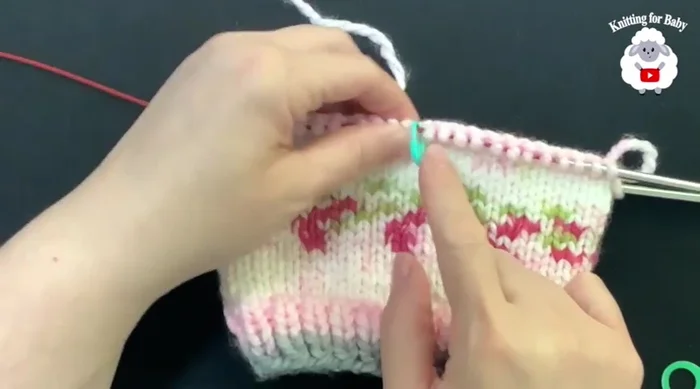
Knitting the Hat Body Marking and Preparing for Crown Decreases
- Place stitch markers every 12th stitch.
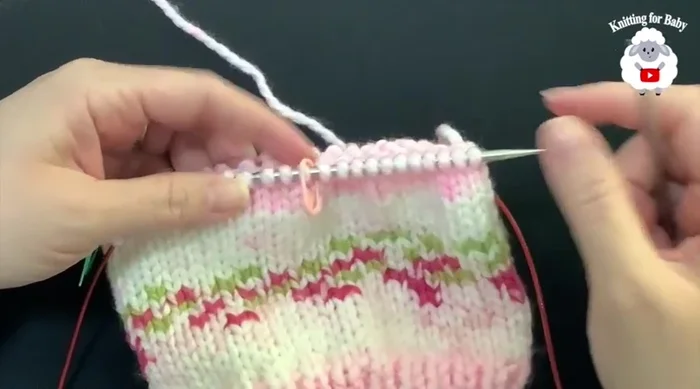
Marking and Preparing for Crown Decreases Decreasing for the Crown
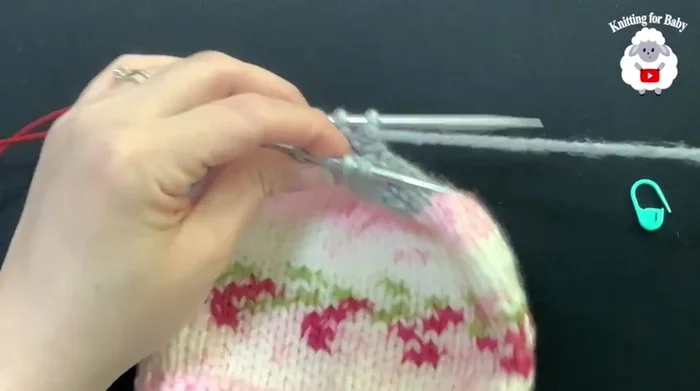
- Knit 10 stitches, knit 2 together, pass marker, repeat.
- Continue decreasing every row until you have a few stitches left.
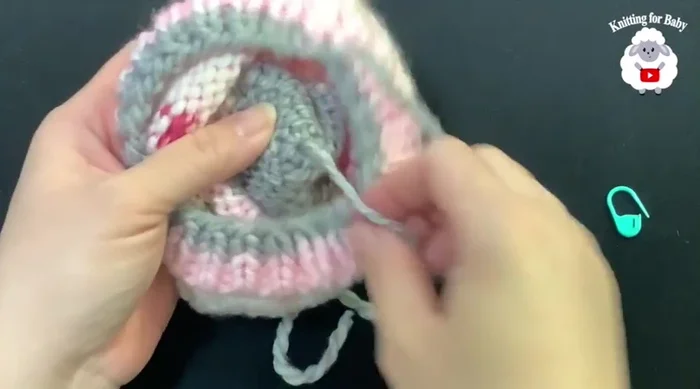
Decreasing for the Crown Closing the Crown
- Cut yarn and weave through remaining stitches to close the crown.
Closing the Crown Finishing
- Weave in all loose ends.
Finishing
Read more: Knitting a Reversible Basketweave Blanket: A Customizable Guide
Tips
- For larger sizes (6-12 months, 12-24 months), cast on 60 stitches and use 4mm or 4.5mm needles, respectively. Adjust the number of rows before decreasing as needed.
- Remember the last stitch before switching needles in the magic loop to maintain pattern continuity.
- Ensure your yarn is always on top of the back needle during the magic loop technique.
- Adjust the number of rows in the brim and body sections to achieve desired size and fit.