Keep those little necks cozy and stylish with this quick and easy loom-knitted button scarf! Perfect for beginners and experienced knitters alike, this project utilizes a simple technique to create a charming accessory that's ideal for children of all ages. Forget complicated patterns and time-consuming stitches – this scarf is designed for speed and simplicity, making it a fantastic project for busy parents or crafters looking for a satisfyingly swift creation. The adorable button detail adds a touch of whimsy, transforming a functional piece into a delightful fashion statement.
This delightful scarf is crafted using readily available materials and requires minimal tools, making it accessible to everyone. Get ready to embark on a fun and rewarding knitting journey as we guide you through each step of the process. Let's dive into the detailed, step-by-step instructions that will have you creating a beautiful button scarf in no time!
Preparation and Safety Guidelines
- Yarn
- Rectangle Loom
- Loom Hook
- Plastic Darning Needle
- Plastic Sewing Needle
- Needle Threader
- Heart Buttons
- Sewing Thread
- Embroidered Patch
- Gift Tag
- Adult supervision is required at all times, especially with young children. Loom knitting needles can be sharp.
- Keep small parts (e.g., buttons, extra needles) away from children to prevent choking hazards.
- Ensure the yarn is age-appropriate and free of any potential choking hazards like loose threads or small embellishments.
Step-by-Step Instructions
Setting up the Loom
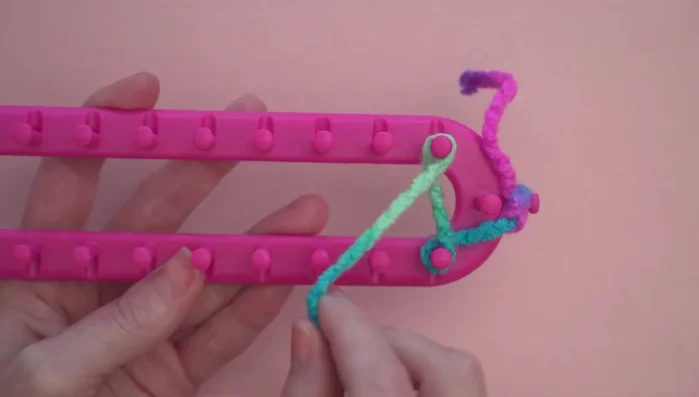
- Setting up the knitting loom and tying the yarn to the anchor peg, leaving a two-inch tail.
Initial Row
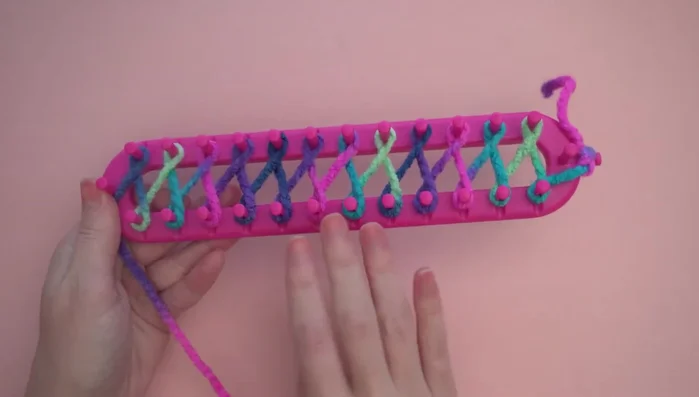
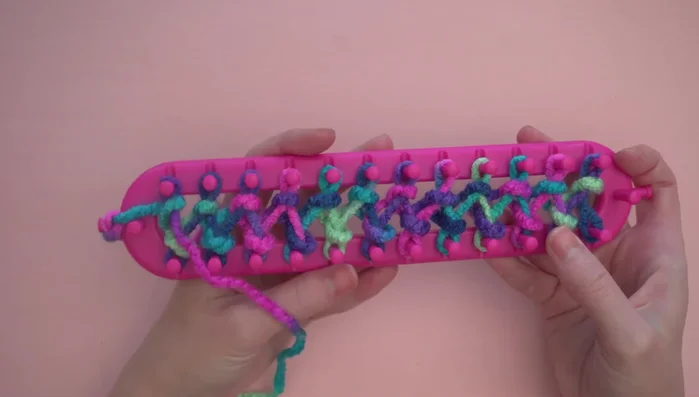
- Wrapping the yarn around the pegs in a figure-eight pattern (bottom right peg counterclockwise, top right peg clockwise).
- Pushing the loops down to the base of the pegs and working back, adding a second loop to each peg (except the last one).

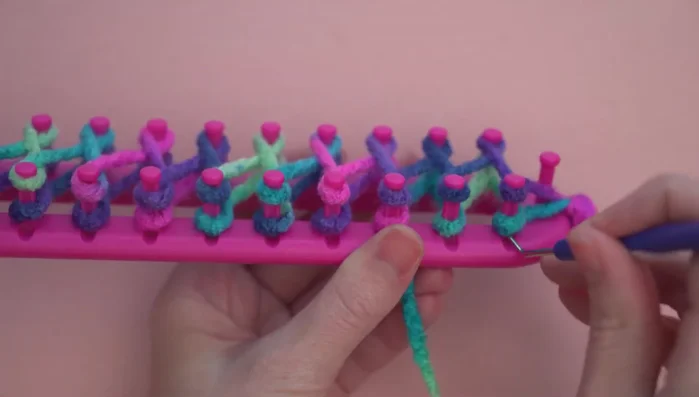
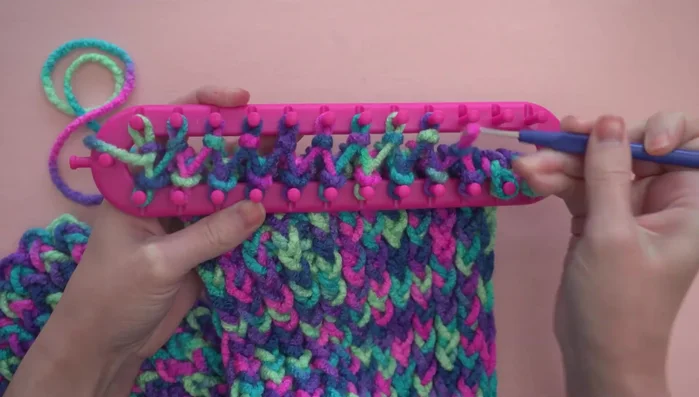
Initial Row Knitting the Scarf
- taking the bottom loop on the first peg and bringing it up and over the top loop, repeating across.
- Turning the loom and working the other side the same way.
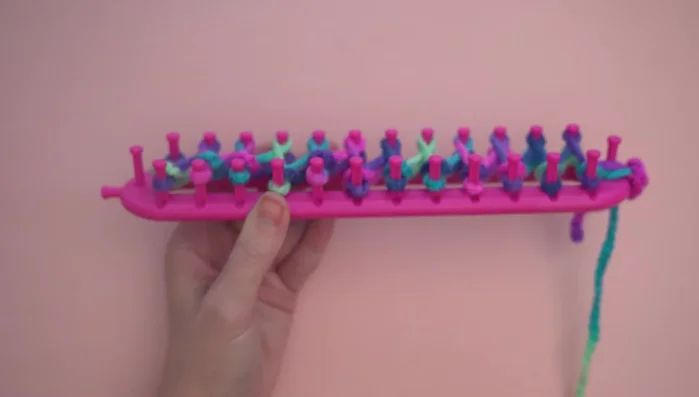
- Repeating steps 3 and 4 until only 12 inches of yarn remain. Attaching a second ball of yarn by knotting the ends and tucking them in.
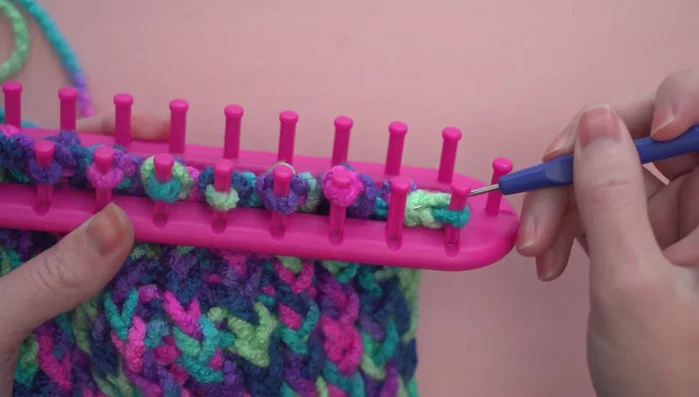
Knitting the Scarf Casting Off
- moving all loops from the top row to the bottom row, then taking the bottom loop up and off the peg until one loop remains on each peg.
- Creating a loop for the cast-off edge by moving the loop on the second peg to the first, taking the bottom loop off with the hook, and repeating until there is just one loop left.
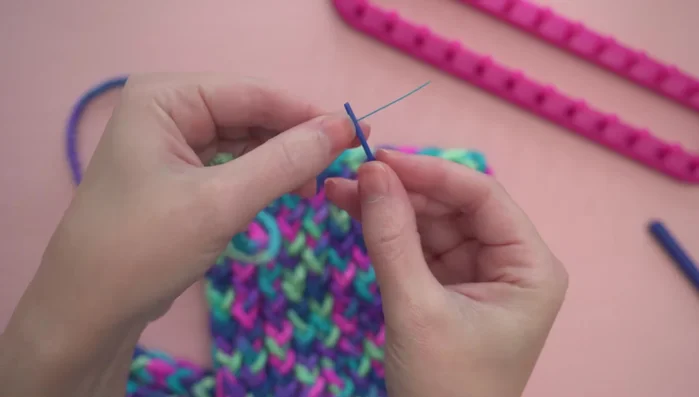
Casting Off Finishing Touches
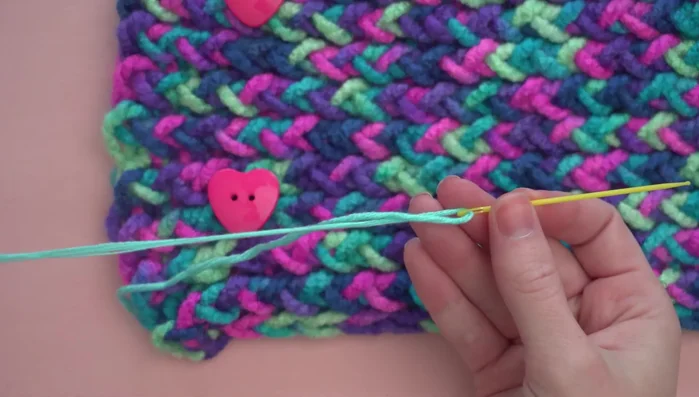
- Weaving in the ends using a needle threader and plastic darning needle.
- Adding buttons to the looser beginning edge using a sewing needle and thread.
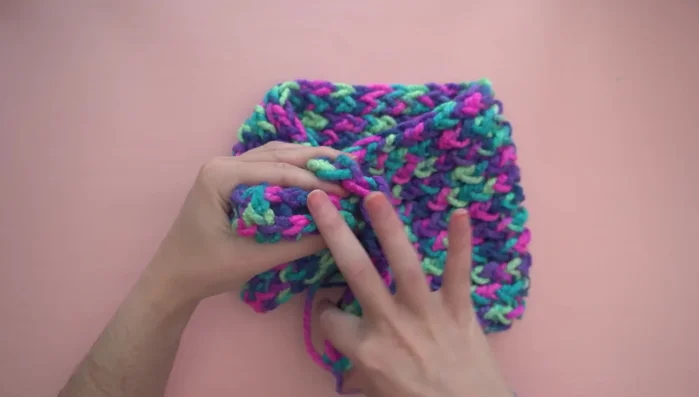
- Adding a twist by attaching a length of yarn to a corner, folding it in half, and sewing through all four layers.
Finishing Touches
Read more: Knitting a Reversible Basketweave Blanket: A Customizable Guide
Tips
- Use the groove in the peg to guide your hook when working the loops.
- When working the knotted part of the yarn, tuck the ends towards the inside of the work.