Liquid silver, with its mesmerizing fluidity and potential for intricate designs, opens a world of creative possibilities for metalworkers of all skill levels. This seemingly magical substance, when properly handled, allows for the creation of stunning, unique pieces, limited only by your imagination. Forget the laborious techniques of traditional silversmithing; liquid silver offers a faster, more accessible route to crafting beautiful, wearable art. Imagine the satisfaction of pouring molten silver into a custom-made mold, resulting in a perfectly formed cuff reflecting your individual style.
This comprehensive tutorial will guide you through the entire process of creating your own liquid silver cuff, from selecting the appropriate materials and designing your mold to the final polishing and finishing touches. Follow our step-by-step instructions, illustrated with clear photographs and diagrams, and discover the rewarding experience of crafting exquisite jewelry using this innovative technique. Let’s dive into the detailed, step-by-step process, transforming your vision into a tangible, wearable masterpiece.
Preparation and Safety Guidelines
- Copper sheet
- Sterling silver scraps
- Saw
- Files
- Sandpaper
- 3M medium sanding sponge
- Tweezers
- Soldering torch
- Propane
- Soldering block
- Pickle solution
- Aggressive brush wheel
- Polishing tools
- Liquid silver is extremely hot when applied and can cause severe burns. Always wear appropriate safety gear, including heat-resistant gloves, eye protection, and a well-ventilated workspace.
- Liquid silver fumes are toxic. Work in a well-ventilated area or use a respirator to avoid inhalation. Never apply indoors without proper ventilation.
- Dispose of liquid silver waste properly according to local regulations. Do not pour it down the drain or into the trash.
Step-by-Step Instructions
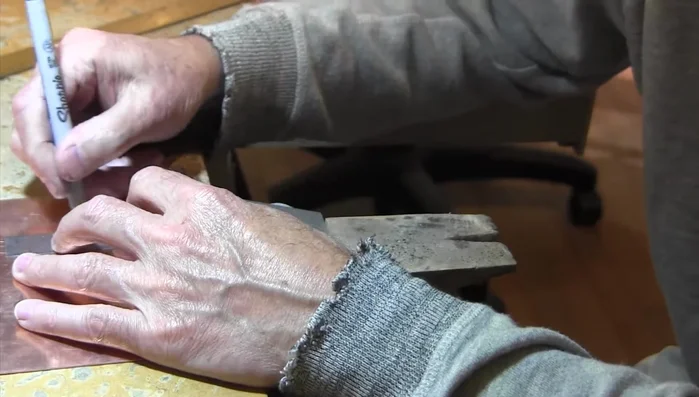
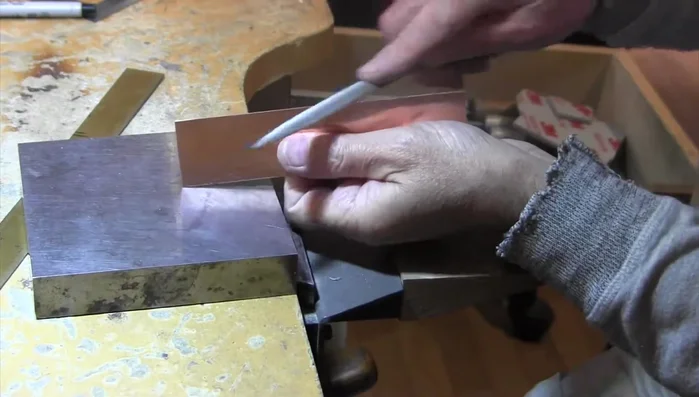
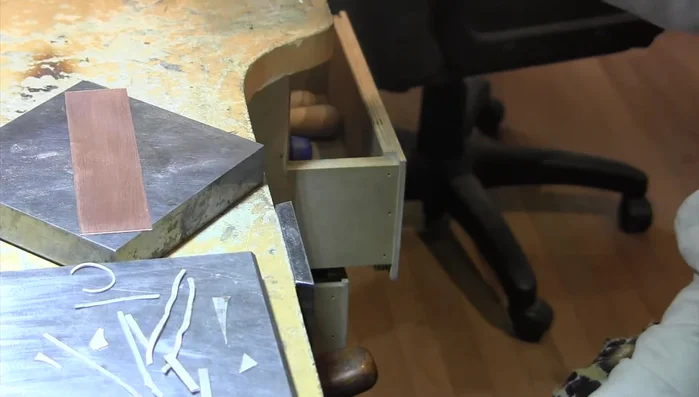
Prepare the Copper Base
- Cut a 1.5-inch wide, 6-inch long piece of copper sheet.
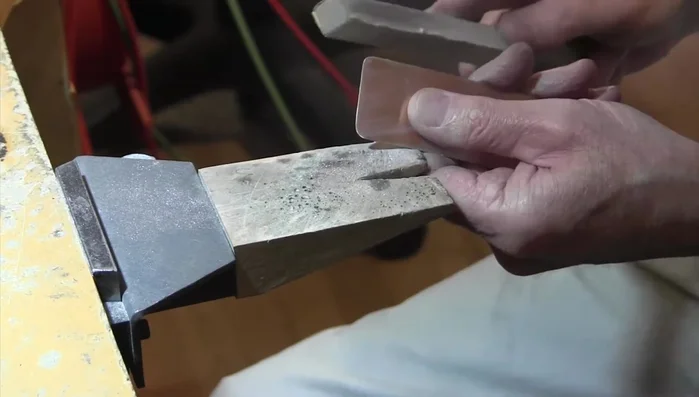
- Smooth the edges using a saw, file, and sandpaper.
- Lightly sand the copper surface using a 3M medium sanding sponge.

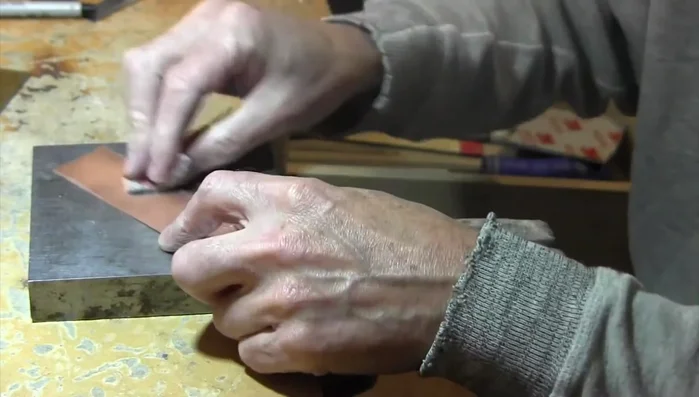
Prepare the Copper Base Apply and Melt the Silver
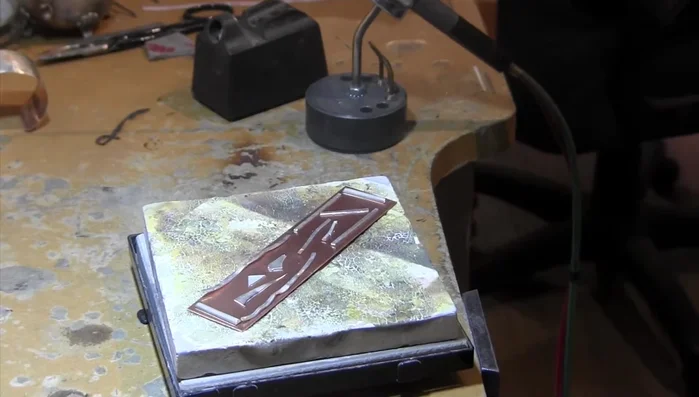
- Arrange sterling silver scraps evenly on the copper surface, ensuring coverage of the edges.
- Melt the silver onto the copper using a soldering torch, ensuring even coverage and a good layer on the edges.
Apply and Melt the Silver Clean and Prepare the Surface
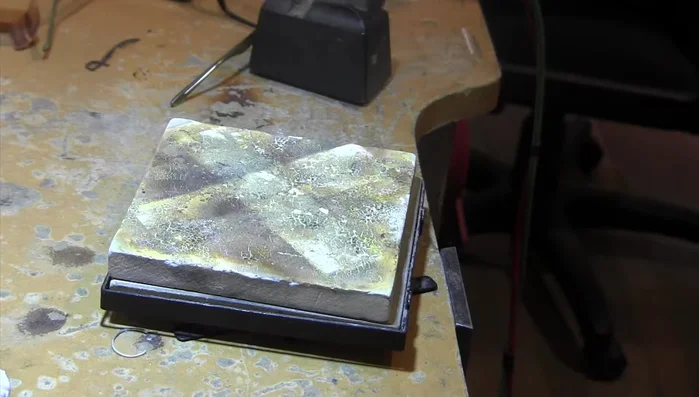
- Pickle the piece to clean it.
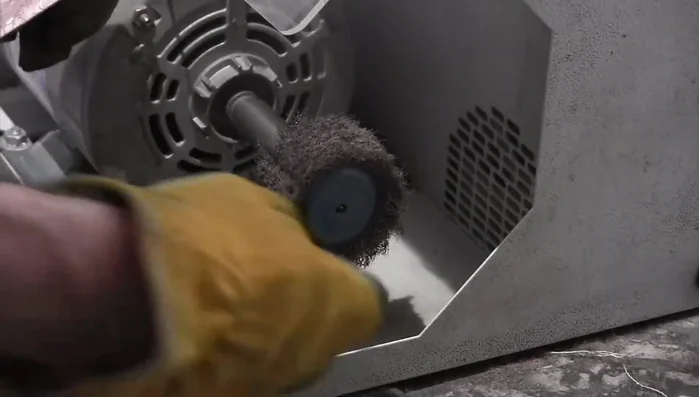
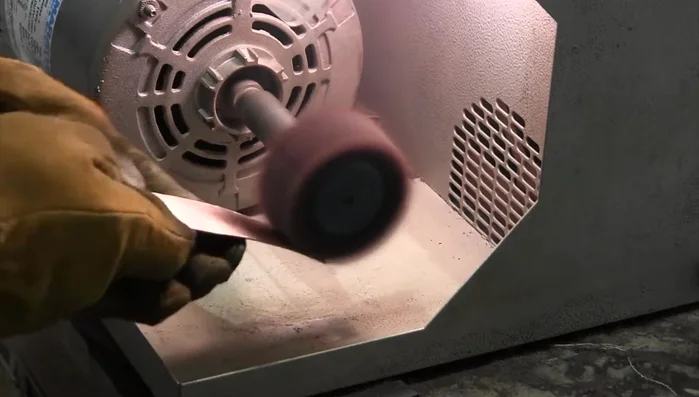
- Use an aggressive brush wheel to remove any remaining copper oxidation.
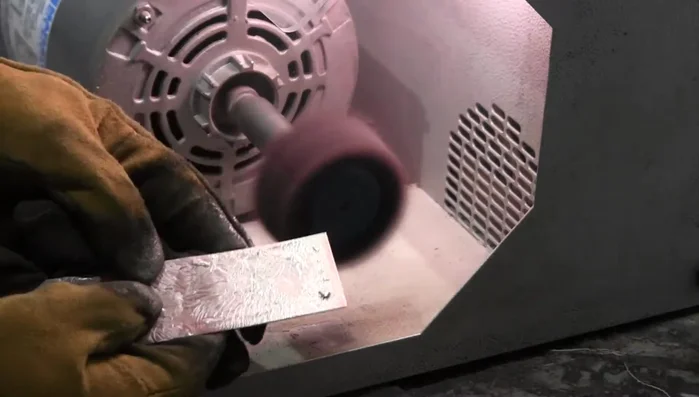
Clean and Prepare the Surface Finishing and Polishing
- Polish the cuff to a desired finish.
Finishing and Polishing Shape and Personalize
- Shape and finish the ends of the cuff.
- Add personal touches, such as a signature.
Shape and Personalize
Read more: DIY Tiered Tassel Earrings: A Quick & Easy Jewelry Tutorial
Tips
- Using a saw for cutting provides a cleaner edge than snips.
- Ensure even coverage of silver, especially on the edges, for strength and stability.
- The silver melting process takes time; maintain a hot flame.
- Work slowly and methodically to achieve even silver coverage.
- The pickle won't remove all oxidation; additional polishing is needed.