Layered necklaces are a timeless accessory, adding a touch of elegance and personality to any outfit. But achieving that perfectly draped, multi-strand look can seem daunting. This tutorial will demystify the process, guiding you through a simple yet stunning layered necklace design using readily available materials: a drape chain and beading wire. Forget expensive jewelry-making classes; with a little patience and these easy-to-follow instructions, you'll be crafting your own bespoke necklace in no time. This technique is perfect for both beginners and experienced crafters looking to expand their jewelry-making skills.
This tutorial focuses on mastering the art of combining drape chain’s natural flow with the precision of beading wire, allowing for customized length and bead placement. We'll cover choosing the right materials, essential tools needed, and of course, the step-by-step process of creating your own unique, layered necklace. Let's dive in and begin creating your beautiful, handmade piece!
Preparation and Safety Guidelines
- Swarovski crystal rondelle beads (8mm & 6mm)
- Oxidized chain
- Flat cable chain
- Rolo chain
- 6mm closed jump rings
- 12mm lobster clasp
- 2mm crimping beads
- 3mm crimp covers
- Thread protectors
- 19 strand beadalon stringing wire (0.015 size, gold finish)
- Flush cutters
- Chain nose pliers
- Bead stopper
- Crimping tool
- Always use pliers specifically designed for jewelry making to avoid damaging your wire or injuring yourself. Incorrect tools can easily snap wire, leading to wasted materials and potential injury.
- Be mindful of sharp ends on wire and beads. Keep your workspace clean and tidy to prevent accidental pricks or cuts. Use a work surface that won't be damaged by the tools.
- If working with multiple types of metal, research potential reactions before combining. Some metals can tarnish or corrode when in contact with others.
Step-by-Step Instructions
Prepare Materials
- Cut chains into pre-determined lengths (5.5 inches for side chains, 4.25 inches for black chain, 4.5 inches for gold chain).
- Cut approximately 10 inches of flex wire.
Assemble Focal Bead Section
- String the end link of the oxidized black chain, three 6mm black rondelle beads, the end link of the 4.5-inch gold chain, and then alternate 14 small black beads with 13 larger 8mm beads. Finish with the end link of the gold chain, three more 6mm black rondelles, and the end link of the oxidized chain.

Assemble Focal Bead Section Secure One End
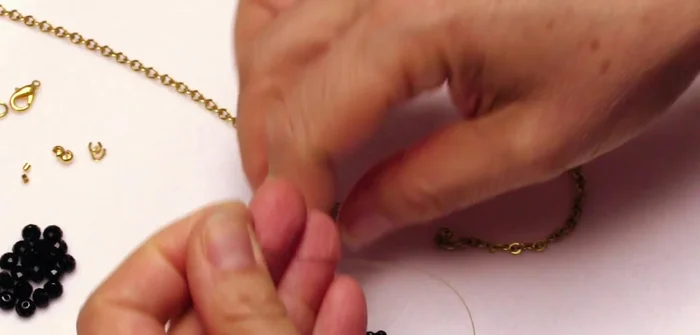
- Attach a bead stopper to one end of the flex wire.
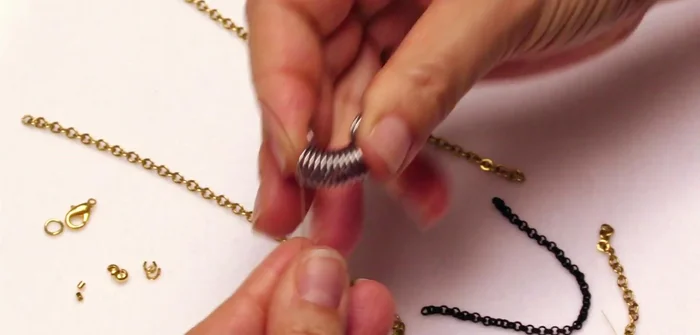
- Attach a 2mm crimping bead, thread protector, and crimp the bead using crimping pliers. Add a 3mm crimp cover.
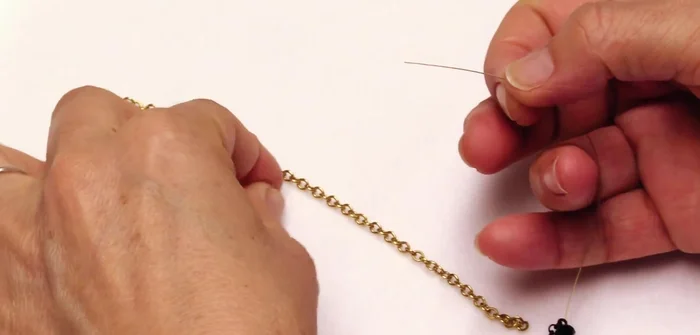
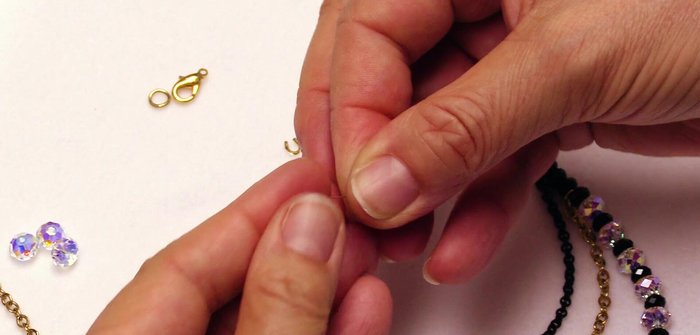
Secure One End Attach One End to Chain
- Use the open links of the chain as jump rings to attach the crimped end to a chain.
Attach One End to Chain Secure and Attach the Other End
- Repeat steps 5 and 6 on the other end of the flex wire.
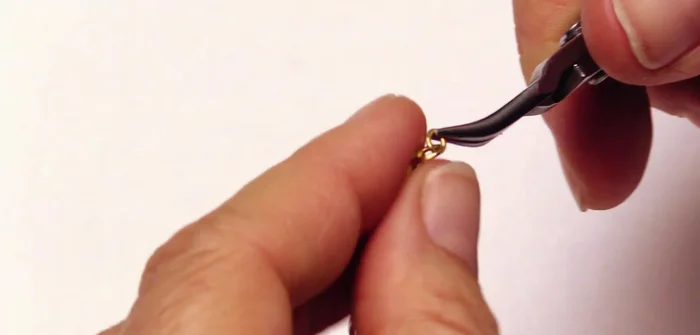
Secure and Attach the Other End Attach Clasp
- Attach the lobster clasp using jump rings.
Attach Clasp

Read more: DIY Tiered Tassel Earrings: A Quick & Easy Jewelry Tutorial
Tips
- Use thread protectors for secure attachment of the flex wire to the chains.
- Utilize the open links in the chain as jump rings for easier attachment.
- This design is versatile and can be adapted with different beads and chains. Measurements provided are a guideline; adjust based on bead size.