Lace socks. The very words conjure images of delicate artistry and painstaking hours spent meticulously crafting intricate patterns. But what if creating these elegant accessories didn't require a herculean effort? This guide unveils the secrets to knitting effortlessly beautiful lace socks, proving that achieving stunning results doesn't demand endless hours of complicated techniques. We’ll demystify the process, making lace knitting accessible to both seasoned knitters looking for a new challenge and beginners eager to expand their skills.
Forget tedious charts and confusing instructions. This pattern emphasizes simplicity and clarity, focusing on a straightforward approach to creating a sophisticated look. With easy-to-follow diagrams and clear, concise explanations, you'll be amazed at how quickly you can knit a pair of stunning lace socks. Ready to begin your journey to effortlessly elegant footwear? Let's dive into the step-by-step process detailed below.
Preparation and Safety Guidelines
- needles
- yarn
- Use appropriate needle size for your yarn weight. Using needles too small can lead to tight, uncomfortable socks and potential injury to your hands.
- Maintain consistent tension throughout the project. Inconsistent tension will result in uneven fabric and may affect the fit of your socks.
- If you are a beginner, practice the lace pattern on a swatch before starting the socks to familiarize yourself with the stitches and to adjust tension as needed.
Step-by-Step Instructions
Initial Round
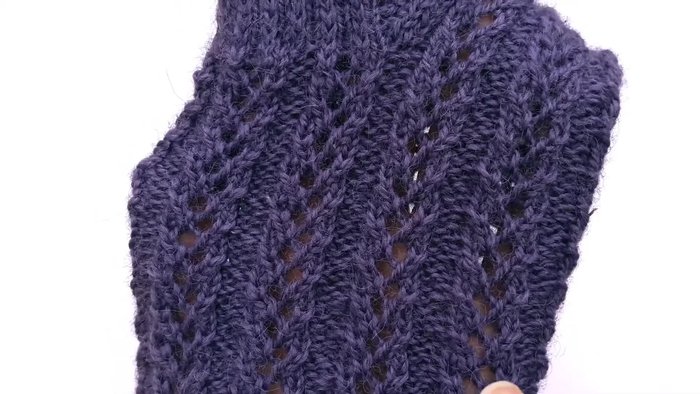
- The first stitch is a purl stitch, followed by four lace stitches and one more purl stitch. This pattern is repeated around the sock to create ribbed rows of lace.

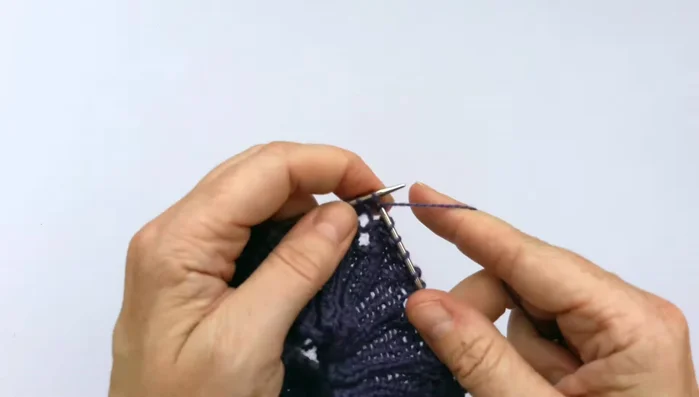
Initial Round Lace Stitch Creation
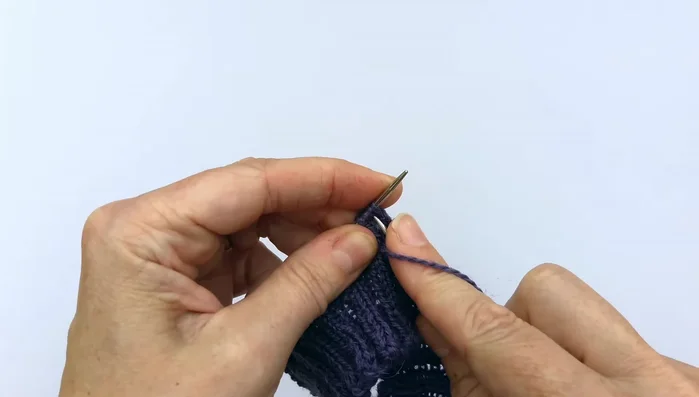
- Knit two stitches together, yarn over (anti-clockwise), knit the next two stitches, and purl.
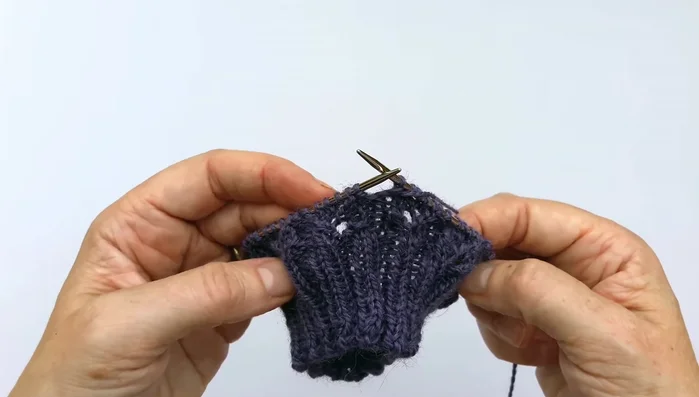
Lace Stitch Creation Completing Round One
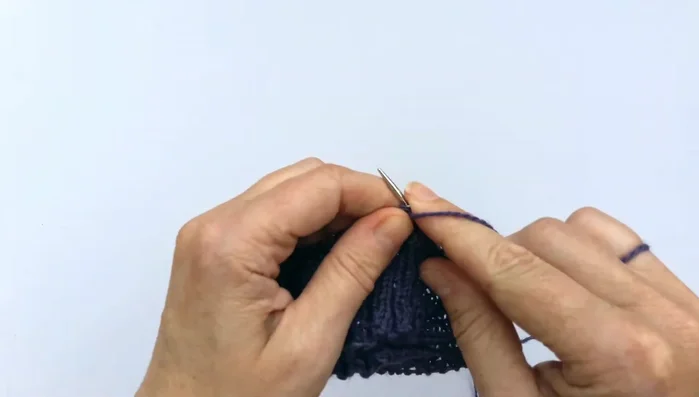
- Repeat the purl, knit two together, yarn over, knit two, purl sequence until the end of the round.
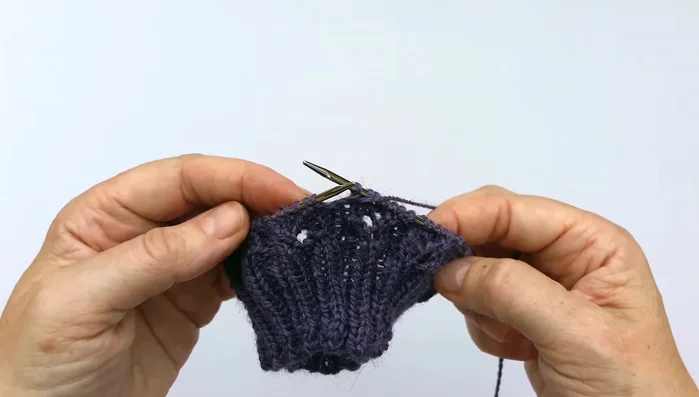
Completing Round One Round Two
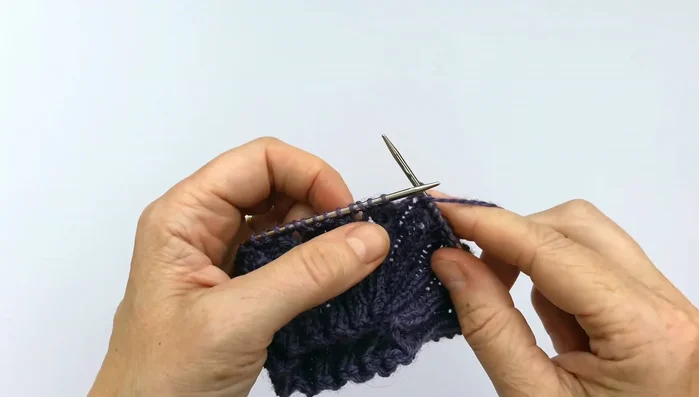
- Knit the knit stitches and purl the purl stitches.
Round Two Round Three
- Begin with a purl stitch, knit the first two stitches, yarn over, and then perform a slip slip knit decrease (slip first stitch knitwise, slip second stitch purlwise, knit both through the back loop). Then, continue with the lace pattern (purl, knit two, yarn over, slip slip knit decrease, purl).
Round Three Round Four
- Purl the purls and knit the knits.
Round Four Repeating the Pattern
- Repeat rounds one through four until the desired sock length is achieved. Continue this pattern after the heel flap and gusset.
Repeating the Pattern
Read more: Knitting a Reversible Basketweave Blanket: A Customizable Guide
Tips
- Yarn over is always anti-clockwise.
- The slip slip knit decrease should be in the opposite direction of the knit two together decrease.