Wrap yourself in the delicate beauty and effortless elegance of a hand-knitted lace shawl. This project, perfect for both seasoned knitters and those new to lacework, utilizes a simple yet stunning color change technique to create a truly captivating accessory. Forget complex charts and intricate patterns; this guide focuses on achievable techniques that allow you to create a luxurious shawl without the usual frustration often associated with lace knitting. The subtle color shifts add depth and interest, transforming a basic stitch into something extraordinary.
Imagine the satisfying feeling of creating this beautiful piece, effortlessly adding a touch of sophistication to any outfit. This "Effortless Lace Shawl" guide provides a clear, step-by-step approach, complete with detailed instructions and helpful images, allowing you to confidently navigate each stage of the process from cast-on to the final bind-off. Let's begin crafting your own exquisite, easy lace shawl!
Preparation and Safety Guidelines
- Sport weight yarn (e.g., Jaded Peacock and Harbor Fog, Pink Damask, Parisian Bordeaux)
- Needles
- Use sharp scissors to cut yarn to prevent fraying and ensure clean edges for a professional-looking shawl.
- Always check your tension throughout the project. Inconsistent tension can lead to uneven lace patterns and an untidy finished product.
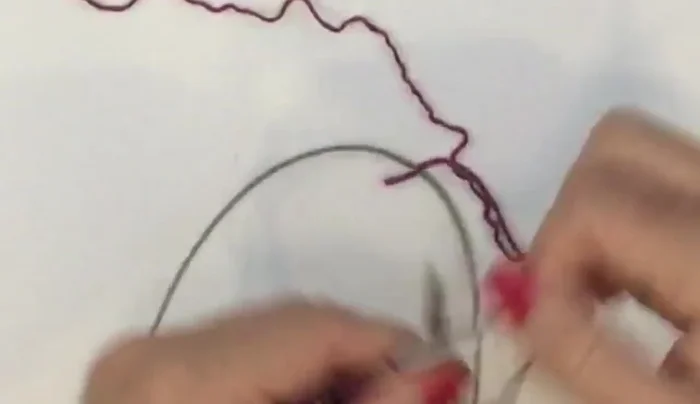
- Before starting a color change, secure the old color strand to avoid loose ends. Weaving in ends securely after finishing prevents them from pulling loose and unraveling your work.
Step-by-Step Instructions
Cast On
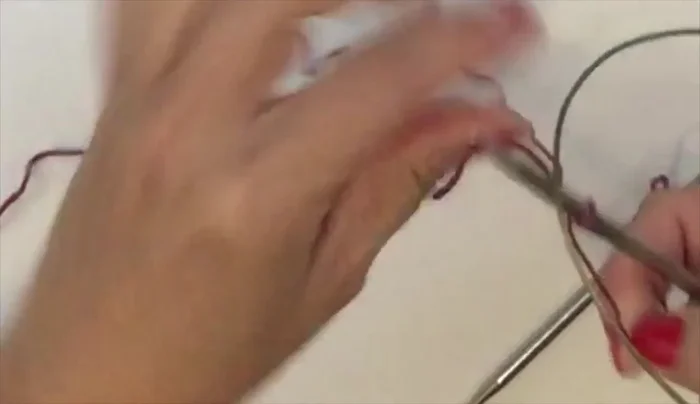
- Cast on using a knitted cast-on for a stretchy edge. Start with a slip knot, cinch it onto your needle, and then create loops by inserting your needle into the loop, yarn around the right-hand needle, and pull up a loop, adding it to the left-hand needle. Repeat until you have the desired number of stitches (12 in this example).

Cast On Initial Knit Rows
- Knit the first two rows across.
Initial Knit Rows Lace Pattern Row 1
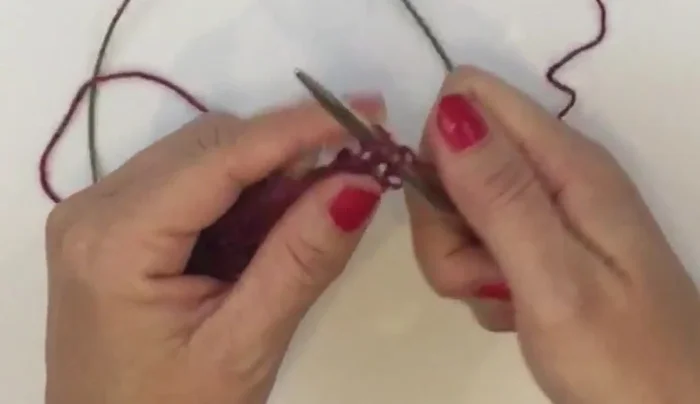
- Rows 3 and 4 are the same. Knit two garter stitches (salvage edge), then yarn over, knit one across the row until you reach the last two stitches and knit them.
Lace Pattern Row 1 Lace Pattern Row 2
- Knit two garter stitches (salvage edge), then purl across all stitches and yarn overs. Knit the last two stitches.
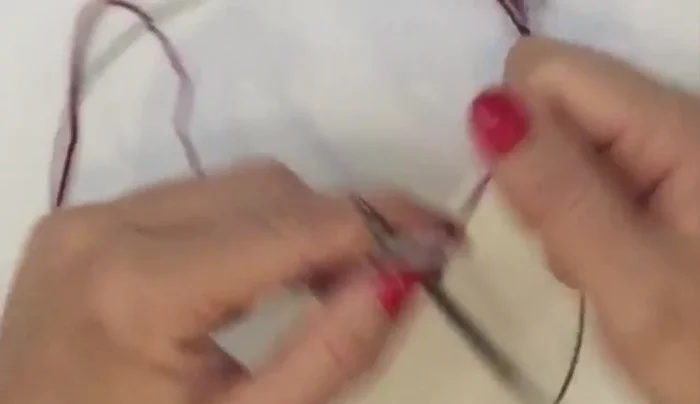
Lace Pattern Row 2 Lace Pattern Row 3 (Decrease)
- Knit two garter stitches, then knit two together across the row. Knit the last two stitches.
Lace Pattern Row 3 (Decrease) Lace Pattern Rows 4 & 5 (Increase/Decrease Balance)
- Knit two garter stitches, then yarn over, knit two together across the row. Knit the last two stitches.
Lace Pattern Rows 4 & 5 (Increase/Decrease Balance) Lace Pattern Knit Rows
- Knit across all stitches, including yarn overs.
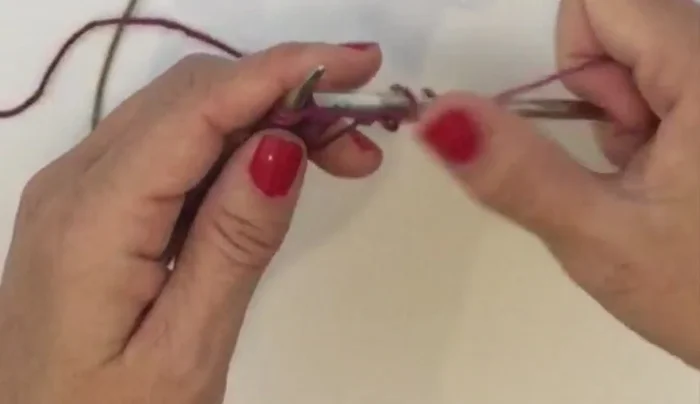
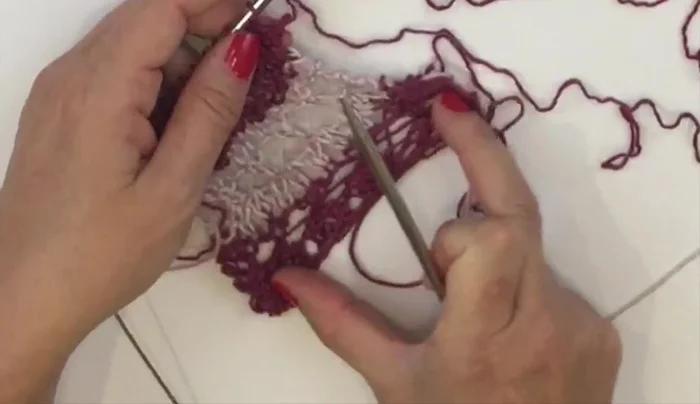
Lace Pattern Knit Rows Color Change Technique
- Carry the tails of both colors along for the salvage stitches. Knit the first stitch with the new yarn, then knit the next stitches with all three strands (new yarn, tail of old yarn, and tail of new yarn). After the salvage stitches, continue with only the working yarn.
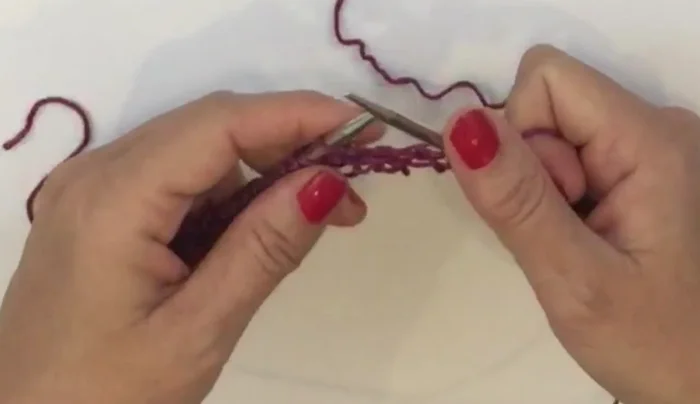
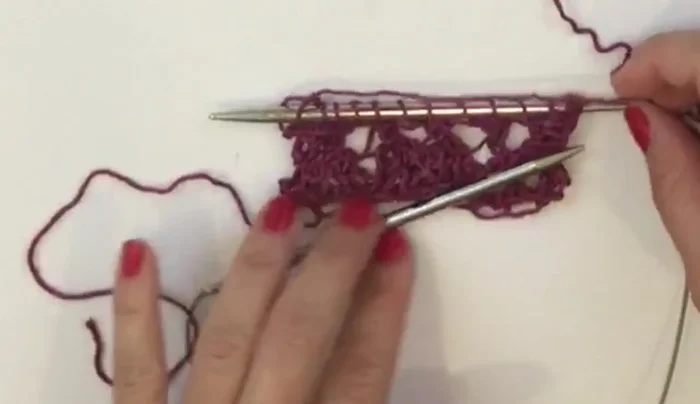
Color Change Technique Repeat Pattern for Stripes
- Repeat steps 3-10 for each stripe.
Repeat Pattern for Stripes Bind Off
- Knit the first stitch, yarn over, knit the second stitch. Pick up the yarn over and the first stitch together and pull them over the second stitch, leaving the second stitch on the right needle. Repeat across.
Bind Off

Read more: Knitting a Reversible Basketweave Blanket: A Customizable Guide
Tips
- Use a knitted cast-on and a stretchy lace bind-off for a consistent, comfortable fit.
- Give a gentle tug to the body of your work to elongate stitches when knitting two together for easier needle insertion.
- The yarn-over and knit-two-together combination in the pattern balances increases and decreases, maintaining stitch count.
- This seven-row repeat pattern is reversible due to the odd number of rows, making it ideal for showcasing stripes.
- Carry tails along for salvage stitches to create almost invisible color changes.