Lithuanian beaded wrist warmers are more than just cozy accessories; they're exquisite pieces of wearable art. Their intricate designs, often featuring vibrant colors and delicate beadwork, transform a simple knitted item into a statement piece reflecting the rich heritage of Lithuanian craftsmanship. The delicate interplay of yarn and beads creates a textural richness that's both visually stunning and incredibly tactile, making them a rewarding project for knitters of all skill levels, from beginner to expert. These charming wrist warmers are perfect for adding a touch of elegant warmth to any outfit, or they make a thoughtful and unique handmade gift.
This tutorial will guide you through the process of creating your own pair of beautiful Lithuanian beaded wrist warmers, step-by-step. From casting on to weaving in the final ends, we'll cover every detail, providing clear instructions and helpful tips to ensure you achieve a professional-looking finish. Let's begin!
Preparation and Safety Guidelines
- yarn
- beads
- knitting needles
- Always use sharp scissors to cut yarn; dull scissors can cause fraying and injury.
- Be mindful of the beads' size and placement, ensuring they don't create bumps or pressure points that could be uncomfortable on the wrist.
- If using metal beads, check for any sharp edges or potential hazards before beginning, and avoid prolonged skin contact if you have sensitivities.
Step-by-Step Instructions
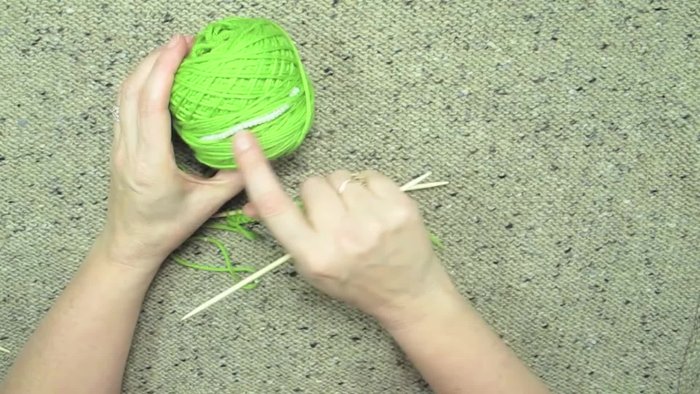
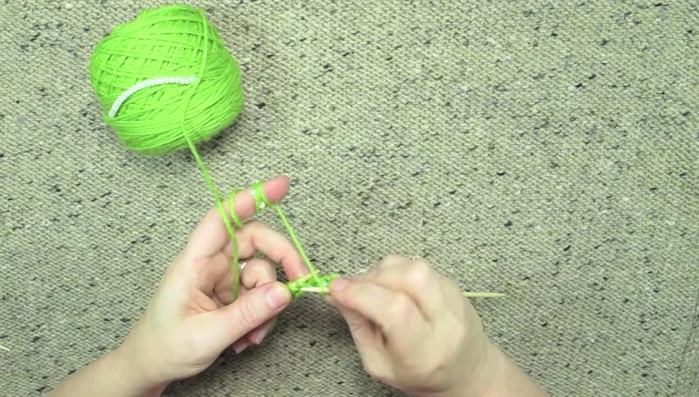
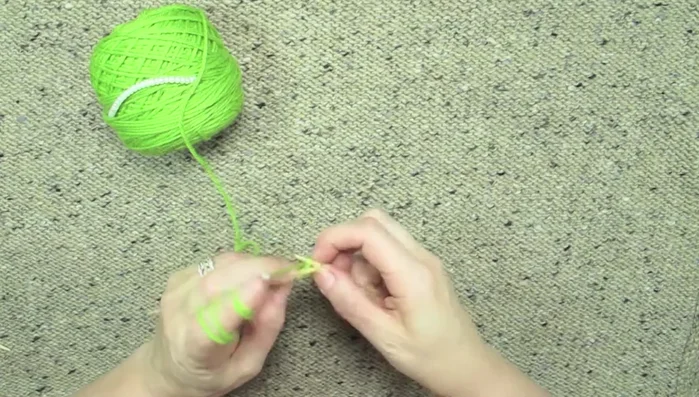
Prepare Materials
- Prepare your yarn by stringing beads onto it and winding it into a ball, keeping most beads away from the working area.

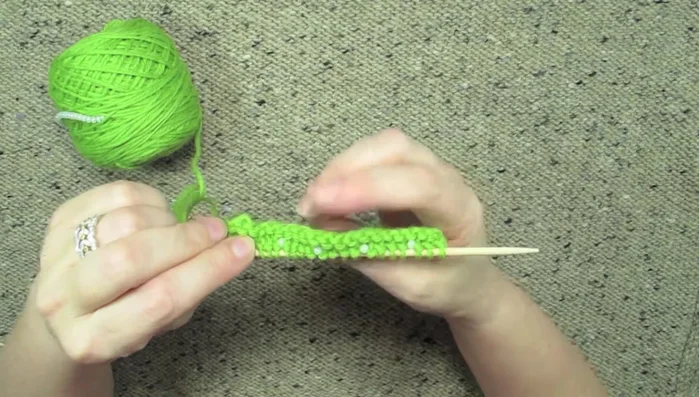
Prepare Materials Initial Row
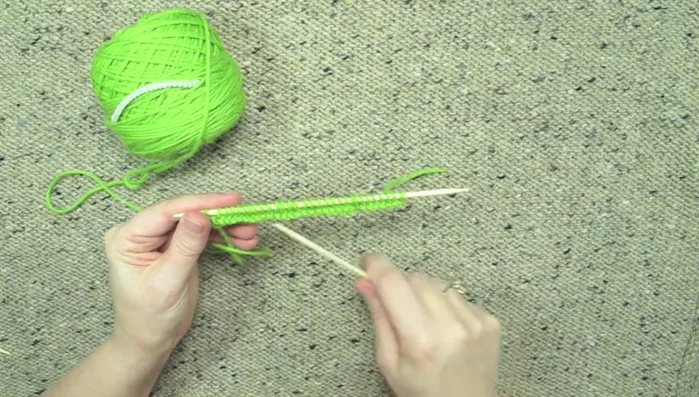
- Cast on the desired number of stitches (e.g., 30). Knit one plain row.
Initial Row Begin Beaded Row
- Turn your work and begin the beaded row. Follow your chart to determine the bead placement. The example uses a pattern of 'knit three, place a bead, repeat'.
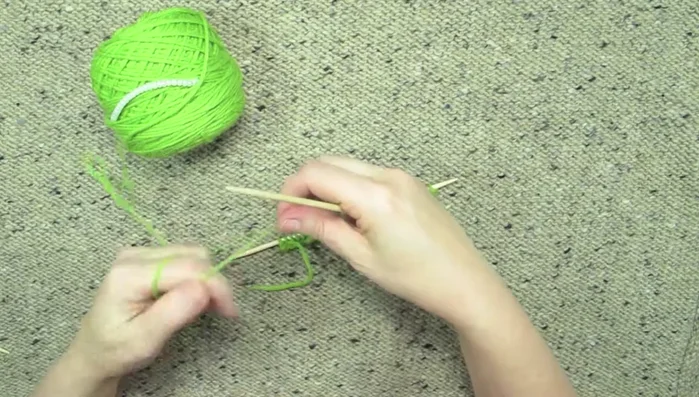
Begin Beaded Row Adding a Bead
- To place a bead, push it up to the knitting needles between stitches.
- Knit the next stitch. The bead is now incorporated into the work, on the back side.
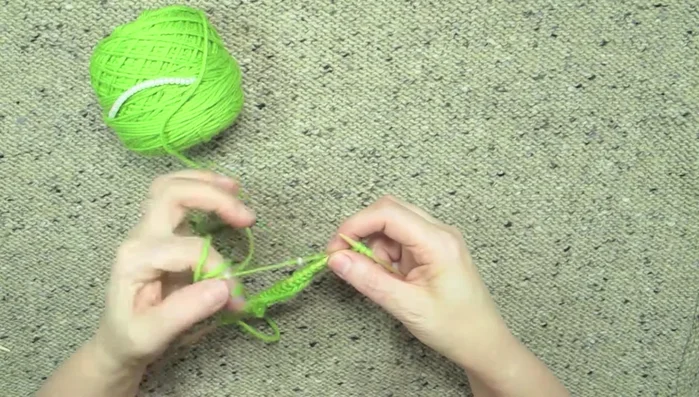
Adding a Bead Continue Beaded Pattern
- Continue the pattern, knitting the specified number of stitches between beads.
Continue Beaded Pattern Complete Plain Section of Row
- Knit the remaining stitches of the row plain.
Complete Plain Section of Row Stitch Counting
- Count stitches carefully. Remember each bead is counted with the stitch following it, not as a separate stitch.
Stitch Counting Repeat for Subsequent Rows
- Repeat steps 2-8 for each row, following your pattern chart.
Repeat for Subsequent Rows
Read more: Knitting a Reversible Basketweave Blanket: A Customizable Guide
Tips
- Find a comfortable way to hold your yarn and needles to manage the beads.
- Don't worry if it feels awkward at first; it will get easier with practice.
- Take your time and count stitches carefully, especially in the beginning rows.
- Remember to count each bead with the stitch that follows it.
- Many patterns only bead half the row to avoid wasting beads, typically the visible portion.