Unleash your inner crafter and embark on a delightful journey into the world of knitted stuffed toys! This ultimate guide will transform your knitting skills, teaching you how to create adorably huggable companions with seamless perfection. Forget those clunky seams and embrace the elegance of the mattress stitch, a secret weapon for creating truly professional-looking plushies. We'll explore the magic of this invisible stitch, guiding you through its intricacies with clear instructions and helpful illustrations.
From whimsical woodland creatures to charming characters from your imagination, the possibilities are endless when you master the art of seamless knitting. This guide provides everything you need to know, from choosing the right yarn and needles to finishing touches that bring your creations to life. Ready to dive in and start crafting your own cuddly masterpiece? Let's begin with the step-by-step process outlined below.
Preparation and Safety Guidelines
- Yarn
- Knitting needles
- Blunt-ended knitter's sewing needle
- Toy stuffing
- Pencil or tweezers
- Always use blunt-tipped needles to avoid accidental punctures while working with the mattress stitch, especially when stuffing the toy.
- Before tightening the mattress stitch, ensure the seam allowances are even to prevent puckering or distortion of the toy's shape.
- Supervise young children if they are assisting with any part of the process, particularly needle handling and stuffing.
Step-by-Step Instructions
Preparing for Seams
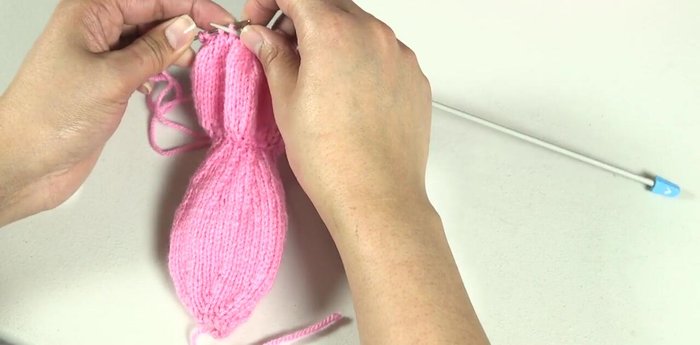
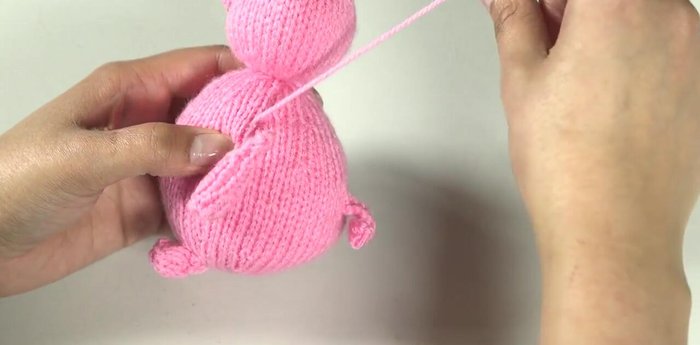
- Gather stitches at the top of the head and leave a long yarn end for later sewing.
- Thread the long yarn end through a blunt-ended needle and secure the gathered stitches with a tiny stitch.

Preparing for Seams Stuffing and Joining the Head and Body
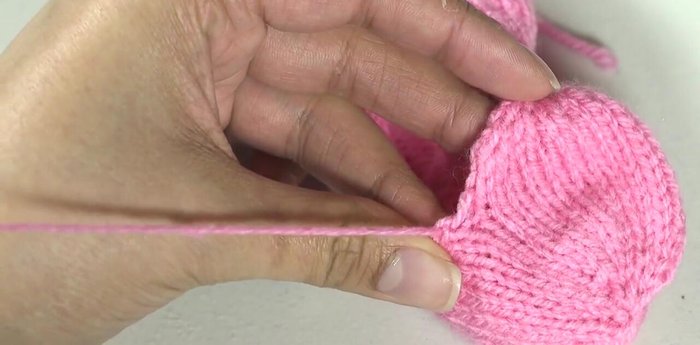
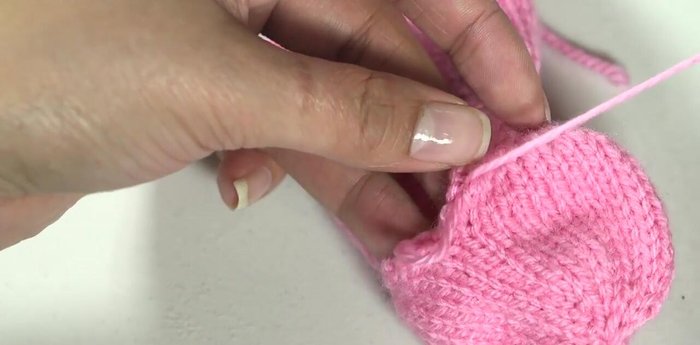
- Stuff your knitted pieces as you go along, before sewing them together. Use a pencil or tweezers to push stuffing into tight spaces.
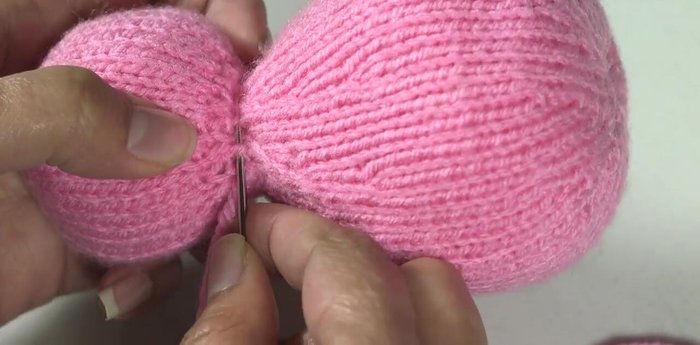
- Use mattress stitch to join seams, working with the right side facing you for a neat finish. This is especially useful for joining the body and head pieces to avoid stuffing complications.
Stuffing and Joining the Head and Body Adding Neck Detail
- Indent the neck by using a simple running stitch around the neck area.
Adding Neck Detail Attaching Limbs
- Join arms and legs using a combination of mattress stitch and over sewing. Prioritize the back seam at the center back. Pin pieces first before sewing.
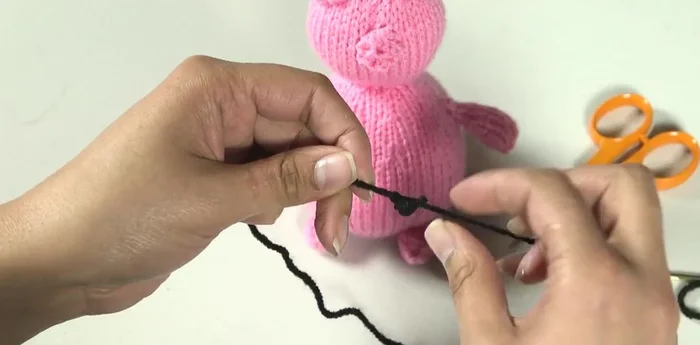
Attaching Limbs Embroidering Facial Features
- Embroider facial features using chain stitch. Secure the yarn at the back, work chain stitches, and fasten off by hiding the yarn end inside the stuffing.
Embroidering Facial Features
Read more: Knitting a Reversible Basketweave Blanket: A Customizable Guide
Tips
- Use smaller knitting needles than recommended to create a tighter fabric that prevents stuffing from showing through.
- Break up clumps of toy stuffing before inserting it into your knitted pieces.
- Stuff your pieces before sewing them together, especially in areas like the neck, to make stuffing easier.
- When using chain stitch for embroidery, hide the entry and exit points of the needle underneath other pieces whenever possible.