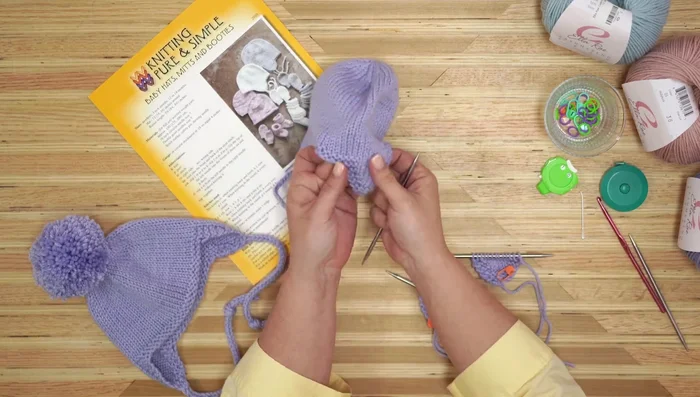
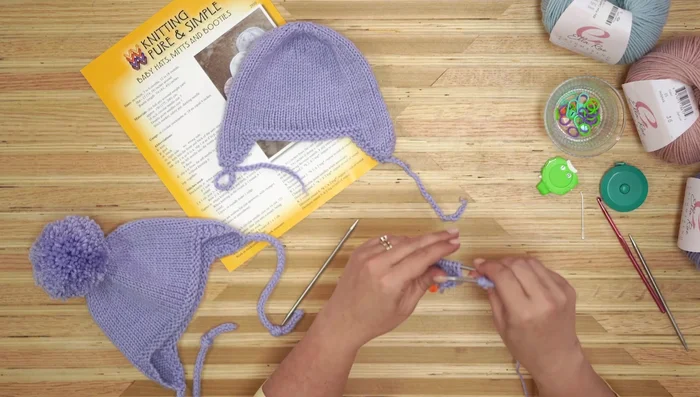
There's nothing quite as heartwarming as snuggling a newborn baby, and what better way to enhance that feeling than with a handmade, adorable ear flap hat? These charming little hats not only keep your little one warm and cozy but also offer a delightful touch of personal style. Whether you're a seasoned knitter looking for a new project or a beginner eager to tackle a satisfyingly simple design, this guide will show you how to create your own precious ear flap baby hat. The unique charm of a hand-knitted hat lies in its ability to be customized to reflect your personal touch, from yarn choice to embellishments.
This step-by-step guide will walk you through every stage of creating a perfect, snug-fitting ear flap hat, from casting on to binding off, ensuring even the newest knitter can achieve a beautiful result. Prepare to be captivated by the simplicity of the pattern and the immense satisfaction of creating something truly special for a cherished little one. Let's get started and knit some adorable warmth!
Preparation and Safety Guidelines
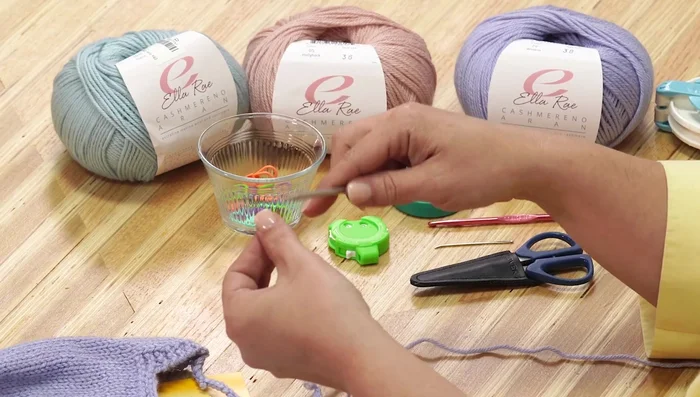
- Elray Cashmere Merino Air yarn (Wisteria color)
- US size 7 (4.5 mm) double-pointed needles
- 40-inch circular US size 7 needles
- Scissors
- Crochet hook
- Bent-tip needle
- Row counter
- Tape measure
- Stitch markers
- Pom-pom maker
- Always use yarn and needles appropriate for a baby's delicate skin. Choose soft, hypoallergenic materials like merino wool or cotton blends. Avoid anything scratchy or potentially irritating.
- Ensure the hat fits snugly but not too tightly around your baby's head. A hat that's too tight can restrict breathing or blood flow. Test the fit frequently as your baby grows.
- Never leave a baby unattended while wearing the hat, especially if the ear flaps are long or loose. The baby could potentially become tangled or injured.
Step-by-Step Instructions
Create the First Ear Flap
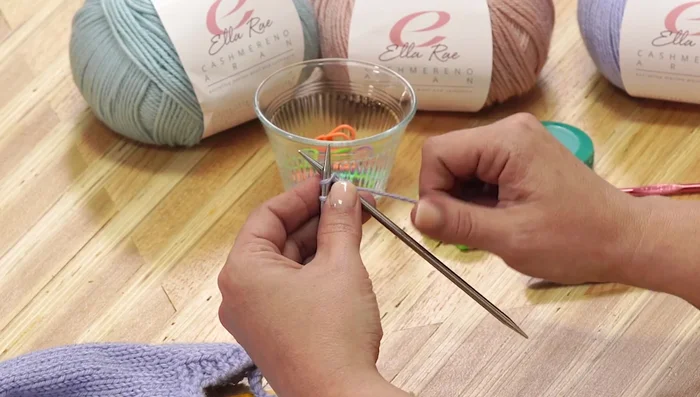
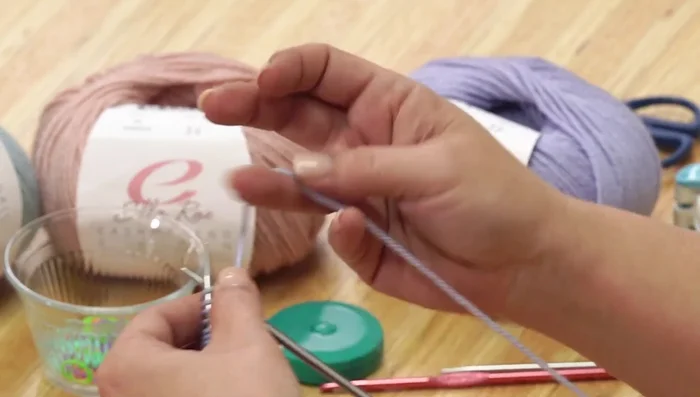
- Cast on three stitches using a long-tail cast-on method.
- Increase in the first stitch (knit front and back).
- Increase in the next stitch (knit front and back).
- Knit the last stitch.

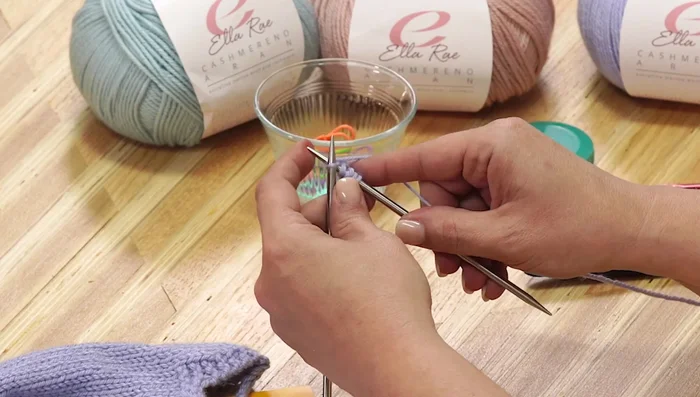
Create the First Ear Flap - Repeat rows 1-4 until the ear flap reaches the desired length.
Create the First Ear Flap Create the Second Ear Flap
- Create the second ear flap, but don't cut the yarn at the end.
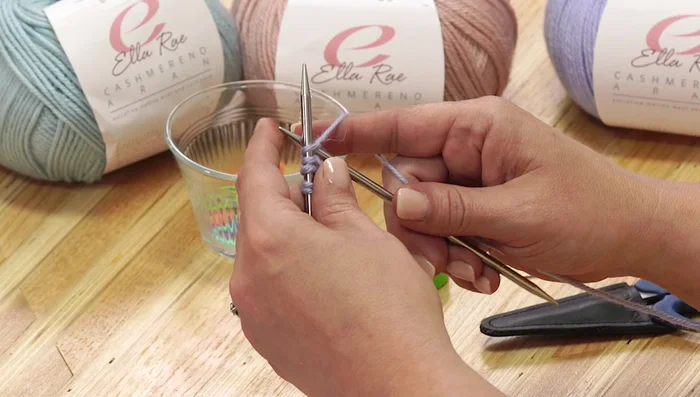
Connect Ear Flaps and Begin Band
- Connect the two ear flaps by knitting across all stitches on the first flap, then perform a backwards loop cast-on for the band between the ear flaps.
- Knit across the stitches on the first ear flap.
- Cast on stitches for the band between the ear flaps using the backwards loop cast-on method. The number of stitches will depend on the hat size.
- Knit across the newly cast-on stitches and the stitches of the second ear flap.
Connect Ear Flaps and Begin Band Shape the Back of the Hat
- Shape the back of the hat by knitting three stitches, purling the center stitches, and knitting the remaining three stitches (for garter stitch border).
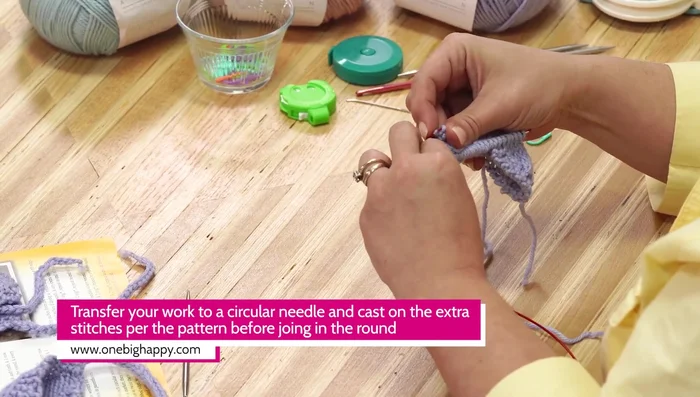
Shape the Back of the Hat Join in the Round
- Join in the round using the magic loop method.
Join in the Round Knit the Hat Body
- Continue knitting and purling according to the pattern instructions, building the hat body in the round.
Decrease and Close the Crown
- Decrease stitches to close the crown of the hat (instructions from episode one are referenced).
Decrease and Close the Crown
Read more: Knitting a Reversible Basketweave Blanket: A Customizable Guide
Tips
- Use a row counter to track your progress.
- Keep the loops loose when performing the backwards loop cast-on for the band between the ear flaps.
- Make sure your yarn wraps are even when creating the pom-pom to avoid uneven lengths.
- Use sharp scissors (like the Clover Mini Patchwork Scissors) for cutting the pom-pom yarn.
- Attach the pom-pom with a string so it can be easily removed before washing the hat.