Knitting your own baby booties is a wonderfully rewarding experience, offering a unique and cherished gift for a new arrival or a delightful project for yourself. These tiny, adorable garments are surprisingly simple to create, even for absolute beginners. Forget the intimidating imagery of complex stitch patterns and endless rows; this tutorial focuses on an easy and fast method, perfect for those just learning to knit or looking for a quick project with maximum cuteness. You'll be amazed at how quickly you can whip up a pair of these delightful booties.
This easy-to-follow tutorial will guide you through each step of the process, from casting on to binding off, using simple knit and purl stitches. No prior knitting experience is necessary, and we'll provide clear instructions and helpful visuals to ensure you succeed. Ready to get started and create a pair of adorable, handmade baby booties? Let's dive into the step-by-step guide below!
Preparation and Safety Guidelines
- Circular needles (interchangeable ones recommended)
- Tapestry needle (plastic is easy to use)
- Row counter
- Always use yarn specifically labeled as safe for babies. Avoid anything with harsh chemicals or potential allergens.
- Ensure all loose ends are securely woven in to prevent choking hazards. Trim excess yarn carefully.
- Never leave a baby unattended while wearing the booties. Always supervise closely.
Step-by-Step Instructions
Casting On
- Cast on 34 stitches using two needles for looser stitches.
Initial Garter Stitch
- Work in garter stitch (knit every row) for 8 rows.

Initial Garter Stitch Stocking Stitch and Heel
- slip one, knit all stitches across.
Stocking Stitch and Heel Foot Top
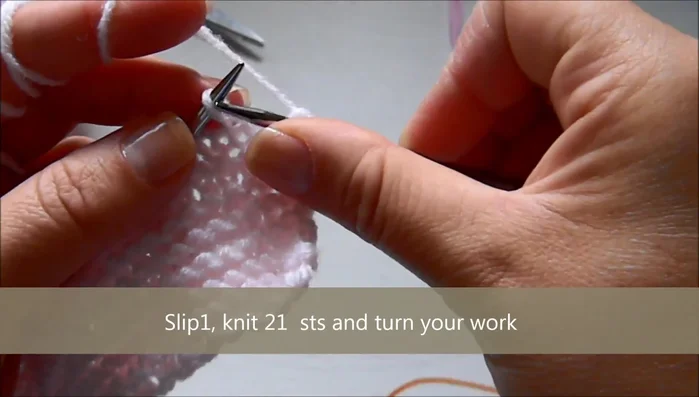
- slip one, knit 21 stitches, leave remaining stitches on the left needle.
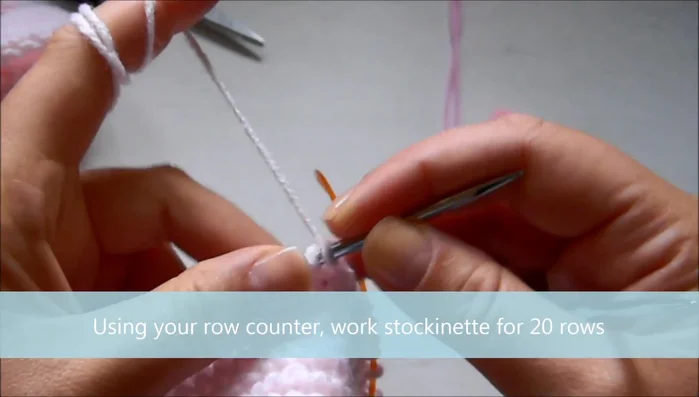
- Work the remaining 10 stitches in stocking stitch for 20 rows.
Foot Top Picking up Stitches (Right Side)
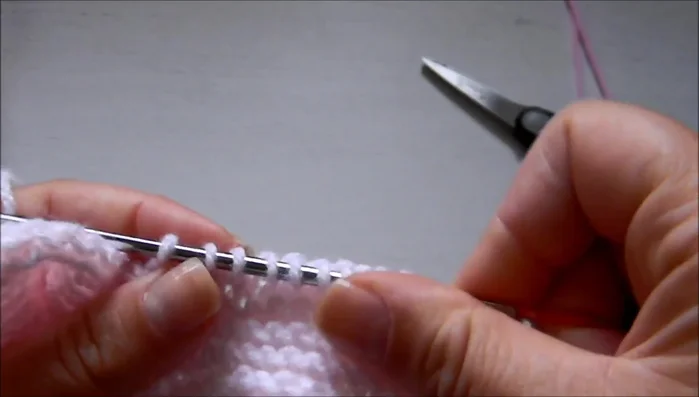
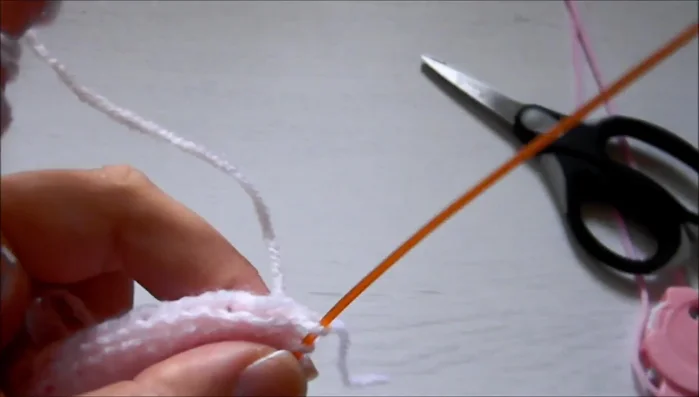
- Cut yarn. Pick up 10 stitches on the right side of the heel flap, working under the Vs.
Picking up Stitches (Right Side) Toe Shaping
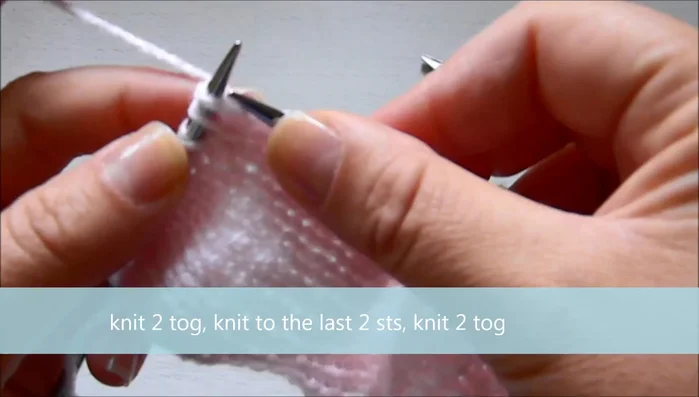
- To shape the toe, knit together from the 10 stitches, knit to the last two, knit two together, repeat.
Toe Shaping Picking up Stitches (Left Side)
- Pick up 10 stitches on the other side of the flap, the same way as step 6.
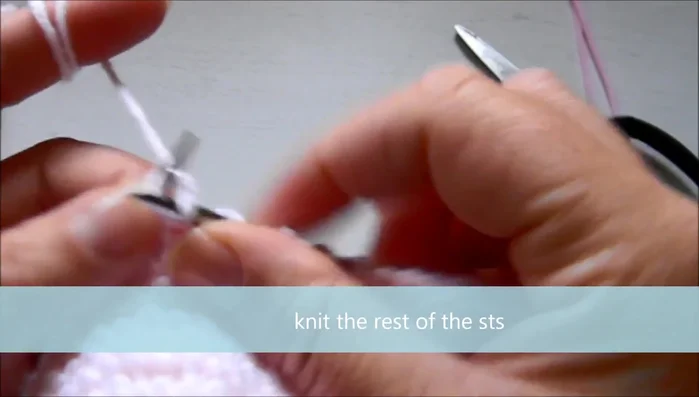
Picking up Stitches (Left Side) Knitting Remaining Stitches
- Knit the remaining 12 stitches left behind.
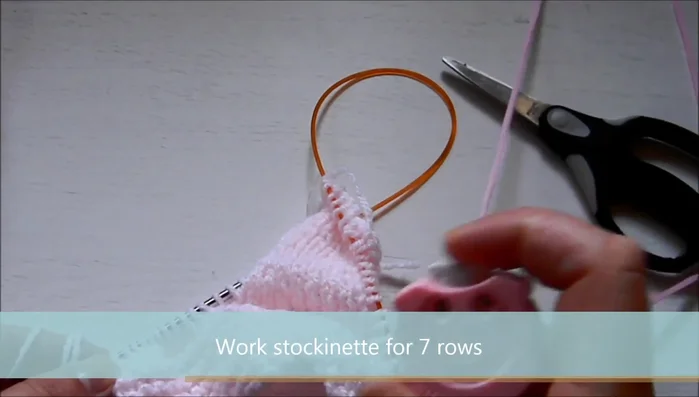
Knitting Remaining Stitches Initial Stocking Stitch for Bootie
- Work in stocking stitch for seven rows.
Initial Stocking Stitch for Bootie Decreasing for Shaping
- slip one, knit two together, knit 22, knit two together, knit to the last three, knit two together, knit one. Repeat decrease pattern on every other row.
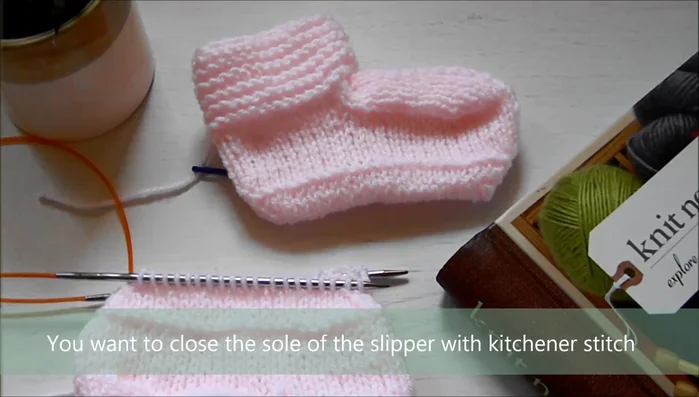
Decreasing for Shaping Closing the Sole
- Close the sole using the Kitchener stitch (video link provided).
Closing the Sole


Read more: Knitting a Reversible Basketweave Blanket: A Customizable Guide
Tips
- Use a row counter to keep track of rows.
- Slip a stitch before starting a row; it makes knitting easier.
- Circular needles are great for this project.
- The Kitchener stitch creates a neat and comfortable finish for the sole.