Looking for a quick and easy knitting project that's both stylish and practical? Then look no further than the knitted twist headband! This charming accessory is perfect for beginners, requiring minimal skill and only a small amount of yarn. Its simple design allows you to experiment with different colors and textures, making it a wonderfully customizable project that’s ideal for gifting or keeping for yourself. Imagine the cozy warmth on chilly days, or the chic finishing touch to any outfit – all created by your own two hands.
This tutorial will guide you through the creation of your very own twisted headband, step-by-step. We'll cover everything from casting on to binding off, ensuring that even complete beginners can confidently craft this delightful accessory. Get ready to learn the basic knitting techniques needed and discover the joy of creating something beautiful and useful in just a short amount of time!
Preparation and Safety Guidelines
- Worsted weight yarn
- 5.5 mm (US 9) knitting needles (9-inch single point bamboo needles recommended)
- Tapestry needle
- Stitch holder (optional)
- Use sharp scissors to cut yarn. Blunt scissors can snag or fray the yarn, making your headband look uneven.
- Always check your tension. Inconsistent tension will lead to an uneven and possibly uncomfortable headband. Practice your knit and purl stitches before starting the project.
- If using metal needles, be mindful of sharp needle points. Keep them away from your face and body to avoid accidental pokes or scratches.
Step-by-Step Instructions
Casting On and Initial Ribbing
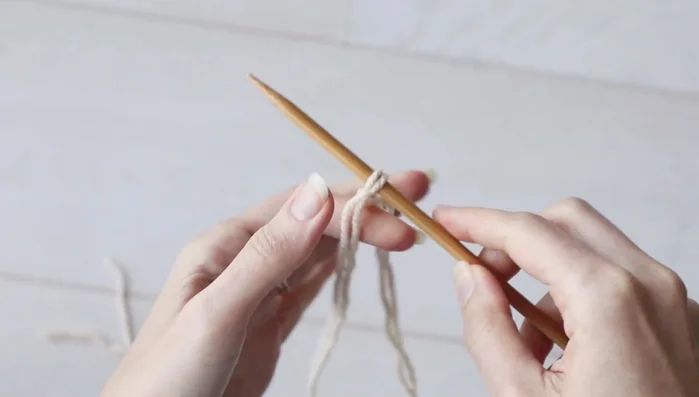
- Cast on 15 stitches using the longtail cast-on method.
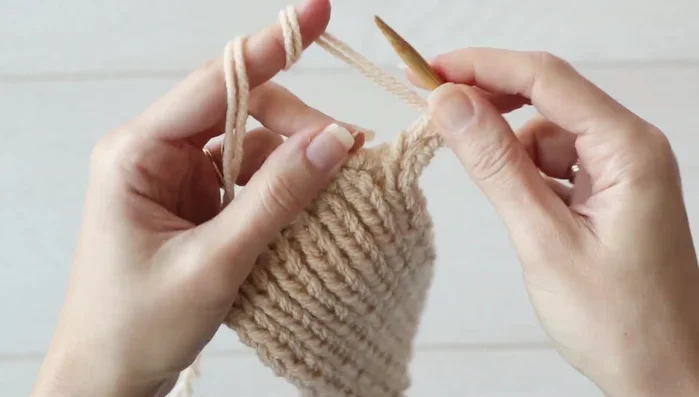
- Work a 1x1 rib (knit one, purl one) until the piece measures 6.5 inches (17 cm).

Casting On and Initial Ribbing Creating the First Narrow Piece
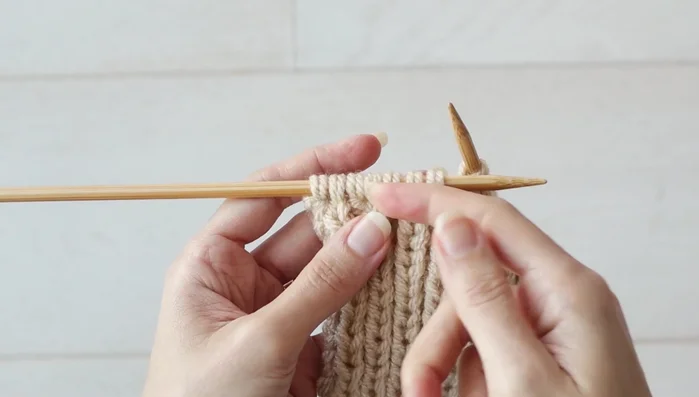
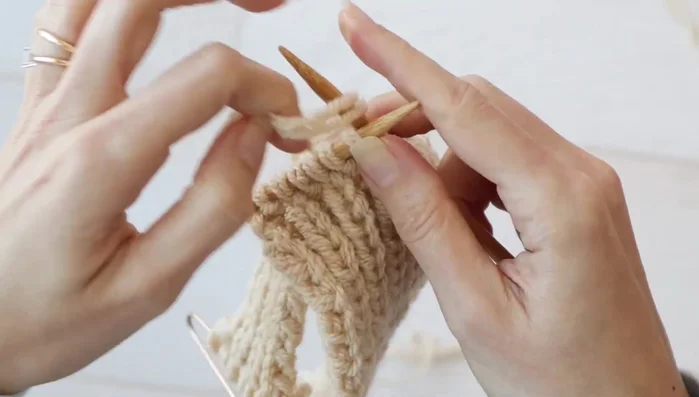
- Knit six stitches, then knit two stitches together (decrease by one).
- Place the seven remaining stitches on hold.
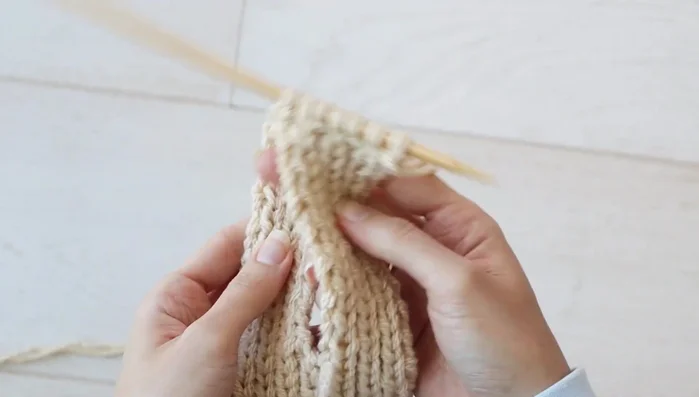
- Continue working the remaining seven stitches in pattern until the piece measures 4 inches (10 cm).
Creating the First Narrow Piece Creating the Second Narrow Piece
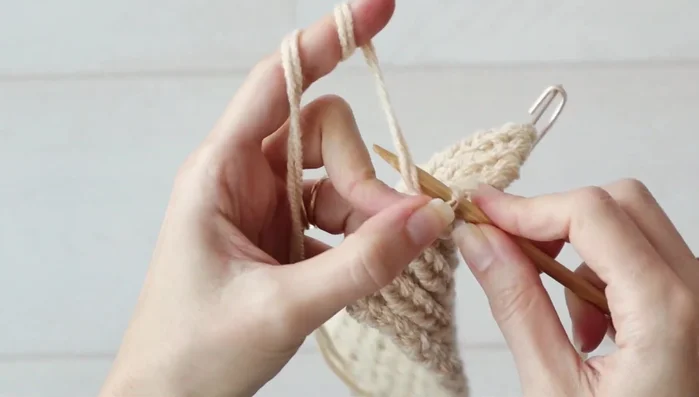
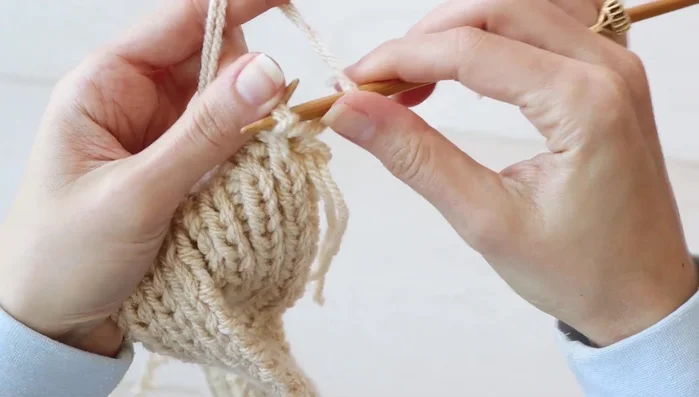
- Pick up the held stitches and place them back on the needle.
- Place the seven stitches from the narrow piece just knitted on hold.
- Work the second narrow piece in pattern until it measures 4 inches (10 cm).
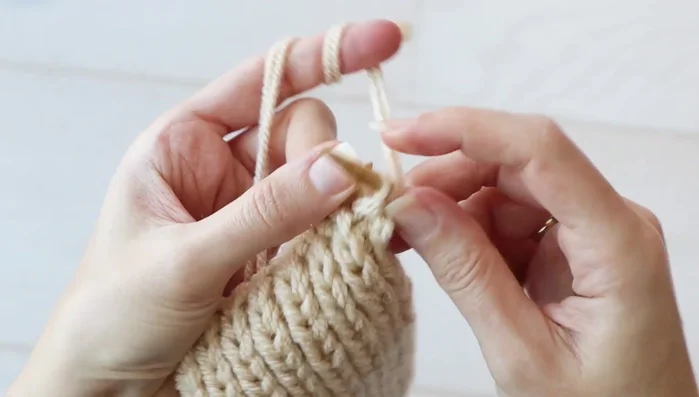
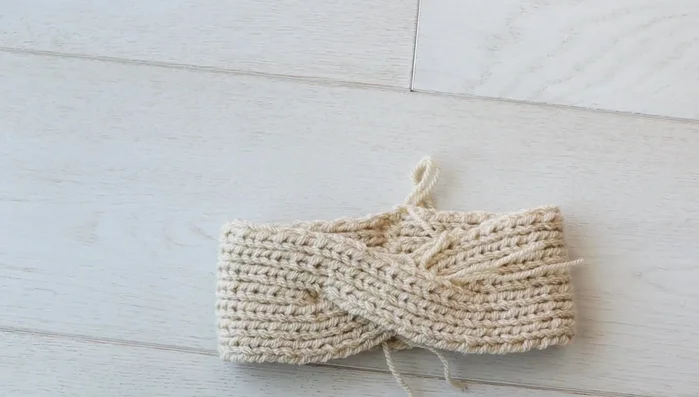
Creating the Second Narrow Piece Joining the Pieces
- Crisscross the two narrow pieces and cast on one stitch in the middle (KFB method recommended).
- Continue working in pattern until the second piece measures 6.5 inches (17 cm).
Joining the Pieces Finishing Touches
- Bind off all stitches.
- Seam the cast-on and bind-off edges together using the whip stitch.
- Weave in the ends.
Finishing Touches
Read more: Knitting a Reversible Basketweave Blanket: A Customizable Guide
Tips
- Use a lockable stitch holder for easy management of held stitches.
- The absolute measurements are more important than starting stitch in each row.
- Knit front and back (KFB) is recommended for casting on a stitch in the middle.
- Whip stitch is a fast and comfortable seaming method for headbands.