Tired of losing your place in your favorite book? Do you crave a personalized touch to your reading experience? Then look no further! This beginner-friendly guide will walk you through the simple and satisfying process of creating your own adorable, handcrafted knitted bookmarks. Forget flimsy paper or clunky metal – prepare to elevate your reading game with charming, custom-knitted bookmarks that reflect your unique style and add a delightful, tactile element to your cherished novels. We'll explore various stitch patterns and yarn choices, allowing you to personalize your creation to match your aesthetic.
From choosing the perfect yarn to mastering the basic knit stitch, we'll cover everything you need to know to confidently knit your own unique bookmarks. Whether you're a complete novice or have dabbled in knitting before, this guide offers a straightforward, step-by-step approach to crafting cute and functional bookmarks that you'll be proud to use and even gift to fellow bookworms. Let's get started with the step-by-step instructions below!
Safety Guidelines
- Use sharp scissors carefully to avoid cuts. Keep them away from children.
- Be mindful of the yarn type and needle size used. Using incorrect sizes may lead to difficulties knitting or a finished product that is too loose or tight.
- Always supervise children if they are participating in any part of the process.
Methods: Making Knitted Bookmarks with Pre-made Blanks
Tools Needed
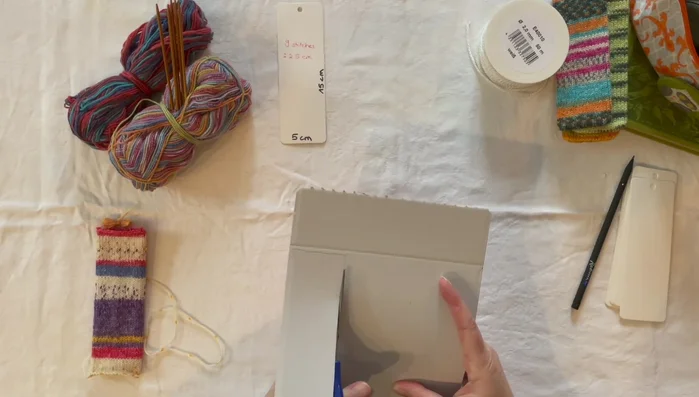
- Cardboard bookmark blanks
- Fingering weight yarn
- DPNs (double-pointed needles)
- Blunt tip needle
- Ribbon
- Scissors
Step-by-Step Instructions
Prepare for Knitting
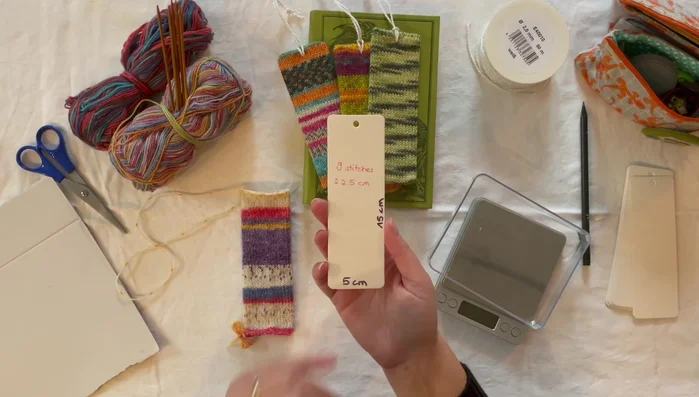
- 5cm wide and 15cm long (approximately 2 inches wide and 6 inches long).
- Assuming 9 stitches per inch, you'll need approximately 36 stitches for a 2-inch width. Cast on 34 stitches for a snug fit.

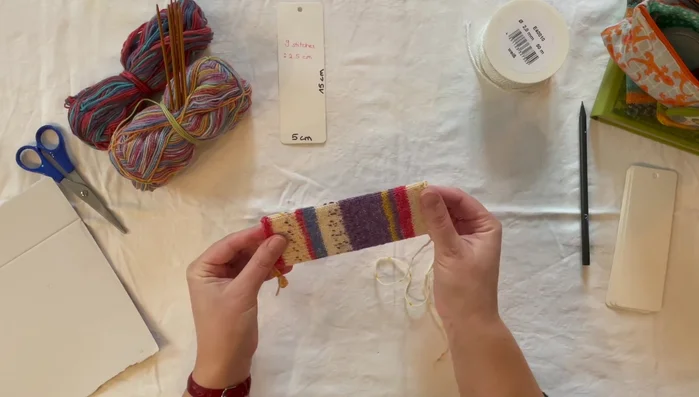
Prepare for Knitting Knit the Bookmark Tube
- Knit the tube to the same length as your blank (15cm/6 inches).
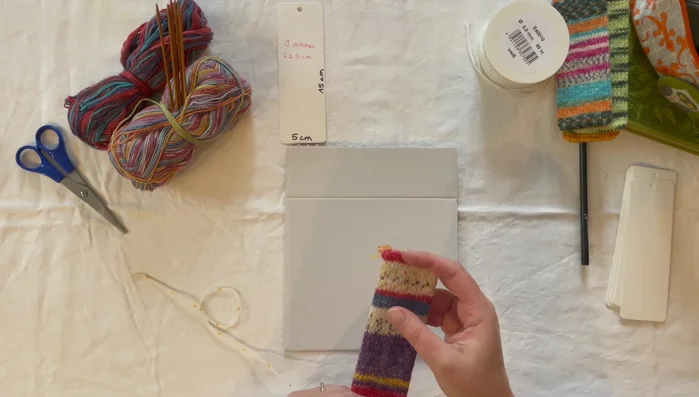
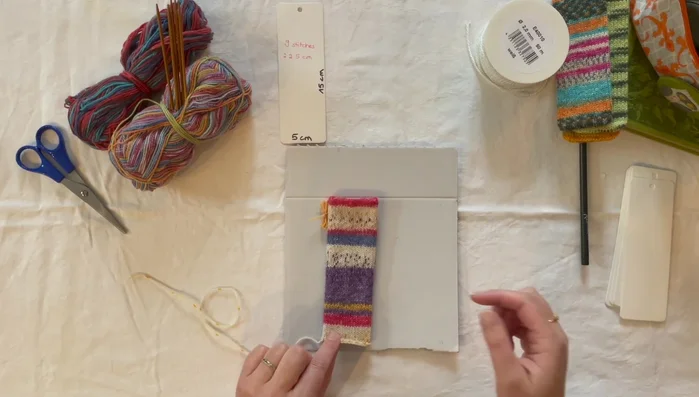
Knit the Bookmark Tube Assemble the Bookmark
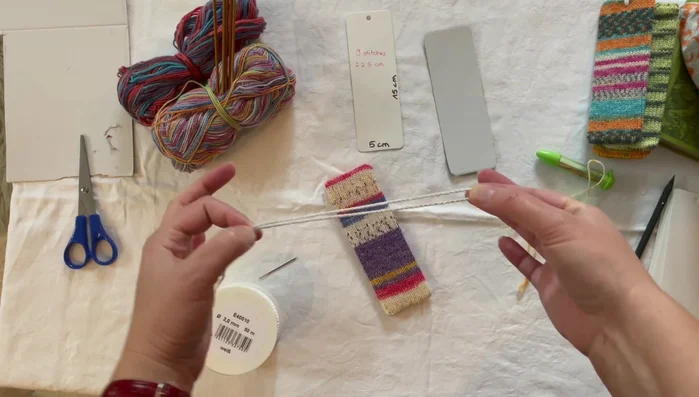
- Insert the blank into the knitted tube.
- Sew the top and bottom of the tube to the blank using a mattress stitch.
- Thread ribbon through the pre-existing holes on the blank.
Assemble the Bookmark


Tips
- Casting on 34 stitches (instead of 36) creates a snugger fit.
- Use a mattress stitch to neatly sew the knitted tube to the blank.
- Blunt needles are safer for sewing.
Methods: Making Knitted Bookmarks with Cardboard
Tools Needed
- Cardboard
- Yarn
- DPNs (double-pointed needles)
- Blunt tip needle
- Ribbon
- Scissors
- Hole punch
Step-by-Step Instructions
Prepare the Knitting
- Cast on 32-40 stitches.
Prepare the Knitting Knit the Bookmark Tube
- Knit tube to desired length.
Knit the Bookmark Tube Cut Cardboard/Prepare Blank
- Place knitted tube on cardboard, draw around, and cut out.
Cut Cardboard/Prepare Blank Create Hole for Ribbon (if using cardboard)
- Punch a hole for the ribbon.
Create Hole for Ribbon (if using cardboard) Attach Knitted Tube to Cardboard
- Sew the knitted tube to the cardboard using a mattress stitch.
Attach Knitted Tube to Cardboard Attach the Ribbon
- Thread ribbon through the hole and tie a knot.
Attach the Ribbon


Tips
- Avoid using too many stitches; otherwise, the bookmark will become too large.
- Use a hole punch for easier ribbon insertion.