Tired of the same old handbags? Ready to unleash your creativity and craft something truly unique? Then get ready to knit your own stunning, one-of-a-kind handbag! This isn't some complicated project reserved for expert knitters; we're going to guide you through the entire process with an easy-to-follow tutorial, perfect for both beginners and seasoned crafters alike. Imagine the compliments you'll receive carrying a beautiful, handcrafted bag, knowing you made it yourself.
Forget expensive, mass-produced accessories – this project empowers you to create a stylish and personalized handbag tailored to your preferences. You'll learn simple techniques to knit a durable and fashionable piece, choosing from a range of yarn colors and textures to match your individual style. Ready to transform simple yarn into a beautiful accessory? Let's dive into the step-by-step instructions and begin knitting your dream handbag!
Preparation and Safety Guidelines
- Knitted yarn (Altyn color, cinnamon thread, 7-9 mm thickness, 100m skein - approximately 1.5 skeins needed)
- Hook number six (main knitting)
- Hook number four (auxiliary work)
- Magnetic sew-on button (18mm diameter)
- Rings (20mm inner diameter)
- Chain with carabiners (120cm length)
- Brooch (optional)
- Always use sharp scissors to cut yarn to avoid fraying and ensure clean edges for your knitted stitches. Dull scissors can cause damage to your yarn and work.
- Be mindful of your needle size. Using the wrong size can affect the tension of your stitches, leading to an ill-fitting or misshapen bag. Follow the pattern's recommended needle size.
- Take breaks! Knitting for extended periods can strain your hands and eyes. Regular breaks prevent fatigue and help maintain accuracy in your work.
Step-by-Step Instructions
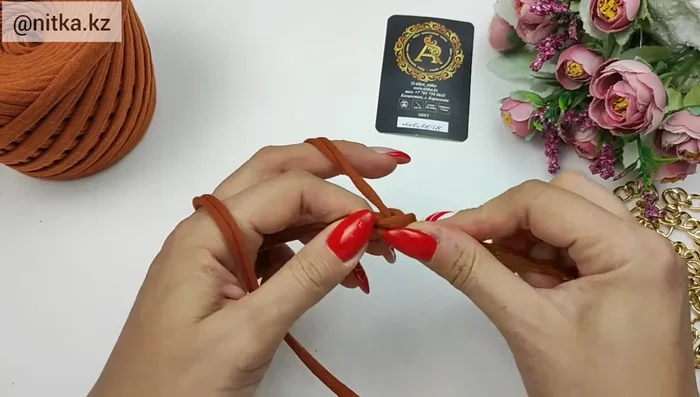
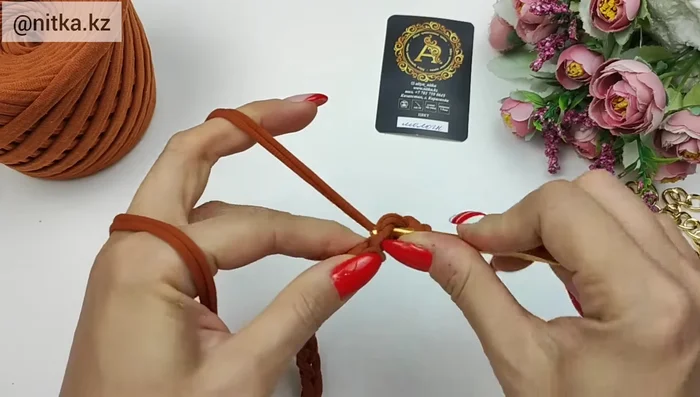
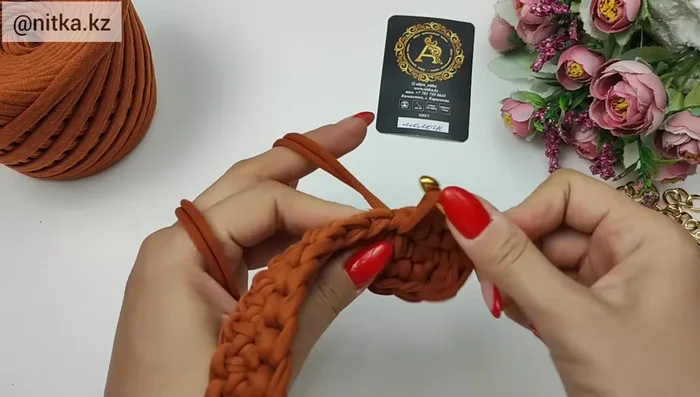
Foundation Row
- Cast on 18 air loops.
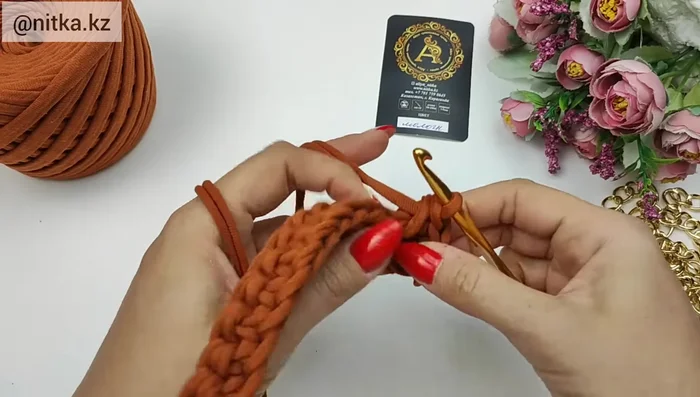
- Skip the first loop, insert the hook into the back half-loop of the next loop, and knit 16 single crochets. Then, knit three loops together in one.
- Turn the work and knit 16 single crochets, then increase by knitting three single crochets in one loop.
- Close the first row. By the end, you should have 38 loops.

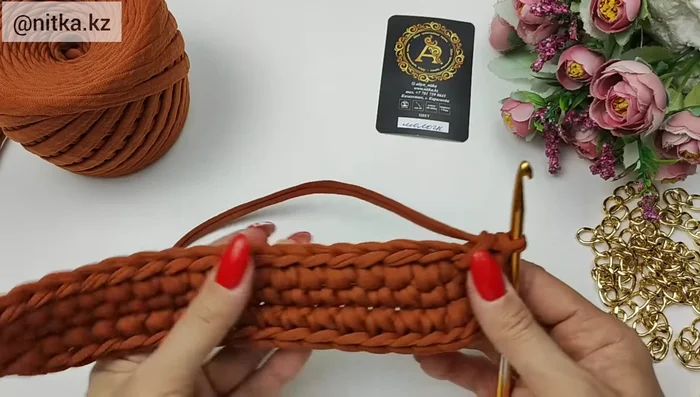
Foundation Row Second Row & Shaping
- Knit the first loop, then 15 single crochets. Increase by knitting three times two single crochets in one loop.
- Turn the work and knit 16 single crochets. Increase by knitting three times two single crochets in one loop. Close the second row. You should have 44 loops.
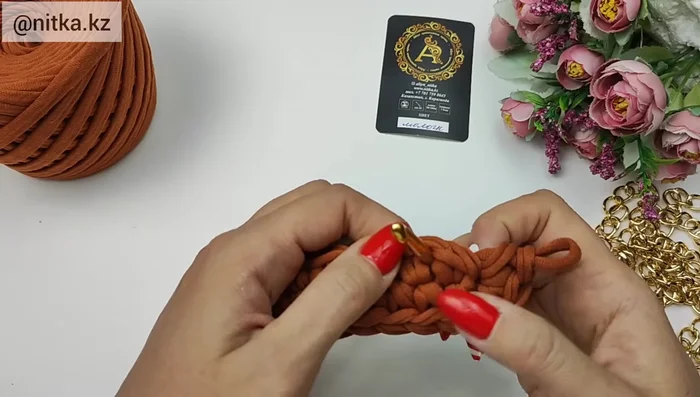
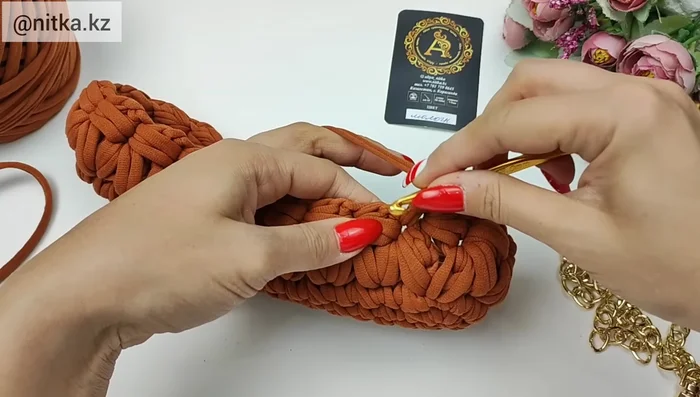
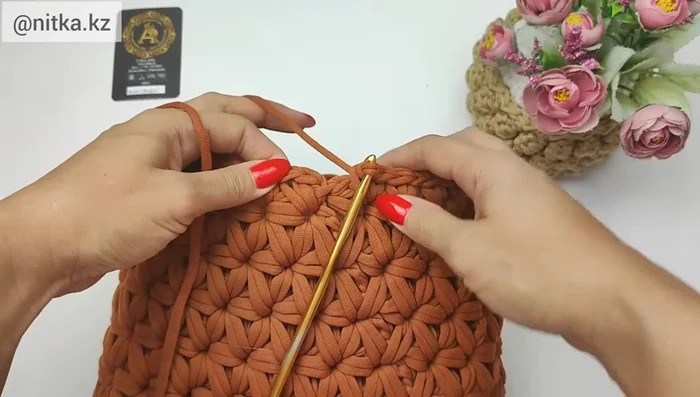
Second Row & Shaping Knitting the Bag Walls
- Make two air loops. Start knitting the pattern (detailed instructions are given in the video, focusing on creating long loops and specific stitch combinations).
- Continue knitting the pattern for six rows, following the specific instructions for each row, creating increases and decreases as indicated to form the bag shape.
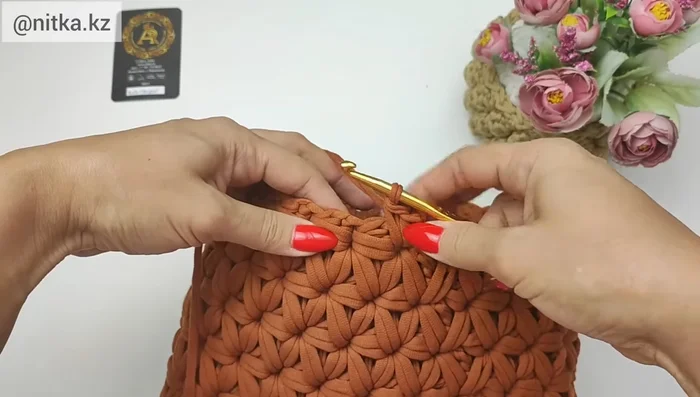
Knitting the Bag Walls Finishing Row
- Knit two single crochets together in each loop across the row to create a finished edge.
Finishing Row Finishing Touches
- Fasten off and weave in the ends. Attach the hardware (rings, chain, magnetic button).
Finishing Touches

Read more: Easy Color Block Crochet Blanket Tutorial for Beginners
Tips
- Stretch the yarn well before beginning.
- Leave 5cm of yarn at the beginning and end of each section.
- Pay attention to the twist of the yarn when forming loops for the pattern.
- If the thread is twisted, turn the knitting to distribute the yarn evenly.