Cozy up with a handmade striped knit blanket, perfect for snuggling on the couch or gifting to a loved one! Even if you're brand new to knitting, this project is surprisingly achievable. Forget complicated patterns and intricate stitches; this tutorial focuses on a simple, row-by-row method that's ideal for beginners. We'll guide you through each step, from casting on to binding off, ensuring a beautifully striped finish that you’ll be proud of. No prior knitting experience is necessary – just a willingness to learn and a pair of knitting needles!
This beginner-friendly tutorial will walk you through creating a stunning striped knit blanket using an easy-to-follow, row-by-row approach. Prepare to be amazed at how quickly and effortlessly you can craft a warm and welcoming addition to your home. Let's get started with the step-by-step instructions that will transform your yarn into a cozy masterpiece.
Preparation and Safety Guidelines
- Size 9 circular needles (or straight needles)
- Yarn (multiple colors)
- Always use sharp scissors to cut yarn to avoid fraying and ensure clean edges.
- Be mindful of your tension throughout the project. Inconsistent tension will result in an uneven blanket.
- If using metal needles, be cautious of sharp points and take breaks to avoid hand fatigue.
Step-by-Step Instructions
Casting On
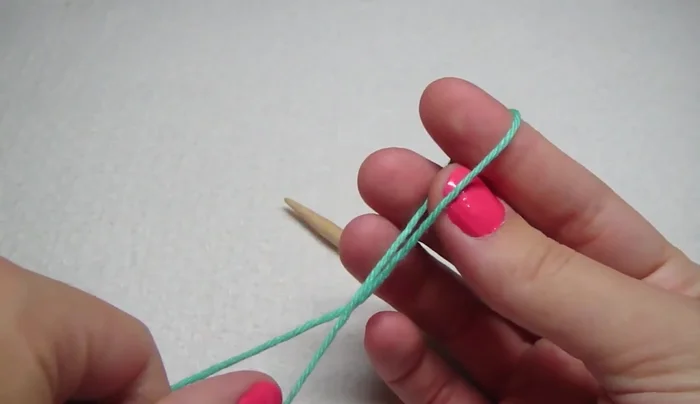
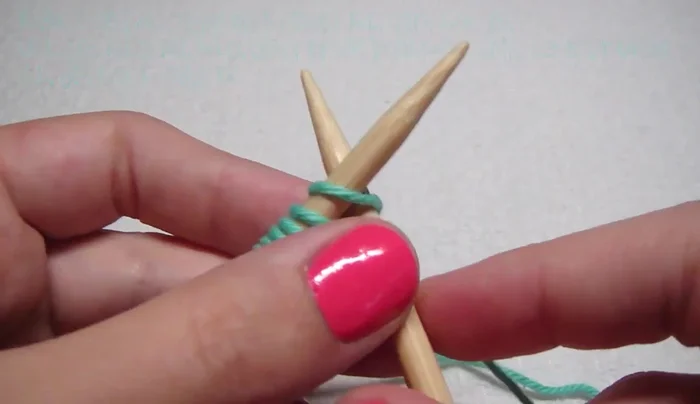
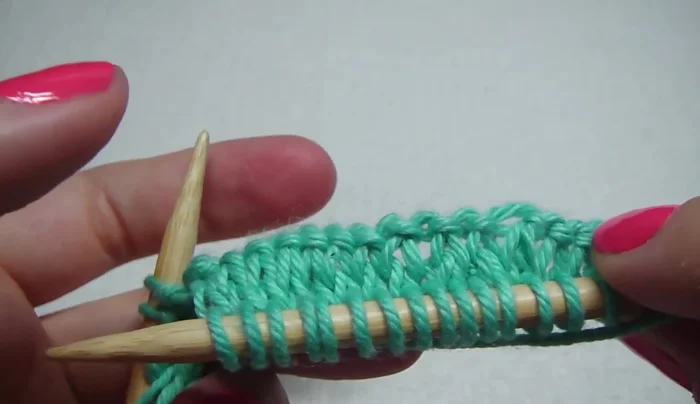
- Cast on 121 stitches using a long tail cast-on method.

Casting On First Color Stripes
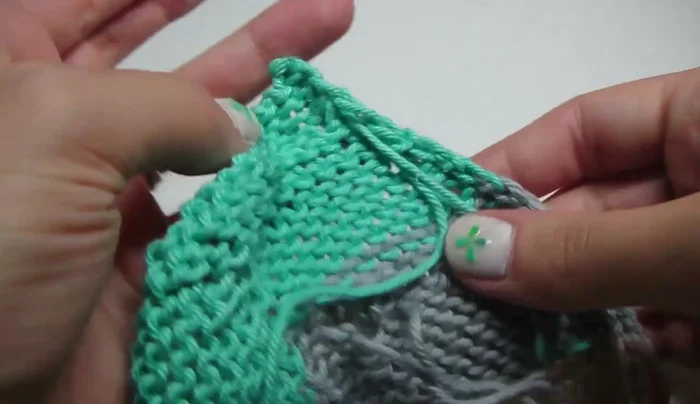
- Slip slip knit pattern. Knit one stitch, then slip the next two stitches as if to knit them together, then knit one more.
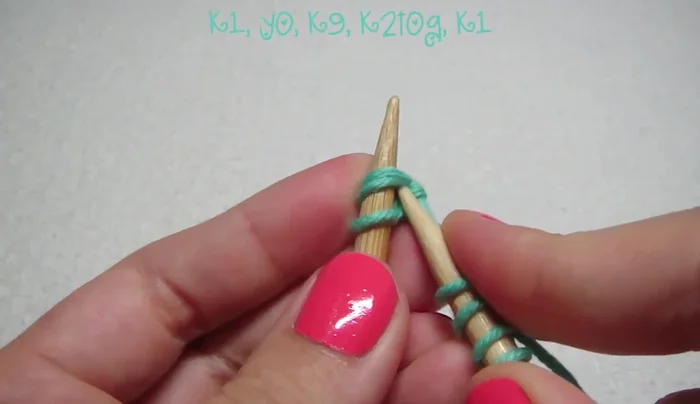
- Knit 9, yarn over, knit 1, yarn over, knit 10, Miter Decrease (MD), knit 10, yarn over.
- Knit 1, yarn over, knit 9, knit 2 together, knit 1.
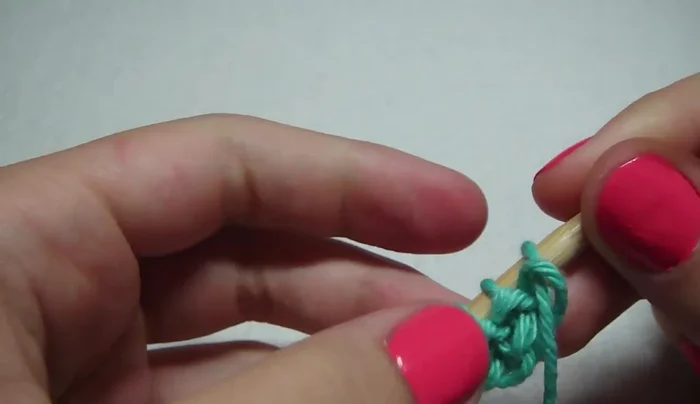
- Purl all stitches. Purl through the back loop of yarn overs.
First Color Stripes - Repeat rows 1 and 2 for 10 rows using your first color.
First Color Stripes Changing Yarn Color
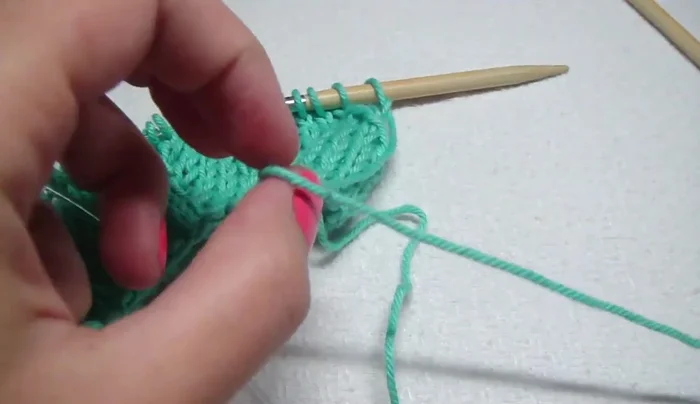
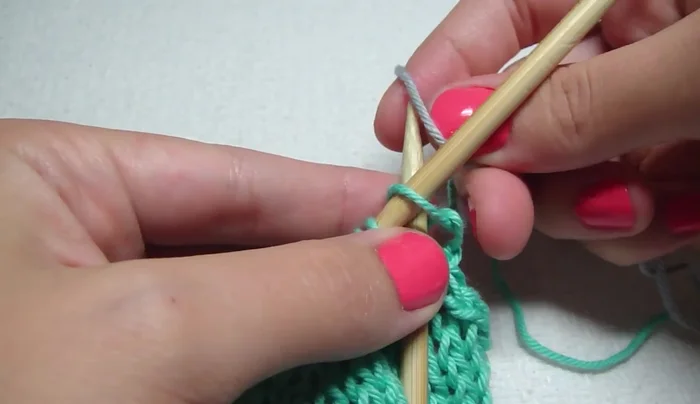
- Cut yarn, leaving enough tail to weave in later. Create a loop with the new color, knit the first stitch with the new yarn.
Changing Yarn Color Adding Stripes
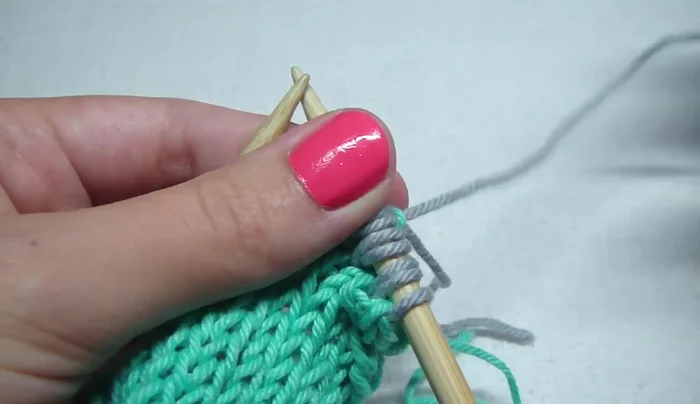
- Continue with the established pattern, using the new color.
- Repeat steps 6-8 to create the desired number of color stripes.
Adding Stripes Binding Off
- Knit 2 stitches, pass the first stitch over the second, repeat until all stitches are bound off.
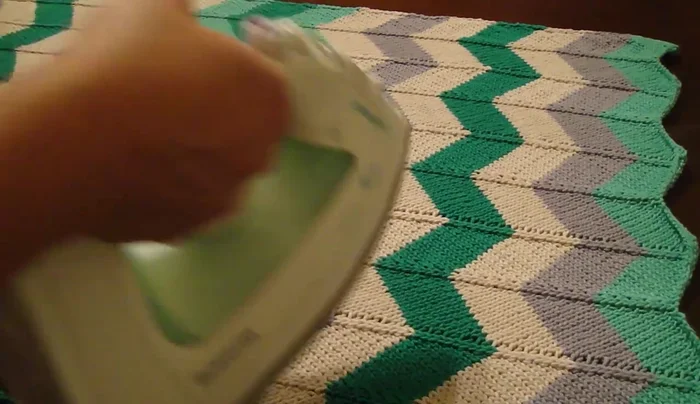
Binding Off Finishing Touches
- Weave in loose ends.
- Lightly steam-iron the finished blanket to achieve desired shape. Allow to completely cool and dry while laid flat.
Finishing Touches


Read more: Knitting a Reversible Basketweave Blanket: A Customizable Guide
Tips
- Use circular needles for easier work with the large number of stitches.
- Purl through the back loop of yarn overs on the wrong side rows to prevent holes.
- Bind off loosely to maintain a nice, relaxed edge.