The holiday season is a time for crafting, connection, and creating cherished memories. This year, why not try something truly unique and rewarding? Forget mass-produced ornaments; this beginner's guide will walk you through the surprisingly accessible art of knife-only Santa ornament carving. Using only a sharp knife and a small piece of wood, you'll transform a simple block into a charming, handcrafted decoration that will become a treasured keepsake for years to come. This isn't about intricate detail, but rather the satisfying process of shaping wood and capturing the essence of Santa Claus with simple, effective cuts.
Carving your own Santa ornament can be a surprisingly relaxing and fulfilling activity, perfect for a quiet evening or a fun family project. No prior experience is necessary – this guide offers a clear, step-by-step approach, guiding you through each stage with easy-to-follow instructions and helpful images. Ready to unleash your inner artisan and create a one-of-a-kind festive decoration? Let's dive into the step-by-step carving process!
Preparation and Safety Guidelines
- Knife
- Basswood (3-inch piece, 1.5 inch square)
- Chisel (optional)
- Gouge (optional)
- Hatchet (optional)
- Table saw (optional)
- 2x4 (optional)
- Pencil
- Eyescrews
- Wire
- Always use a sharp knife. A dull knife requires more force, increasing the risk of slips and cuts.
- Work on a stable, flat surface away from distractions. Keep your fingers clear of the blade at all times.
- Start with soft wood like basswood or balsa. Harder woods are more challenging for beginners and increase the risk of injury.
Step-by-Step Instructions
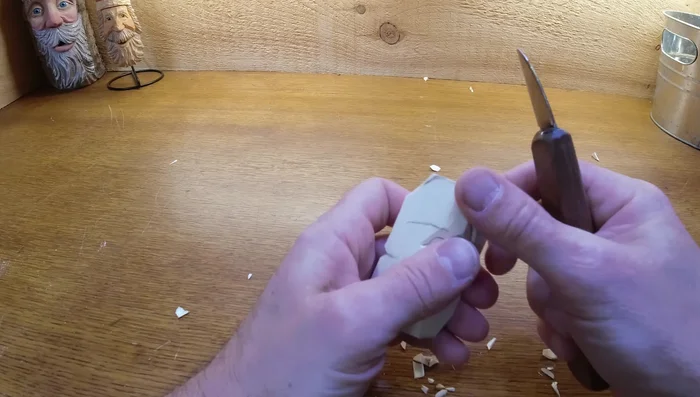
Preparing the Wood
- Splitting the Basswood:
- Cut two 45° angles on a 2x4 to create a splitting jig. Place the basswood on the jig and cut it in half.
- Follow the wood grain and carefully split the wood using a knife or chisel.
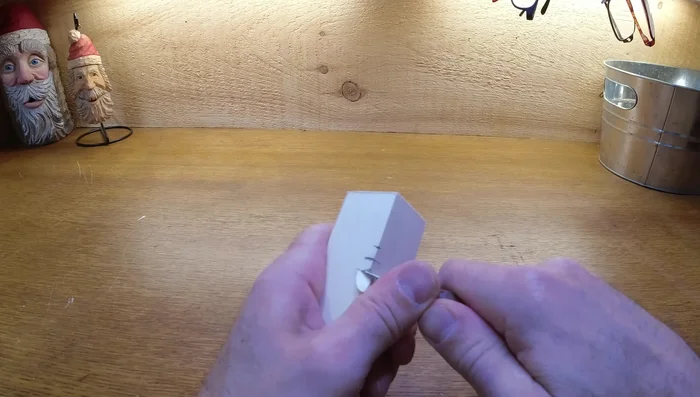
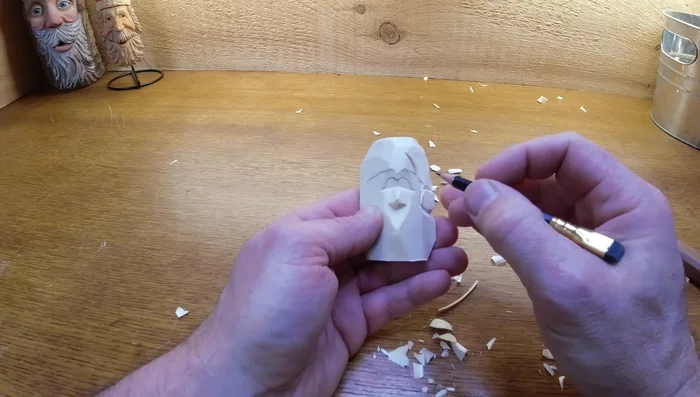
Carving the Face
- Mark the center for the nose.
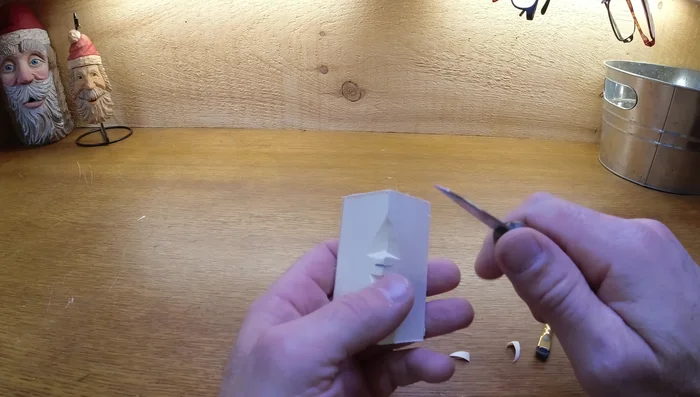
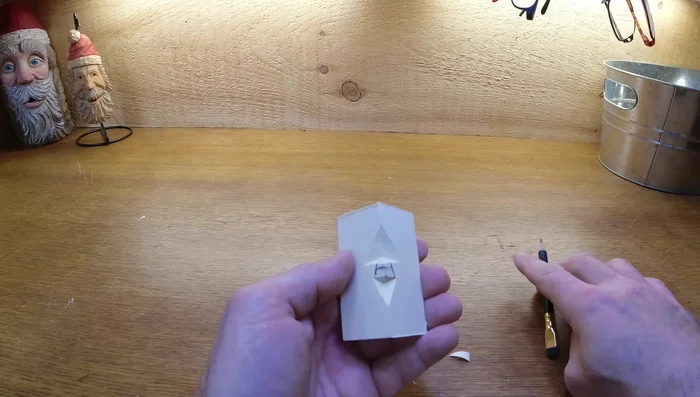
- Cut deeply for the bottom of the nose, then mark and cut the top. Flare the sides to shape.
- Cut back towards the nose to create an angle. Don't make the cuts too deep initially.
- Add angles to the nose, cutting away from the center. Clean up the edges, avoiding thin edges that can break easily.

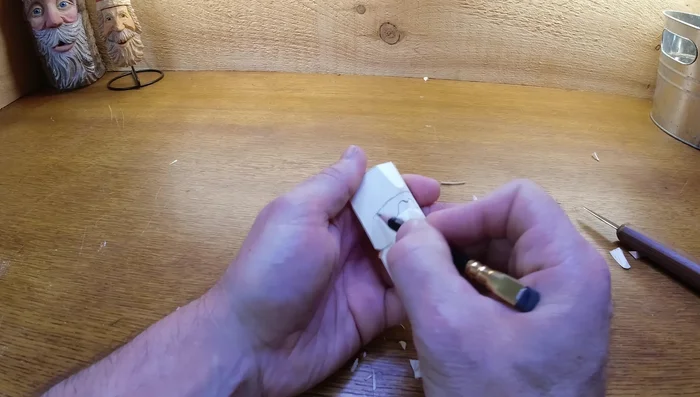
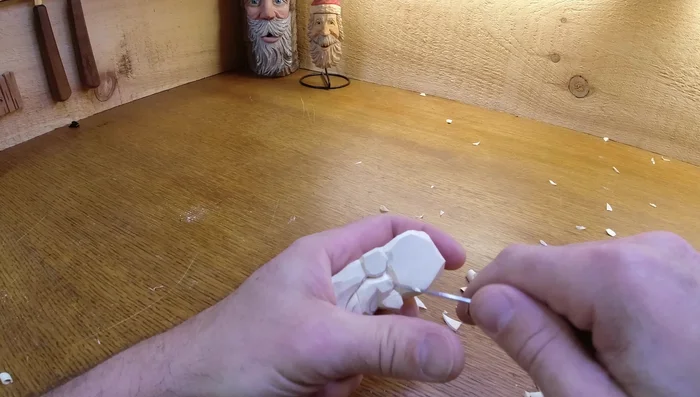
Carving the Face Carving the Hat
- Draw a line above the eyes to mark the hat brim. Cut the corners of the top of the head to create a hat shape. Carve the ball for the top of the hat, ensuring a deep cut to create the hat flop.
- Flatten out the hat brim and remove saw marks.
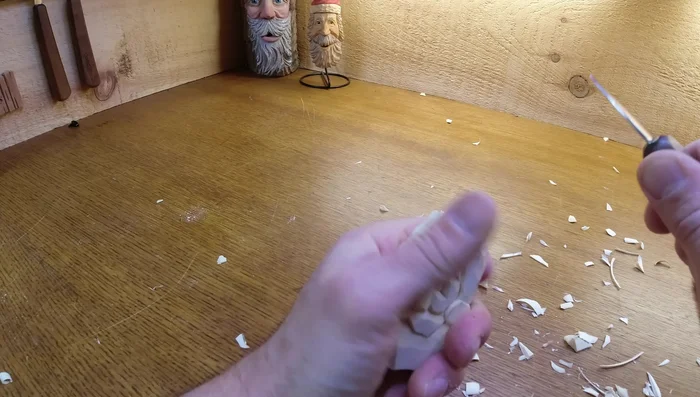
Carving the Hat Carving Hair and Beard
- Create the hair and beard with simple cuts, avoiding sharp edges.
Carving Hair and Beard Refining and Detailing
- Add depth to the hat, eyes, and beard. Add additional details and character as desired.
- Add a mustache and final details, such as little facets and shadows.
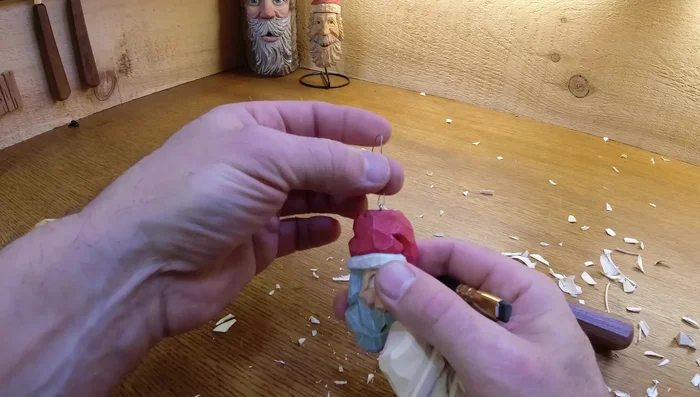
Refining and Detailing Finishing and Hanging
- Attach an eyescrew and wire for hanging the ornament.
Finishing and Hanging

Read more: Build a Stunning Black Walnut Coaster Set: The Ultimate Furniture Protector
Tips
- Don't worry about perfect cuts; the imperfections add character.
- Avoid thin edges; they are prone to breaking. Thicken them up.
- Keep the hat over the head, not sitting on top.
- Use V-cuts to add depth and shadow.
- Add random cuts to the beard to enhance its appearance.