Are you tired of bulky seams ruining the sleek, elegant look of your hand-knitted cowls and infinity scarves? The visible seam can often detract from the overall beauty of your finished project, leaving you with a less-than-perfect result. This is where the invisible slip stitch seam comes in – a magical technique that flawlessly joins your knitted pieces, creating a seamless, professional finish that will leave you feeling incredibly proud of your work. This seemingly intricate stitch is surprisingly simple to master, adding a touch of sophisticated elegance to your creations.
Forget fiddly weaving in ends or clumsy mattress stitches; this guide will reveal the secrets to achieving a perfectly invisible seam, enhancing the drape and overall appearance of your knitted accessories. Ready to elevate your knitting skills and create flawlessly finished cowls and infinity scarves? Let’s dive into the step-by-step process that will transform your knitting game.
Preparation and Safety Guidelines
- yarn
- needle
- crochet hook (optional)
- Use a yarn that matches your project closely in color and weight for an invisible seam. A significant difference will make the seam more noticeable.
- Work loosely! Tight tension can make it harder to weave the stitches invisibly and may result in a noticeable seam. Practice on a scrap of yarn first.
- Avoid pulling the yarn too tightly when closing the seam. This can distort your fabric and make the seam appear bulky or uneven.
Step-by-Step Instructions
Preparation
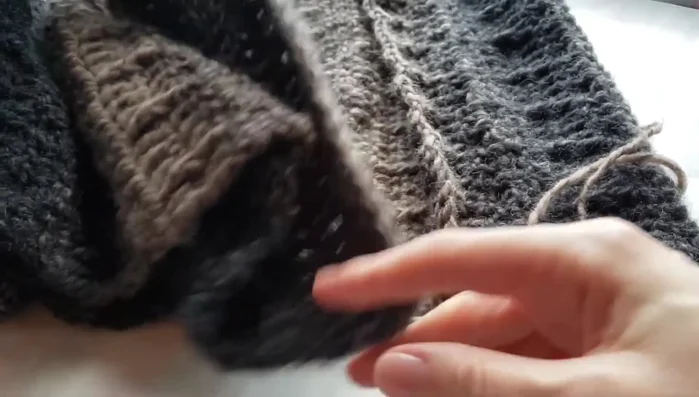
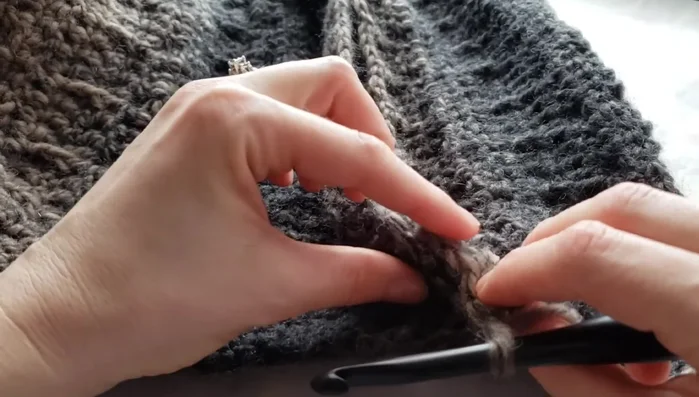
- Align the first and last rows of your cowl or infinity scarf.
- For a Mobius twist, give the scarf a half-twist before aligning the stitches.
- Align the stitches of the first and last rows.

Preparation Prepare for Seaming
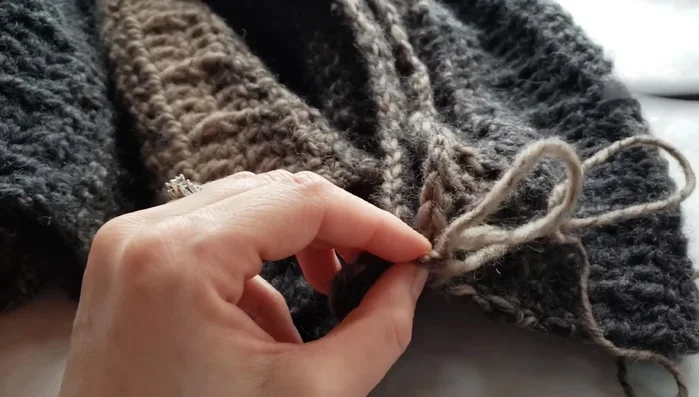
- If using a needle, thread your yarn and gently pull it out to create a loop for seaming. Ensure you have enough yarn.
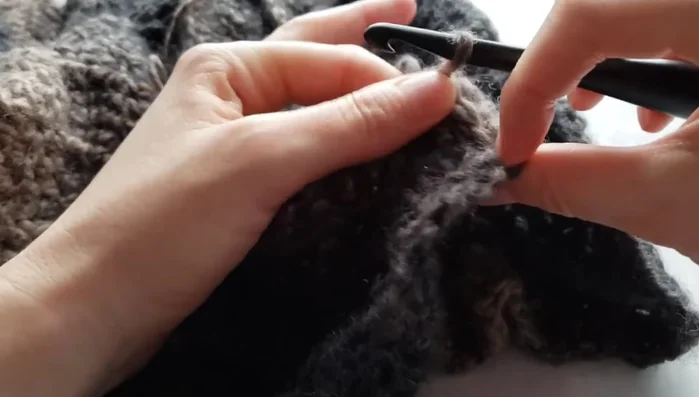
Prepare for Seaming Begin Slip Stitch Seam
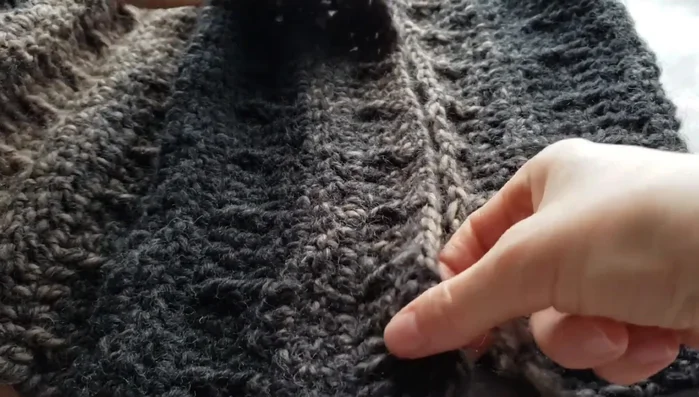
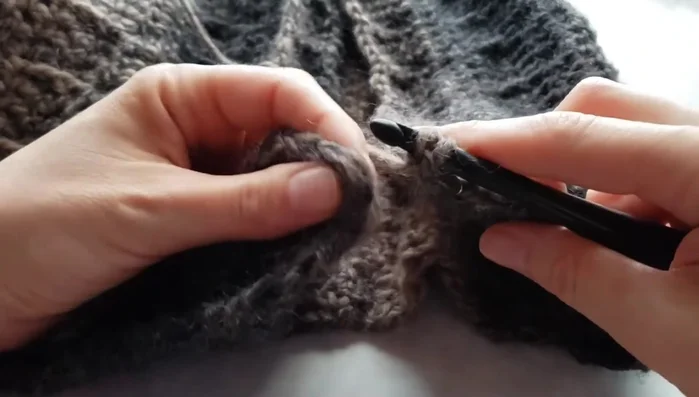
- Begin the slip stitch seam. You can choose to work through either the front or back loops to keep the seam less bulky. (Working with back loops is recommended.)
- Insert your hook (or needle) through the first stitch on both sides, catching both loops of each stitch.
- Yarn over and pull through all loops to secure the first stitch.
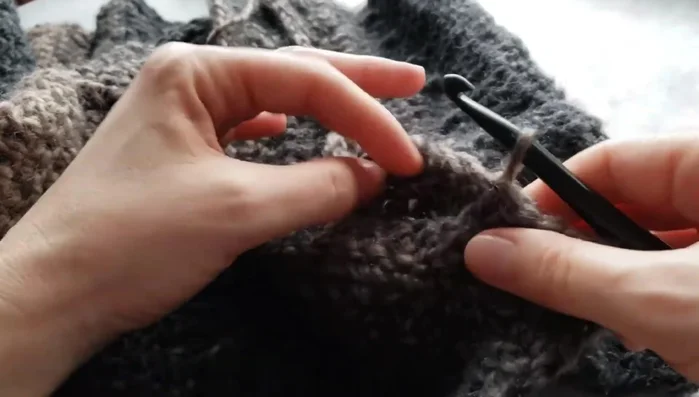
Begin Slip Stitch Seam Continue Slip Stitch Seam
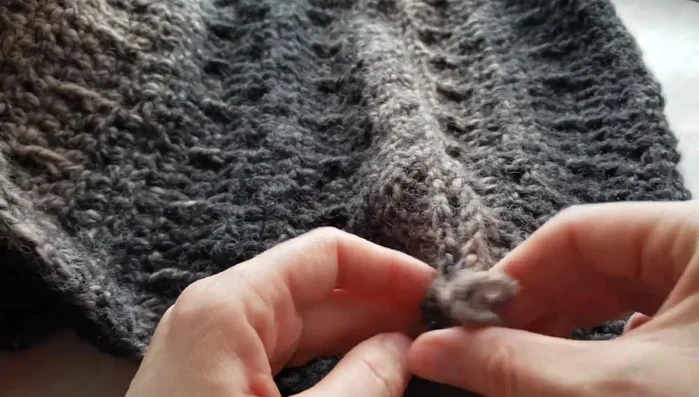
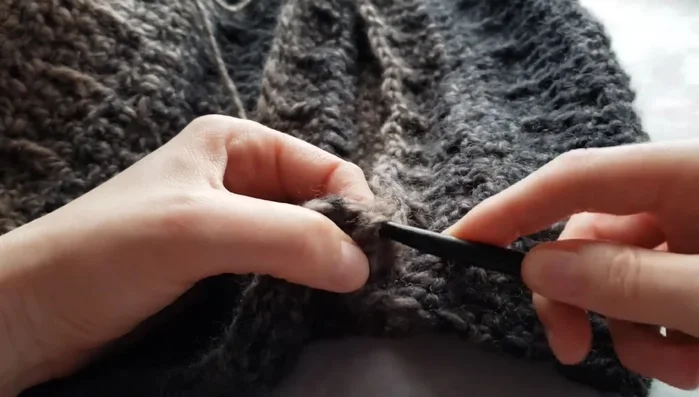
- Continue the slip stitch, inserting your hook through the back loops of each subsequent stitch on both sides. Yarn over and pull through.
- Maintain a loose tension to avoid cinching the scarf.
- Keep the stitches relatively wide and avoid inserting the hook into the same stitch twice.
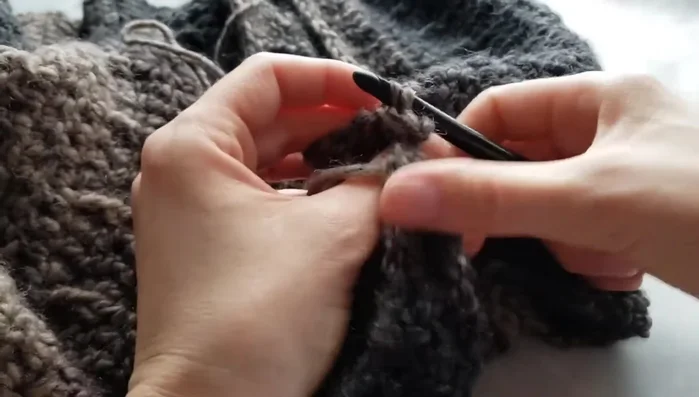
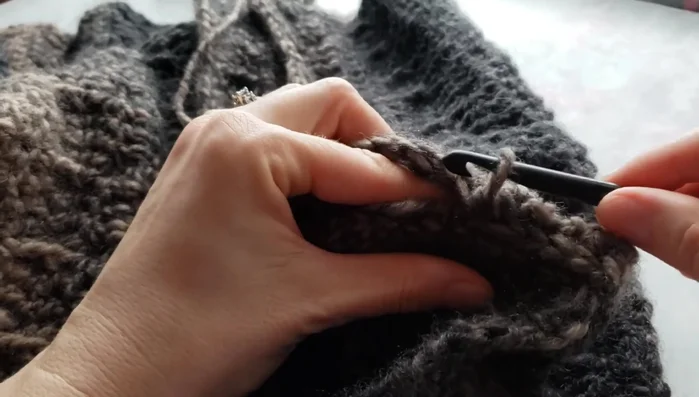
Continue Slip Stitch Seam Complete Seam
- Continue until all stitches are joined.
Complete Seam
Read more: Knitting a Reversible Basketweave Blanket: A Customizable Guide
Tips
- Use back loops for a less bulky seam.
- Keep the tension loose to prevent cinching the scarf.
- Avoid inserting the hook into the same stitch twice to maintain a neat and even seam.