Transform a humble log into a stunning, handcrafted hurricane hardwood cutting board – a testament to both rustic charm and modern elegance. This project isn't just about creating a functional kitchen tool; it's about embarking on a rewarding journey from raw material to a finished piece you'll be proud to display. Imagine the rich grain and natural beauty of hurricane hardwood, meticulously shaped and finished to create a cutting board that's as durable as it is visually captivating. This durable wood, known for its resilience and unique character, offers an unparalleled surface for prepping your favorite meals.
This detailed guide will walk you through each step, from selecting the perfect log to applying the final protective finish. We'll cover everything from safely milling the lumber to carefully shaping and sanding the board, ensuring a safe and stunning result. Ready to get your hands dirty and create a truly exceptional cutting board? Let's dive into the step-by-step process!
Preparation and Safety Guidelines
- Bandsaw
- Table saw
- Plywood
- MDF
- Clamps
- Router
- Straight bit
- Wood glue
- Sandpaper
- Purple Heart wood (optional)
- Always wear appropriate safety gear, including eye protection, hearing protection, and a dust mask, throughout the entire process. Woodworking generates dust and flying debris.
- Use extreme caution when operating power tools. Ensure they are properly secured and you understand their operation before use. Never rush.
- Hardwood can be very hard and dense. Use sharp blades and appropriate tools to avoid kickback or injury. Take your time and work methodically.
Step-by-Step Instructions
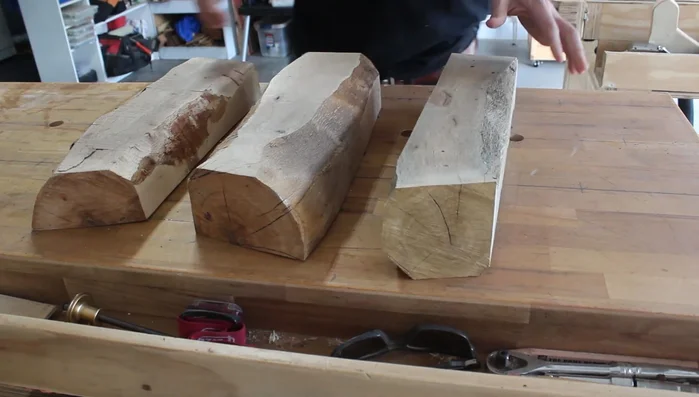
Initial Log Preparation
- Debarking and initial log cutting:
- Using plywood as a guide for straight cuts on the bandsaw. This creates two flat, 90-degree sides.

Initial Log Preparation Resizing for Table Saw
- Breaking down logs further using the bandsaw to manageable sizes for the table saw.
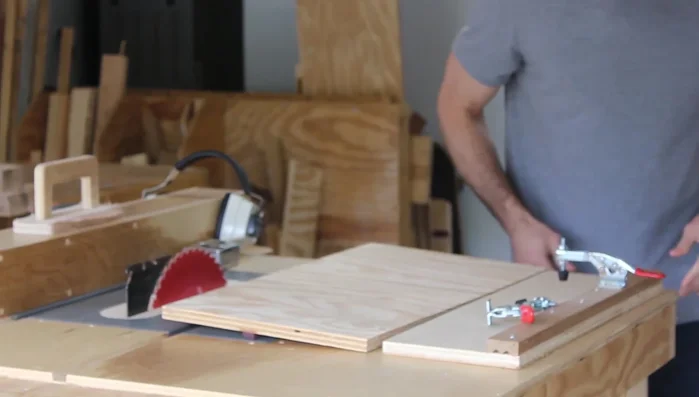
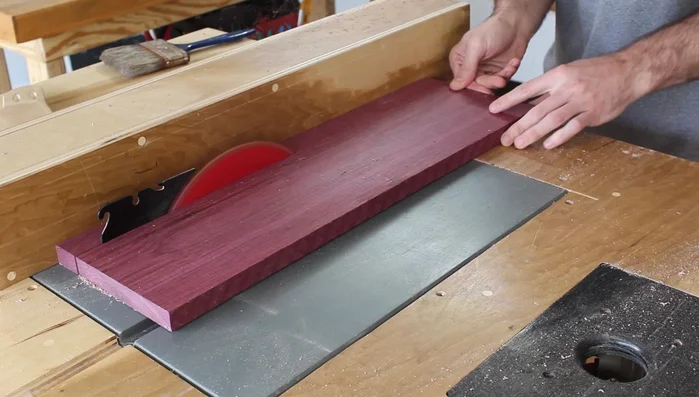
Resizing for Table Saw Straightening and Sizing
- Building and using a table saw jig for more accurate straightening of the boards. This ensures perfectly straight edges.
- Ripping the wood to the desired cutting board thickness on the table saw.
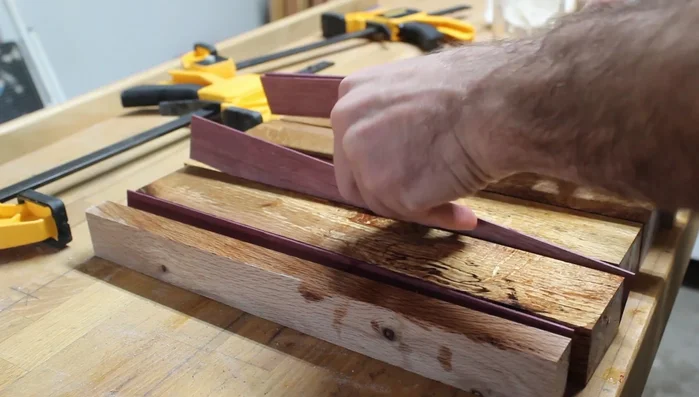
Straightening and Sizing Inlay (Optional)
- Gluing and clamping the inlay pieces.
Inlay (Optional) Flattening
- Flattening the cutting board using a router planing jig. This creates a perfectly flat surface without the need for a planer or jointer.
Finishing Touches
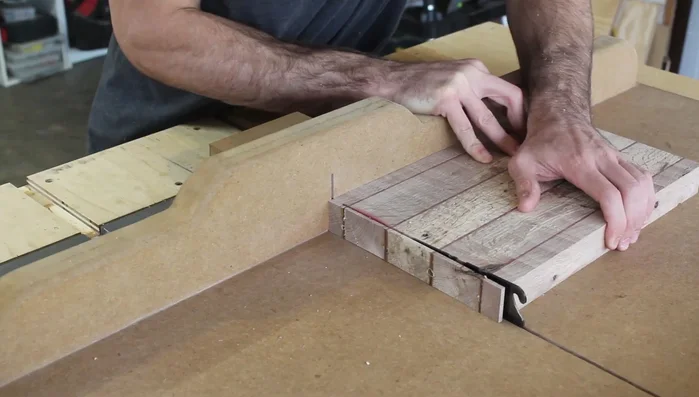
- Cleaning up the ends using a crosscut sled.
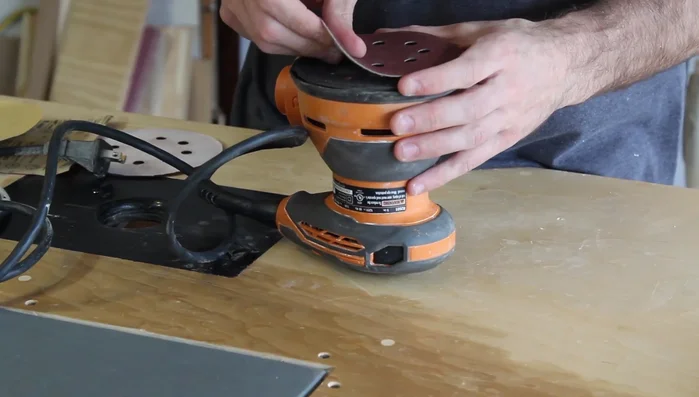
- Routing all edges and sanding the cutting board.
Finishing Touches

Read more: Build a Stunning Black Walnut Coaster Set: The Ultimate Furniture Protector
Tips
- Use plywood as a guide on your bandsaw to achieve perfectly straight cuts, especially when working with irregular log shapes.
- Build a simple but effective table saw jig to ensure accurate and straight cuts, improving the overall quality of your cutting board.
- If you don’t have a planer or jointer, a router planing jig is a great alternative for flattening the cutting board.