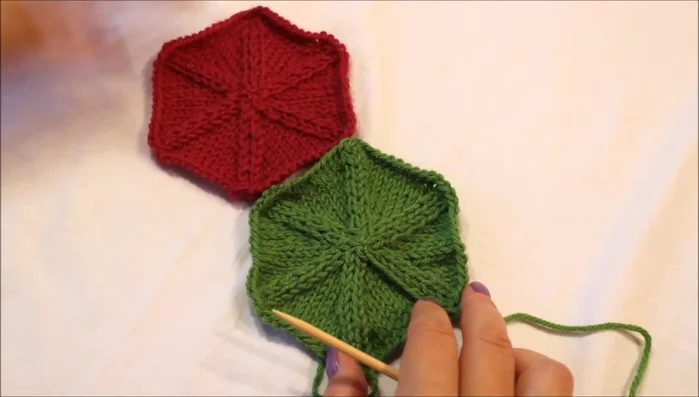
Granny squares are a timeless classic in the world of knitting, offering endless possibilities for creativity and customization. But traditional square granny squares can sometimes feel limiting, especially when you're aiming for a specific project shape or size. Enter the hexagon granny square – a versatile and surprisingly efficient alternative that offers the same charming aesthetic with a distinct geometric twist. This unique shape allows for seamless joining and a beautifully structured final piece, whether you're crafting a blanket, a bag, or a completely unique design. Hexagons also offer a more efficient use of yarn compared to their square counterparts, meaning less waste and faster project completion.
This tutorial will guide you through an efficient method for knitting a hexagon granny square, perfect for both beginners looking to expand their skills and experienced knitters seeking a streamlined approach. We'll cover everything from casting on and increasing stitches to shaping the beautiful points and finishing your square off flawlessly. Let's dive into the step-by-step process and discover the joy of creating stunning hexagon granny squares!
Preparation and Safety Guidelines
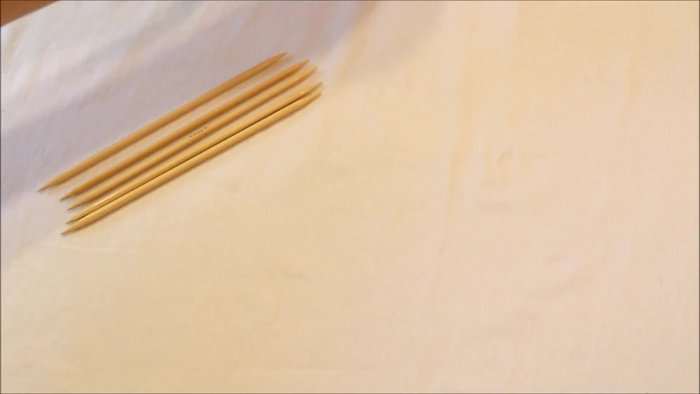
- Double pointed needles
- Bamboo or wooden needles (recommended)
- Yarn
- Use appropriately sized needles and yarn for your chosen pattern. Using the wrong size can lead to a misshapen hexagon or overly loose/tight stitches.
- Count your stitches carefully at the end of each round to ensure you're following the pattern correctly and haven't dropped any stitches. An incorrect stitch count will cause irregularities in the finished square.
- Be mindful of your tension. Consistent tension is key to achieving a neat and even hexagon. Practice your tension on a scrap yarn before starting the main project.
Step-by-Step Instructions
Initial Setup
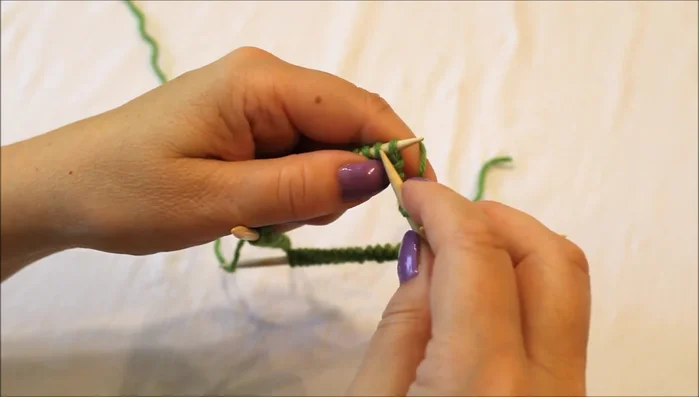
- Cast on 79 stitches using the long tail cast-on method directly onto your double pointed needles. Divide the stitches evenly across four needles (approximately 20, 20, 20, 19).
- Knit the first and last stitches together to close the ring. This creates a neat join.
- Knit one round without any increases or decreases.

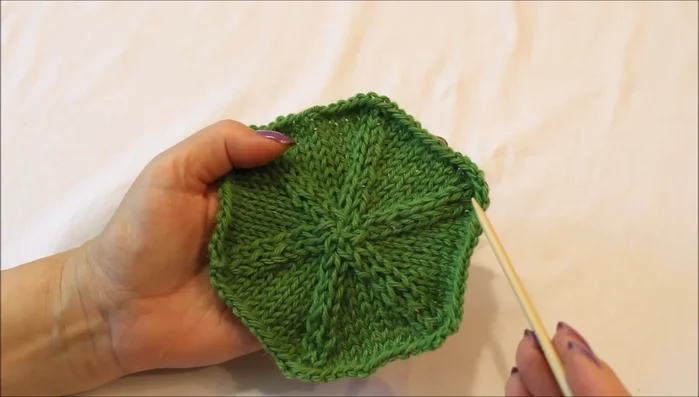
Initial Setup Decreasing Rows
- 9, 7, 5, 3, 1. Alternate left-leaning and right-leaning decreases.
- After each decrease row, knit one round without decreases.
- Continue decreasing and knitting plain rows until you reach the center. Adjust stitch placement as needed to maintain even tension and prevent stitches from spanning multiple needles.
Decreasing Rows Final Decrease and Finishing
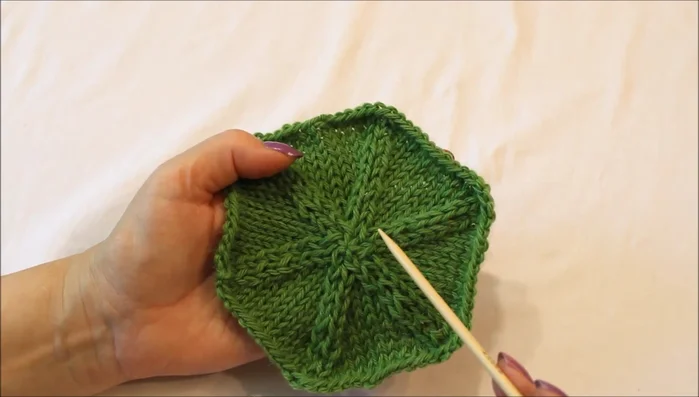
- The final decrease row involves knitting three stitches together at each point of the hexagon.
- Fasten off and weave in the ends.
- Block (wet and shape) the hexagon to even out the stitches and create a neat finish.
Final Decrease and Finishing

Read more: Knitting a Reversible Basketweave Blanket: A Customizable Guide
Tips
- Use bamboo or wooden needles to prevent stitches from falling off during the cast-on process.
- Maintain even tension throughout the knitting process. Gently pull stitches as needed to improve the appearance of the decreases.
- To decrease, use the left-leaning decrease method (slip one, slip one knitwise, knit both together) and the right-leaning decrease method (knit two together).