Hematite, with its deep, rich luster and grounding energy, is a popular choice for jewelry making. Its smooth, almost metallic sheen lends itself beautifully to wire wrapping, a technique that allows for the creation of unique and personalized pieces. This captivating stone, often associated with strength and stability, offers endless possibilities for creative expression, and today, we'll explore one of them: crafting a stunning hematite wire-wrapped bracelet. Learning to wire wrap allows you to personalize your jewelry, choosing your favorite stones and customizing the design to your liking.
This tutorial provides a comprehensive, step-by-step guide to creating your own elegant hematite bracelet using readily available materials. Whether you're a seasoned crafter or a complete beginner, you’ll find this guide easy to follow, providing clear instructions and helpful visuals along the way to ensure a successful project. Let’s dive into the process of crafting your own beautiful, handcrafted hematite wire-wrapped bracelet.
Preparation and Safety Guidelines
- 20 gauge artistic wire
- 18 gauge artistic wire
- 8mm hematite beads
- Bail making pliers
- Slimline chain nose pliers
- Flat nose pliers
- Round nose pliers
- Glimmer series Nipper tool (or flush cutters)
- Always wash your hands before and after handling jewelry-making materials to prevent contamination and maintain hygiene.
- Use caution when working with wire; sharp edges can cause cuts. Consider wearing gloves if needed.
- Hematite can be brittle. Avoid dropping or excessively bending the stones to prevent chipping or breakage.
Step-by-Step Instructions
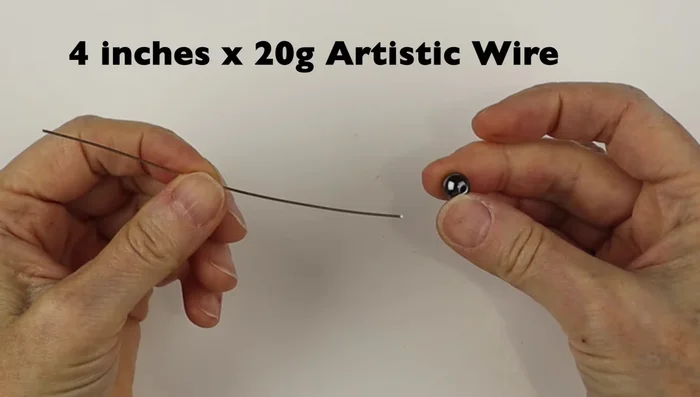
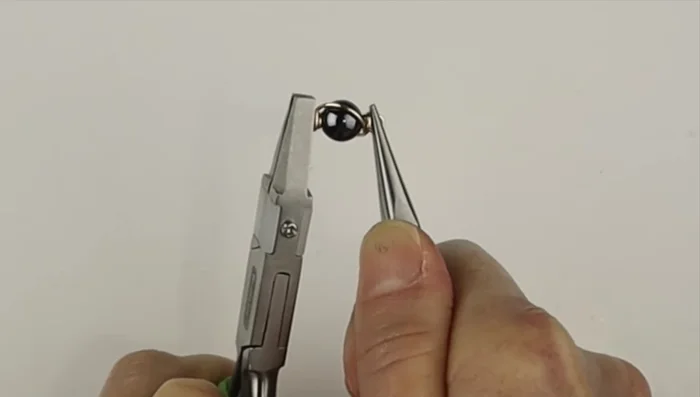
Prepare the Hematite Bead
- Prepare 4 inches of 20 gauge wire and slide on an 8mm hematite bead. Hold the bead firmly and push the wire down on both sides.
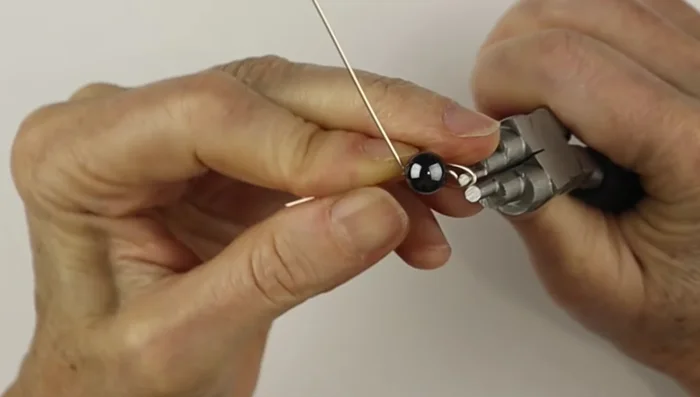
- Use bail making pliers to create a loop at one end of the wire, centering it on one side of the bead. Repeat on the other side.

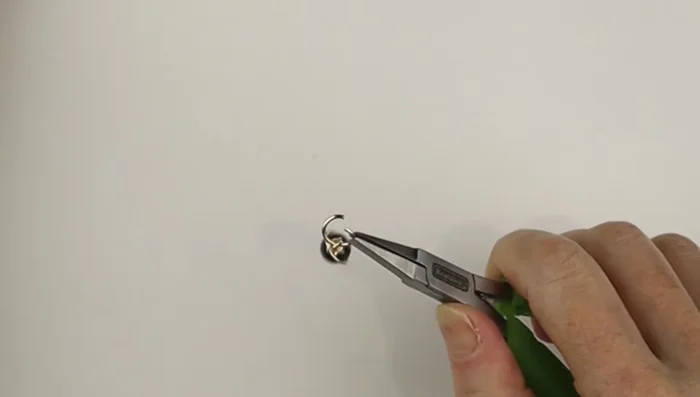
Prepare the Hematite Bead Secure the Bead with Wire Wrapping
- Hold the loop with chain nose pliers, wrap the wire around once, hold the other side, and wrap it around to the opposite side, pulling firmly.
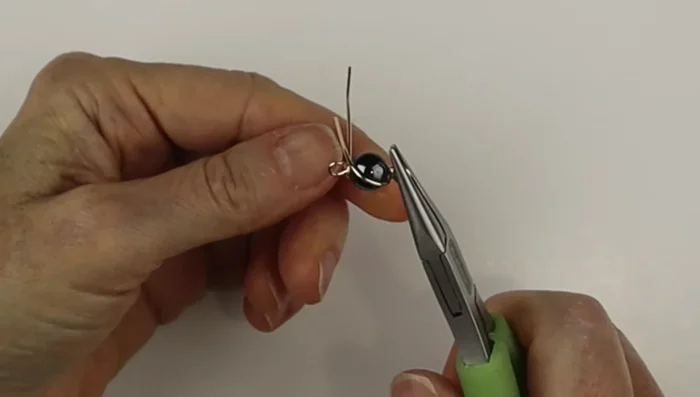
- Bring the wire over diagonally to one side, flip it, and repeat on the other side. Secure the wire loops by pushing them firmly in place with your finger.
- Use nippers (or flush cutters) to clip the wire ends flush. Use chain nose pliers to push in the cut ends to secure and hide them.
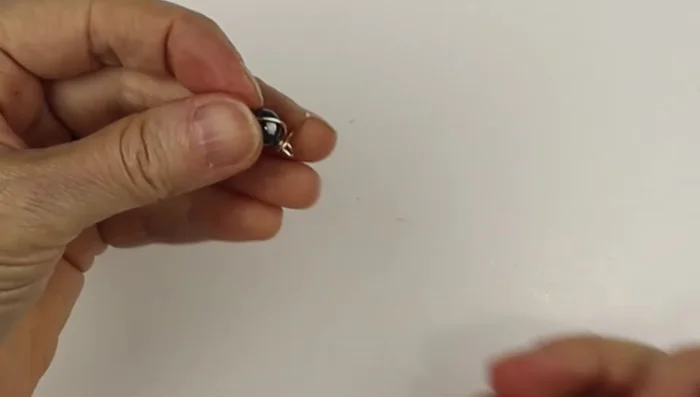
- Straighten out the loops using flat pliers.
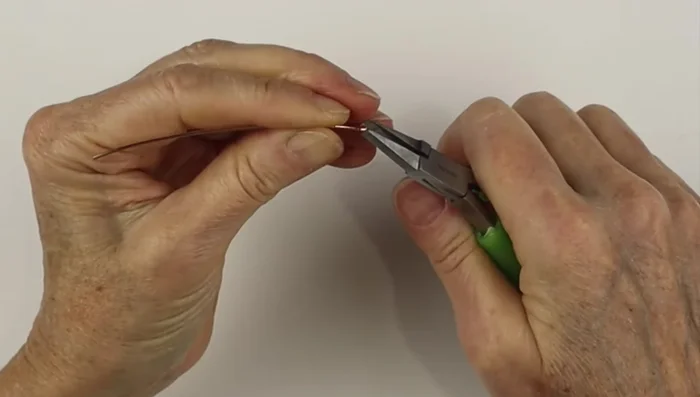
Secure the Bead with Wire Wrapping Create Jump Rings
- Create jump rings using 18 gauge wire and bail making pliers. Cut the wire flush with nippers on both ends.
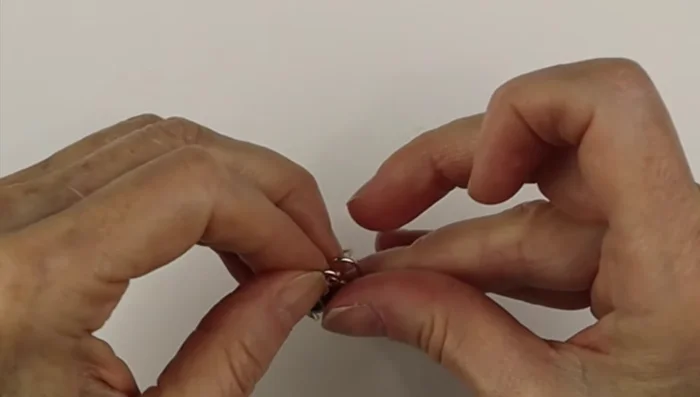
Assemble the Bracelet
- Open the jump rings and connect the beads together to form the bracelet length. Close the jump rings. You can hammer them for extra stiffness.
Assemble the Bracelet Make the Clasp
- Make a hook clasp using 3 inches of 18 gauge wire. Create a small loop at the end and pinch it closed. Make a hook using bail making pliers. Add a small loop to make it a safety clasp.
Make the Clasp Attach the Clasp
- Attach the clasp to one end of the bracelet using a jump ring.
- Add a jump ring to the other end of the bracelet to complete the closure.
Attach the Clasp
Read more: DIY Tiered Tassel Earrings: A Quick & Easy Jewelry Tutorial
Tips
- Use flush cutters to ensure clean cuts on the wire.
- Hammer jump rings to increase their stiffness.
- Make the small loop on the hook clasp as small as possible to prevent scratchiness.
- Use a smaller section of bail making pliers if the initial hook is too large.