Jewelry making offers a fantastic avenue for creativity and self-expression, allowing you to craft unique pieces that reflect your personal style. And what's more charming than a delicate heart-shaped ring? This tutorial provides a simple yet effective method for creating your own beautiful heart ring using readily available materials—specifically, wire. Forget expensive jewelry stores and embrace the satisfaction of handmade artistry. You'll be surprised at how easy it is to transform a humble length of wire into a stylish and meaningful accessory.
This easy heart-shaped wire ring tutorial guides you through the entire process, from selecting the right wire to the final touches. Get ready to learn the step-by-step instructions, complete with helpful images, that will have you crafting your own gorgeous heart ring in no time. So gather your supplies and let's get started!
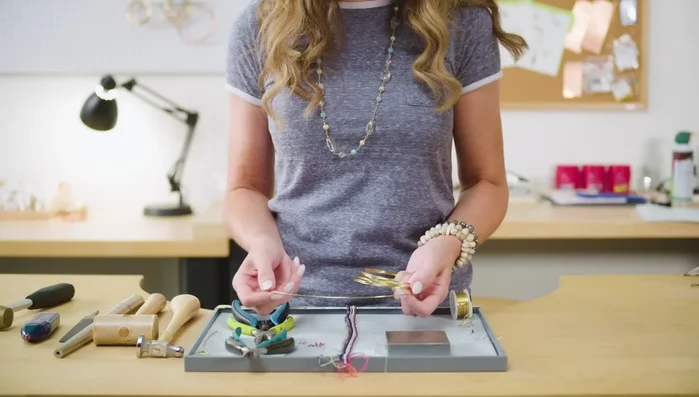
Preparation and Safety Guidelines
- Chain nose plier
- Flat nose plier
- Heavier gauge wire
- 6-step looper
- Flush cutter
- Chasing hammer
- Rawhide hammer
- Ring mandrel
- Bench block
- File
- Wire rounder
- 26 gauge wire
- 2mm round garnets (or other beads)
- Always use wire cutters with caution. Keep fingers clear of the cutting blades to avoid injury.
- Be mindful of sharp wire ends. Smooth any rough edges after cutting and shaping to prevent scratches or cuts.
- If you are using jewelry wire that is not already coated, be aware that some metals may cause skin reactions. Consider using hypoallergenic wire or applying a protective coating.
Step-by-Step Instructions
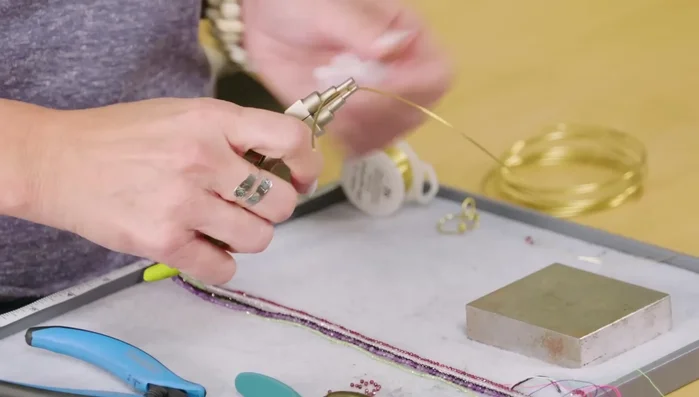
Prepare the Wire
- Cut approximately 8 inches of 16-gauge wire.

Prepare the Wire Create the Heart Shape
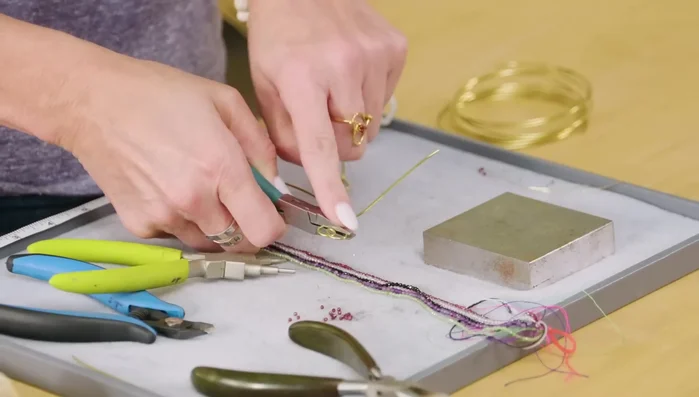
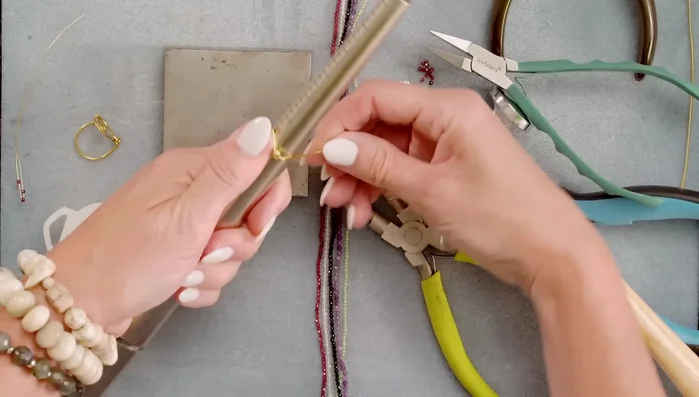
- Use the smallest bail on your 6-step looper to create a small loop in the center of the wire.
- Gently shape the wire into a heart shape using your hands, curving the wire downwards on each side of the loop.
Create the Heart Shape Form the Heart Base
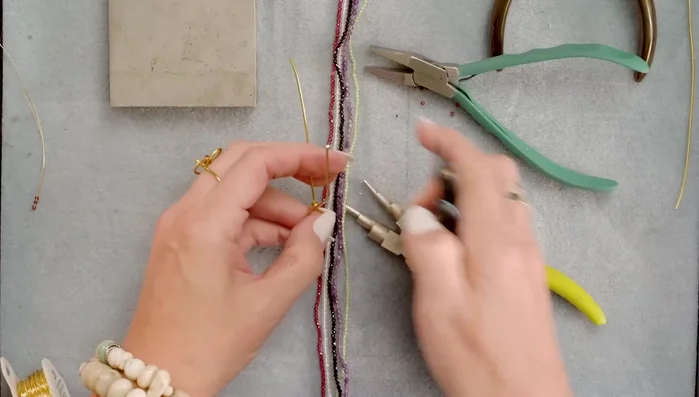
- Use flat nose pliers to bend the top wire of the heart at a 90-degree angle where it meets the other wire.
- Wrap the remaining wire around the base of the heart twice, securing it with flat nose pliers.
- Trim the excess wire with flush cutters and squeeze the end flat with pliers.
Form the Heart Base Refine the Heart
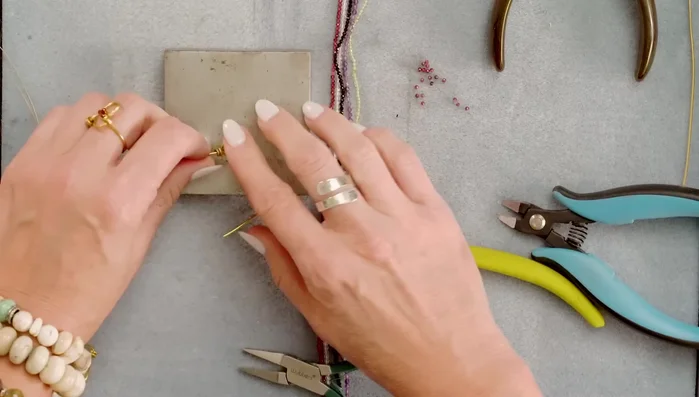
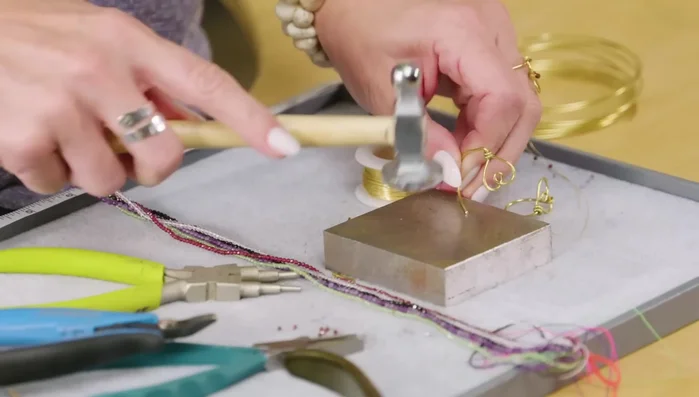
- Lightly hammer the edges of the heart using a chasing hammer and bench block for added detail.
Refine the Heart Create the Ring Base
- Bend the remaining wire to form a U-shape for the ring base, leaving about a quarter inch above the heart.
- Bend the U-shaped wire around a ring mandrel to size 7.
Create the Ring Base Prepare the Ring Closure
- Trim any excess wire and use the wire rounder to smooth the edges of the paddle.
- Use a chasing hammer to shape the paddle.
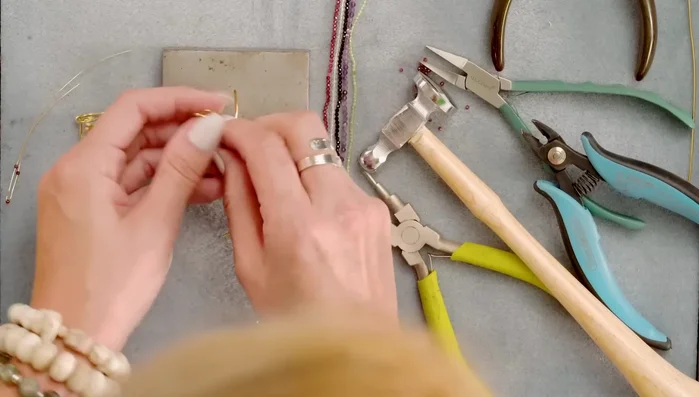
Prepare the Ring Closure Close the Ring
- Open the ring slightly to add the paddle, positioning it under the heart.
- Bend the paddle over the edge of the ring and down, securing it with rawhide mallet.
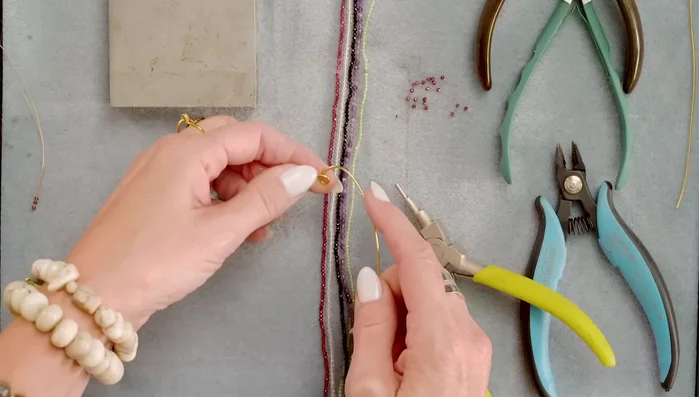
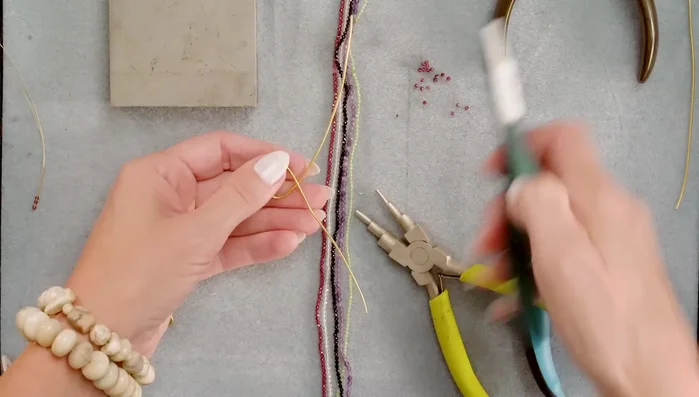
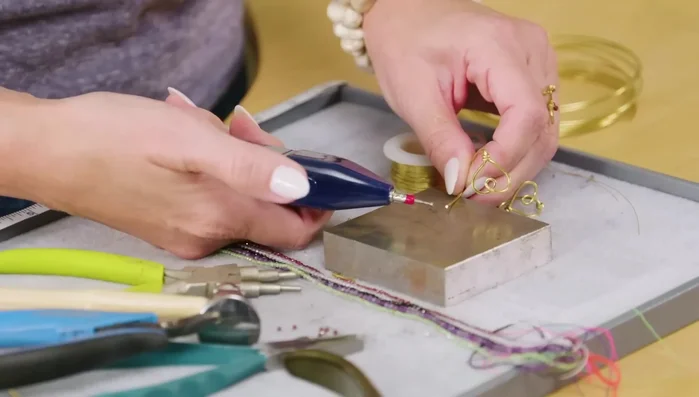
Close the Ring Add Accent Beads (Optional)
- Add accent beads (optional) by stringing them onto 26-gauge wire and securing them to the center of the heart.
Add Accent Beads (Optional)
Read more: DIY Tiered Tassel Earrings: A Quick & Easy Jewelry Tutorial
Tips
- Use heavier tools for heavier gauge wire.
- A 6-step looper helps make precise shapes.
- Don't make the heart too big or too small, aim for a good balance.
- Two wraps of the base wire are sufficient for a U-shaped ring.
- Rounding the wire before hammering the paddle creates a neater finish.