Are you dreaming of a cozy, handmade blanket to snuggle under on chilly evenings? Then look no further! The Harlan blanket is the perfect project for beginner knitters looking to create a beautiful and functional piece. This simple yet stunning design utilizes only the garter stitch, making it incredibly accessible even if you've only just picked up knitting needles for the first time. No complicated patterns or intricate stitches will stand between you and a wonderfully warm handmade creation. The generous size is ideal for sharing – perfect for gifting or keeping all to yourself!
This tutorial will guide you through every step of knitting the Harlan blanket, from casting on to binding off. We'll cover choosing the right yarn, calculating the necessary yardage, and understanding the simple garter stitch technique. Ready to embark on your knitting journey and create a truly special blanket? Let's get started with the step-by-step instructions below.
Preparation and Safety Guidelines
- Size 10.5 (6.5 mm) circular knitting needles (32 inches long)
- Lion Brand Pound of Love yarn (color: Maze)
- Always use sharp scissors to cut yarn; dull scissors can cause snags and injuries.
- Ensure your needles are the correct size for your chosen yarn weight to avoid loose or tight tension, which can affect the final look and feel of your blanket.
- Take breaks to avoid eye strain and repetitive strain injuries. Knitting should be enjoyable; don't push yourself too hard.
Step-by-Step Instructions
Initial Setup
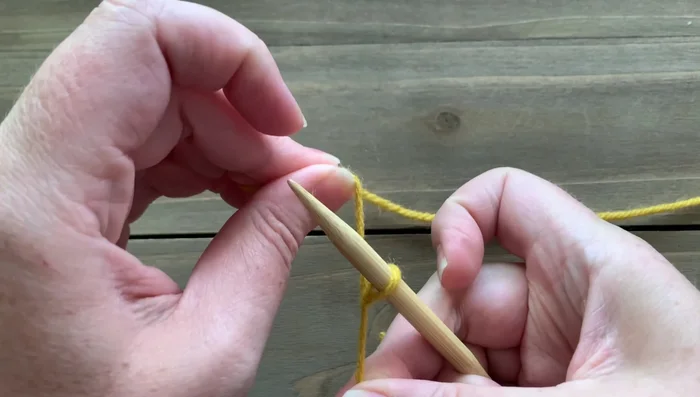
- Make one slip knot on your needle. No casting on required.

Initial Setup Increasing Panel
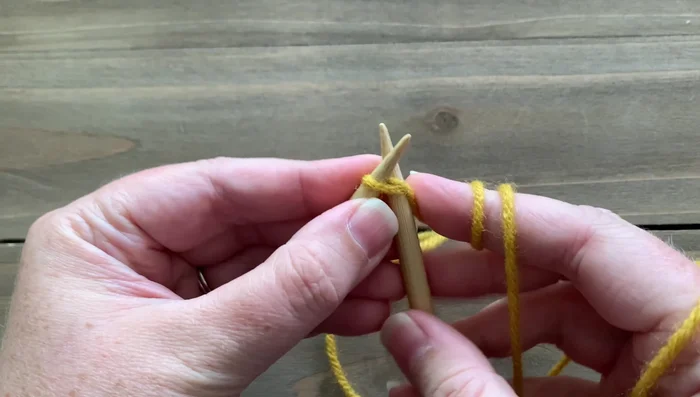
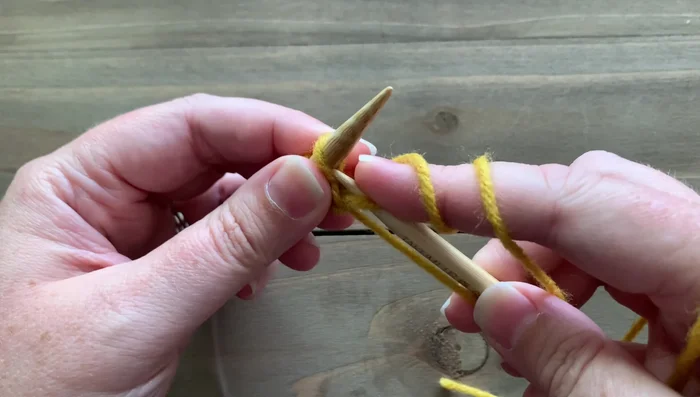
- Knit one front and back (K1fb) at the beginning of every row. To K1fb: insert needle into stitch, yarn over, pull up a loop, insert needle into the back of the same stitch, yarn over, and draw up another loop. Knit off both loops.
- Continue increasing at the beginning of each row for a total of 144 rows (resulting in 145 stitches).
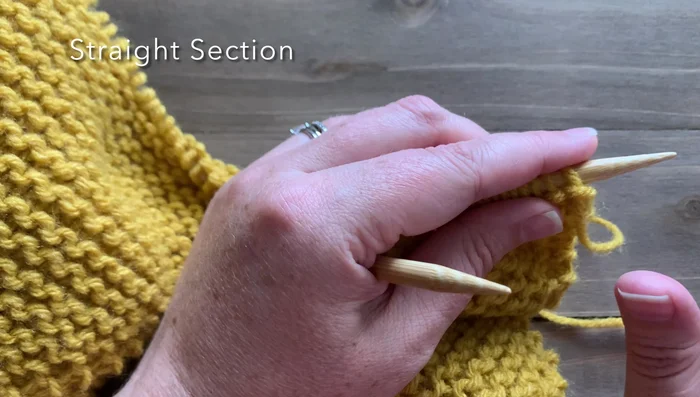
Increasing Panel Straight Section
- Knit the first stitch, then knit two together (K2tog) at the beginning of each row to decrease. Knit across remaining stitches. Alternate decrease rows (K1, K2tog, knit across) and increase rows (K1fb, knit across) for 30 rows.
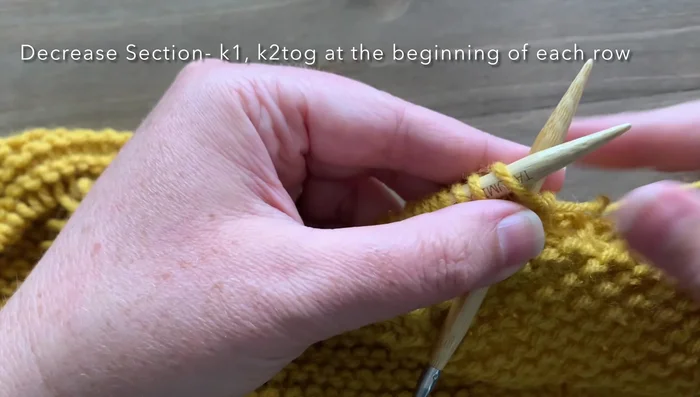
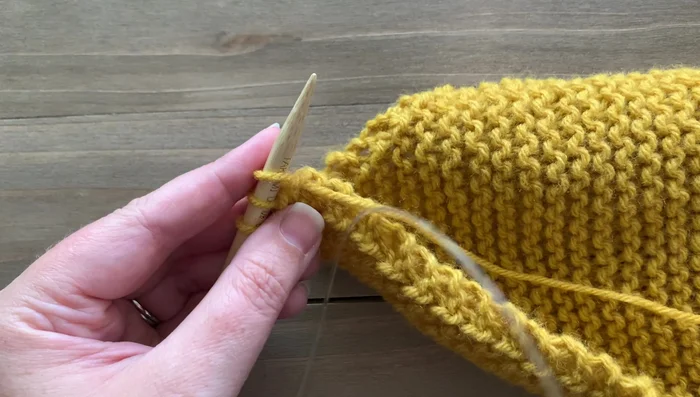
Straight Section Decreasing Panel
- Knit the first stitch, then knit two together (K2tog) at the beginning of each row. Knit across remaining stitches. Repeat until three stitches remain; knit one, then knit two together.
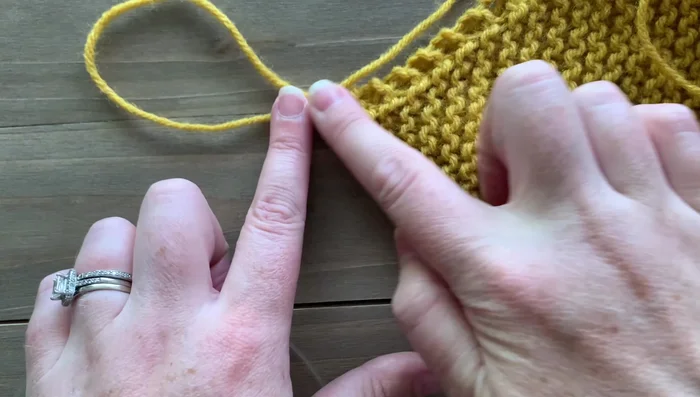
- Knit two stitches together. Cut yarn, leaving a tail for seaming.
Decreasing Panel Repeat Panels
- Repeat steps 2-6 three more times to create four identical panels.
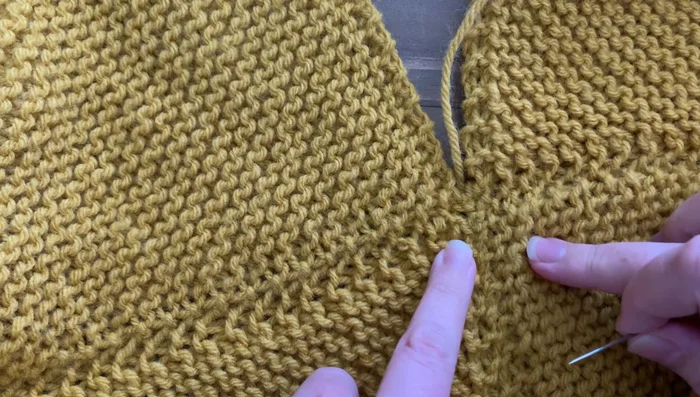
Repeat Panels Seaming
- Seam the four panels together, aligning garter ridges to form a diamond pattern in the center. Use your preferred seaming method (e.g., zigzag seam).
Seaming Optional Tassels
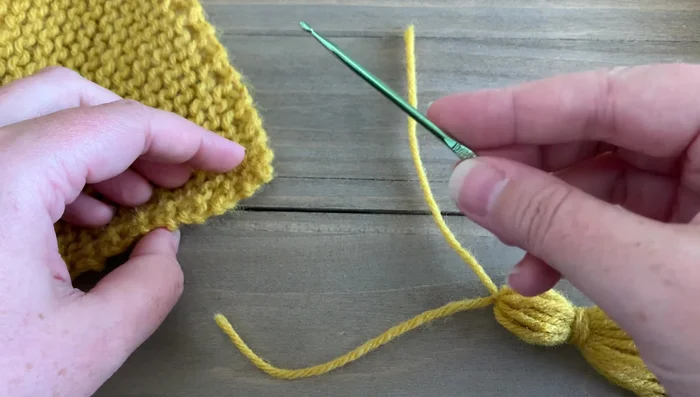
- Add tassels to each corner. Wrap yarn around a cardboard or similar object 10-14 times, cut, and tie a length of yarn around the wrapped section to secure. Trim the loops, and tie a longer piece of yarn around the top of the tassel. Secure the ends with a crochet hook.
- Attach tassels to the corners of the blanket using a crochet hook, weaving in the ends.
Optional Tassels
Read more: Knitting a Reversible Basketweave Blanket: A Customizable Guide
Tips
- Don't be discouraged if the blanket initially looks like a small blob. The triangle shape will develop gradually.
- Use stitch markers to keep track of rows and edges, especially during the straight and decrease sections.
- Always increase or decrease at the beginning of the row to maintain the garter stitch pattern.
- Ensure that the garter stitch ridges form a diamond shape in the center when seaming panels.