Hand-embroidered knit sweaters offer a unique blend of cozy comfort and personalized style, but the thought of adding intricate embroidery can seem daunting. Forget the complex patterns and time-consuming techniques; this guide unveils the easiest and fastest method for embellishing your knitwear. We'll bypass elaborate stitching styles and focus on simple yet effective techniques that even beginners can master, transforming a plain sweater into a cherished, one-of-a-kind piece. Think bold outlines, playful motifs, or subtle accents – the possibilities are endless!
This approachable tutorial prioritizes speed and simplicity without sacrificing visual impact. We'll explore the best materials for both knitting and embroidery, offering clear instructions for choosing appropriate stitches and efficiently transferring your design to your sweater. Ready to elevate your knitwear game? Let's dive into the step-by-step process and create your own hand-embroidered masterpiece.
Preparation and Safety Guidelines
- Knit sweater
- Water-soluble pen (Mark B Gone)
- Sticky & water-soluble stabilizer (Sulky)
- Yarn (Big Twist Gentle, 5 gauge)
- Yarn darners (Dritz, large eye)
- Tracing pad (or open window)
- Canva app
- Use a sharp embroidery needle appropriate for your yarn type to avoid snagging or breaking the knit fabric.
- Test your embroidery stitches on a scrap piece of the same knit fabric before embroidering on your sweater to ensure the stitches work well with the fabric and yarn.
- Work slowly and carefully to avoid pulling or stretching the knit fabric, which can cause distortion or damage.
Step-by-Step Instructions
Design and Prepare
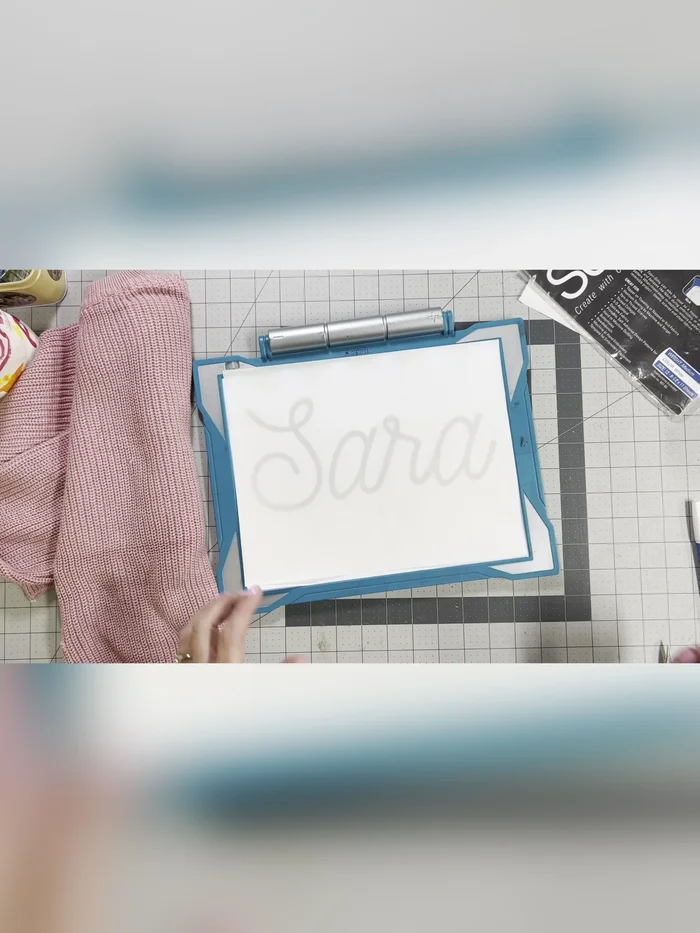
- Create your name design using the Canva app. Choose a font (like Harmony), rotate and resize it to fit an 8.5x11 sheet.
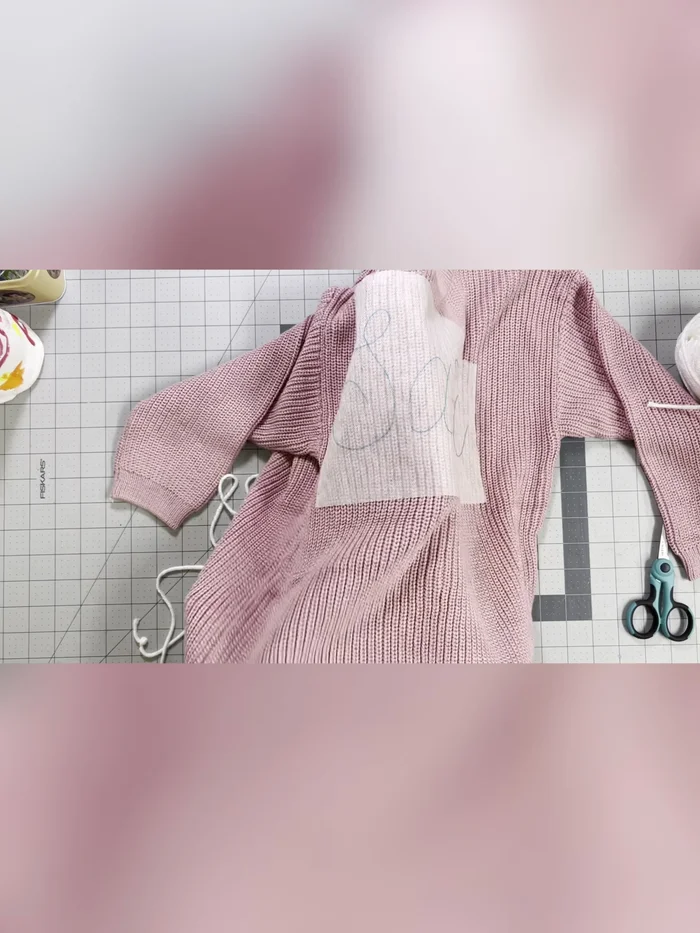
- Print the design. Place the stabilizer's fabric side up and trace the name onto it using the water-soluble pen.
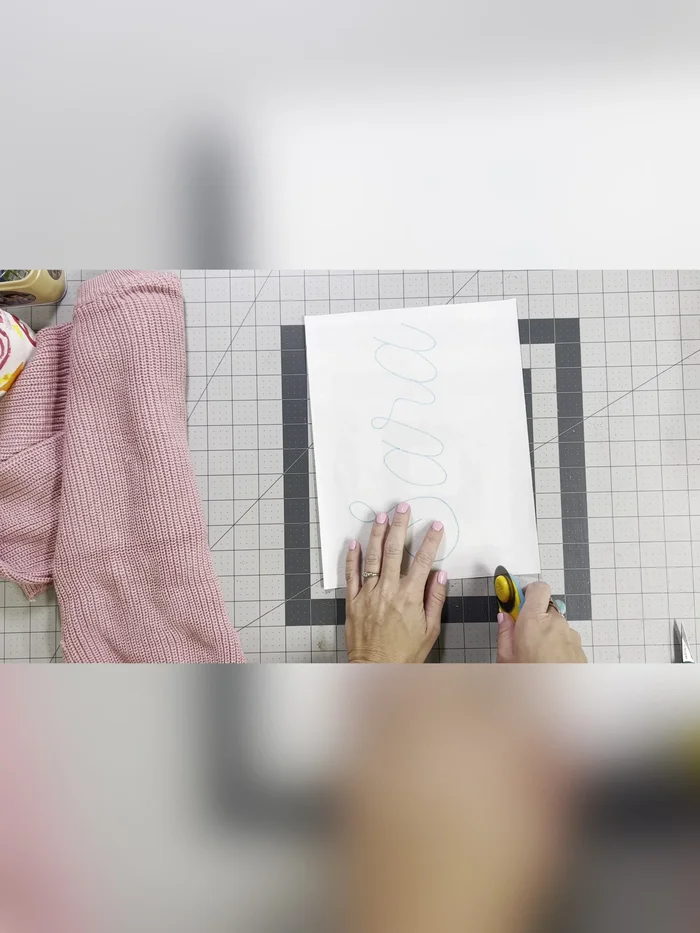
- Lightly trim the excess stabilizer, leaving a generous border around your name.

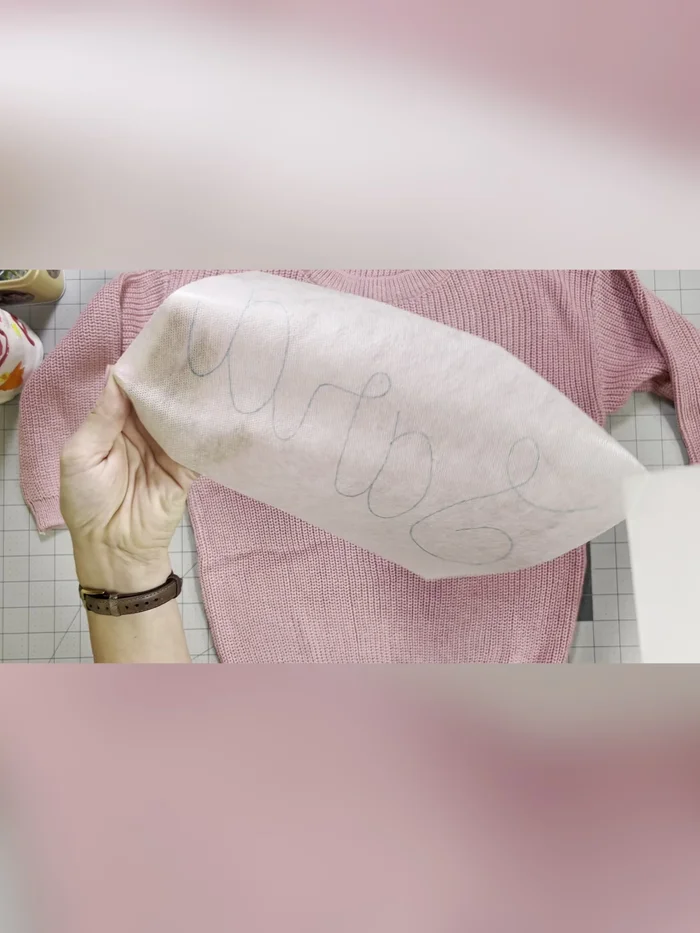
Design and Prepare Apply Stabilizer
- Peel the paper backing off the stabilizer. Center and firmly adhere it to the sweater.
Apply Stabilizer Prepare Needle and Thread
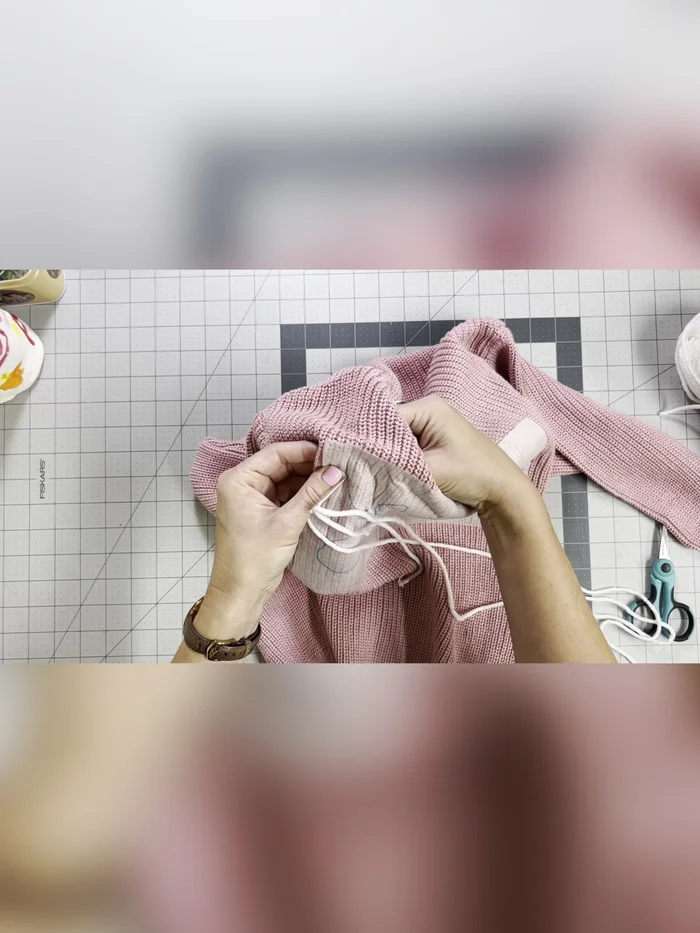
- Thread a darning needle with a 45-50 inch length of yarn. Triple knot the end.
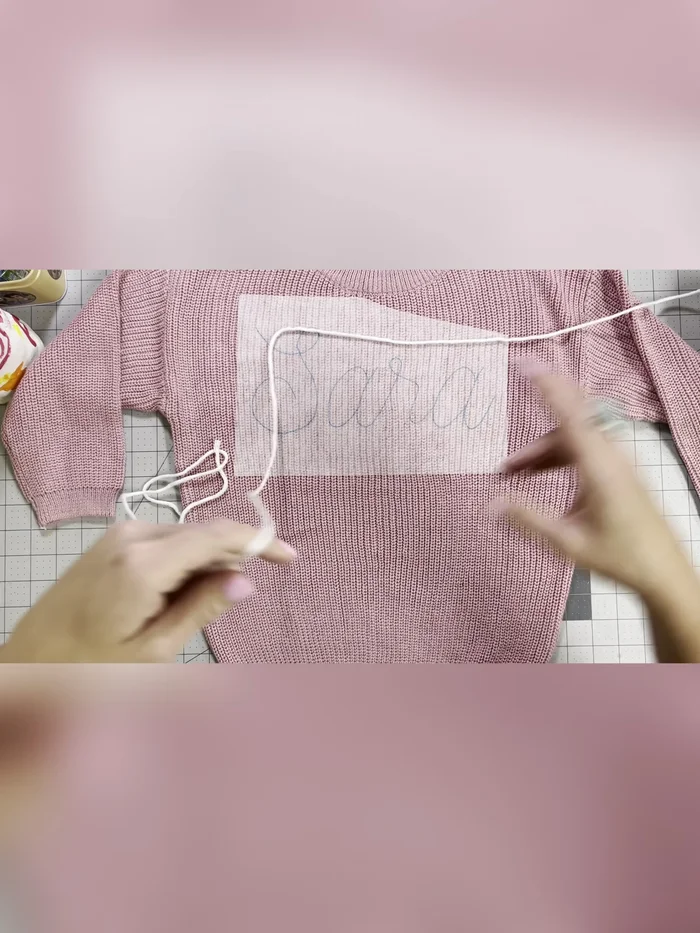
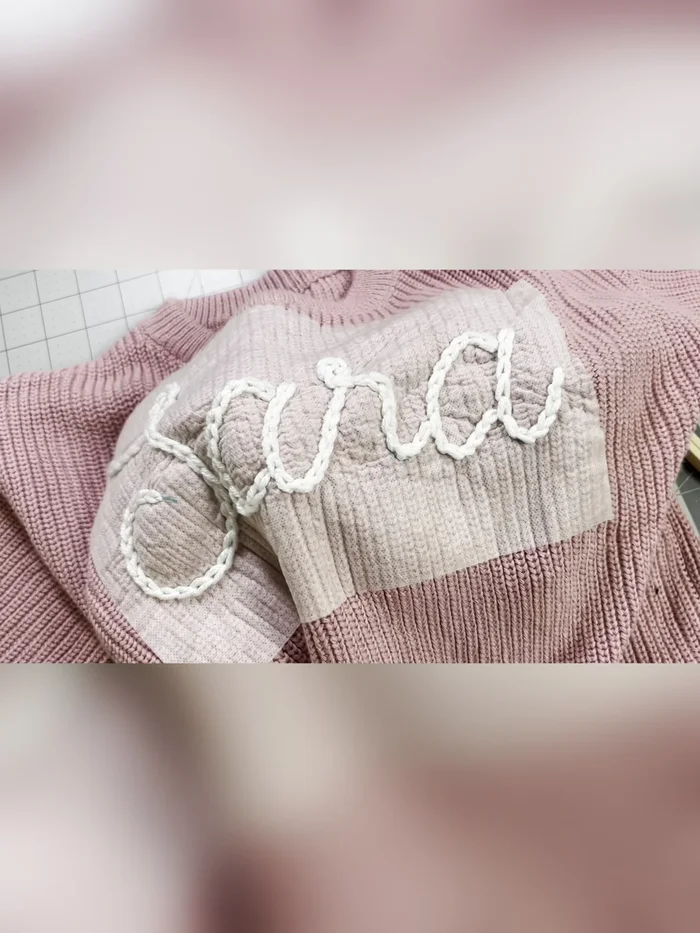
Prepare Needle and Thread Embroider with Chain Stitch
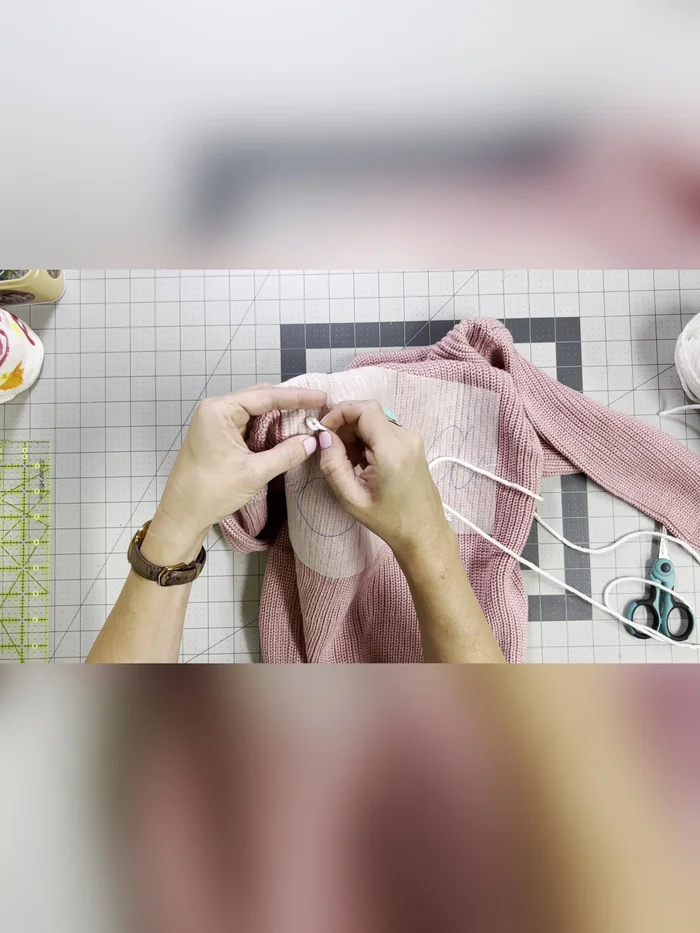
- Begin embroidering using a chain stitch. Bring the needle up at the start of your design, consistently spacing stitches about half an inch apart.
- bring the needle up, creating a loop. Insert the needle back down through the loop, pull through, then repeat, moving down the line.
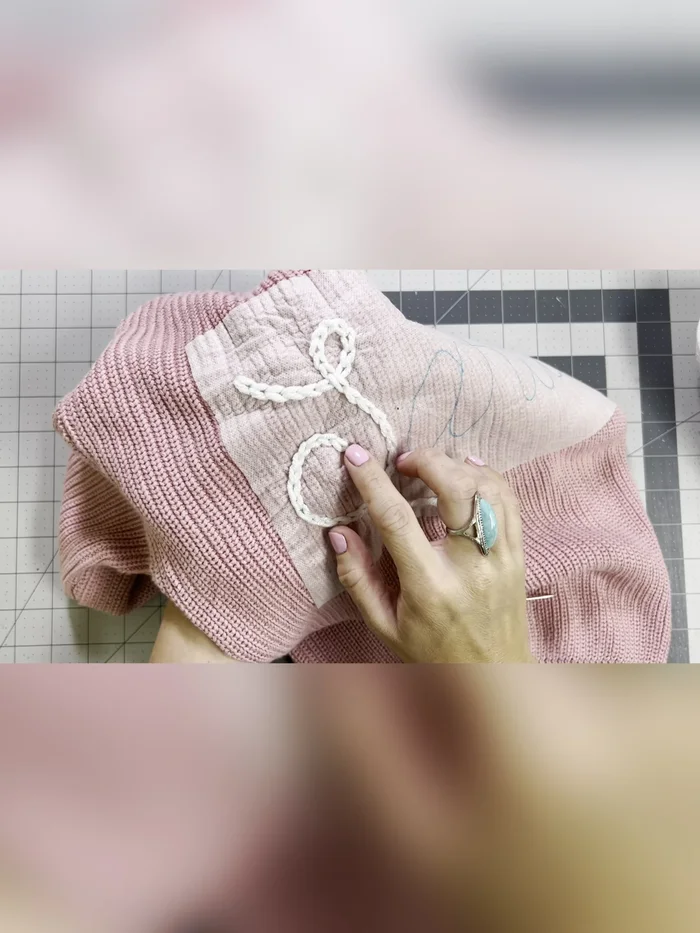
- Gently tug on the back of each stitch to create even, tight stitches. Continue the chain stitch around your name.
Embroider with Chain Stitch Finish Embroidery
- Insert needle just outside the last loop, pull through, and weave the tail through the previous two or three stitches on the back. Double knot and cut the excess yarn.
Finish Embroidery Remove Stabilizer
- Carefully cut away excess stabilizer around the embroidery, being cautious not to cut into the sweater.
- Wash away remaining stabilizer by running warm water over the sweater and gently agitating with your fingers. Air dry or tumble dry.
Remove Stabilizer


Read more: Knitting a Reversible Basketweave Blanket: A Customizable Guide
Tips
- For consistent stitches, practice your chain stitch. You can pre-mark dots to help with spacing initially.
- If you have neat handwriting, you can skip the Canva step and write directly on the sweater.
- Don’t pull the yarn too tight while stitching or you risk distorting the fabric.