Granny squares: those cheerful, versatile motifs that have charmed crocheters for generations. They’re the perfect building blocks for countless projects, but today we're focusing on transforming them into something truly special: a stunning, personalized scarf. Forget mass-produced accessories – this tutorial empowers you to design your own unique statement piece, bursting with your chosen colors and patterns. Imagine the possibilities: vibrant hues showcasing your personality, intricate colorwork telling a story, or even textured squares adding a touch of sophisticated whimsy.
This isn't just about following a rigid pattern; it's about unleashing your creativity and crafting a scarf that reflects your individual style. We'll guide you through the fundamental granny square technique, then delve into exciting ways to customize your squares, from simple color changes to more advanced stitch variations and joining methods. Ready to create your masterpiece? Let's dive into the step-by-step process and begin crocheting your own one-of-a-kind granny square scarf!
Preparation and Safety Guidelines
- Paint Box Yarns Simply Chunky yarn (16 colors + 1 joining color)
- 6mm crochet hook
- Scissors
- Tapestry needle
- Use sharp scissors to avoid injury when cutting yarn. Keep your scissors pointed away from yourself and others.
- Maintain consistent tension throughout your crocheting to ensure an even and neat finished scarf. Loose tension can lead to gaps, while tight tension can cause the scarf to be stiff and uncomfortable.
- Always check your work regularly to ensure you are following the pattern correctly. Catching mistakes early will save you time and frustration later.
Step-by-Step Instructions
Granny Square Creation
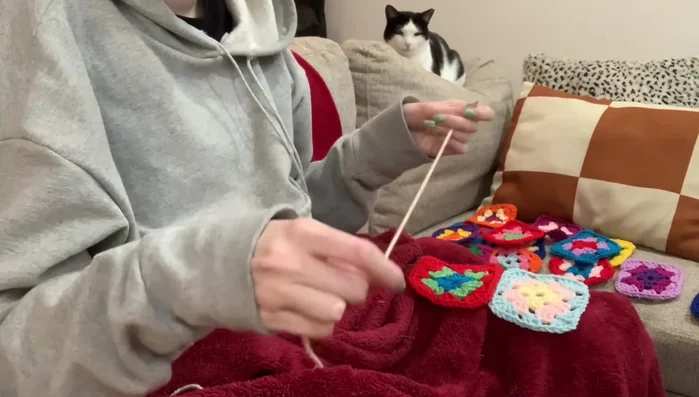
- Design and create granny squares:
- Choose your colors and create at least 32 granny squares (the creator used 3 colors per square).
Pairing Granny Squares
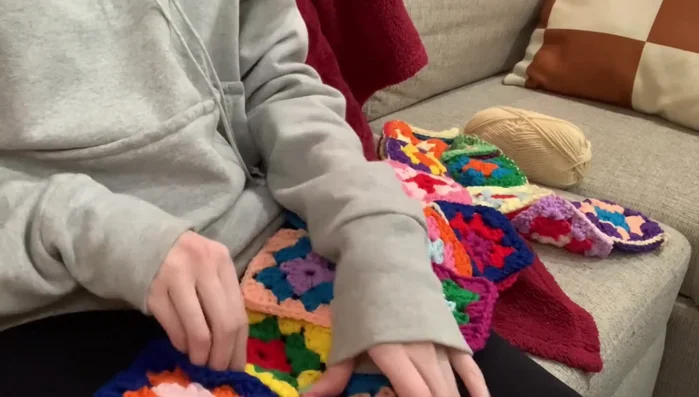
- Join pairs of granny squares using slip stitches.
- Flatten the seams by gently pulling on each joined pair.

Pairing Granny Squares Joining Paired Squares
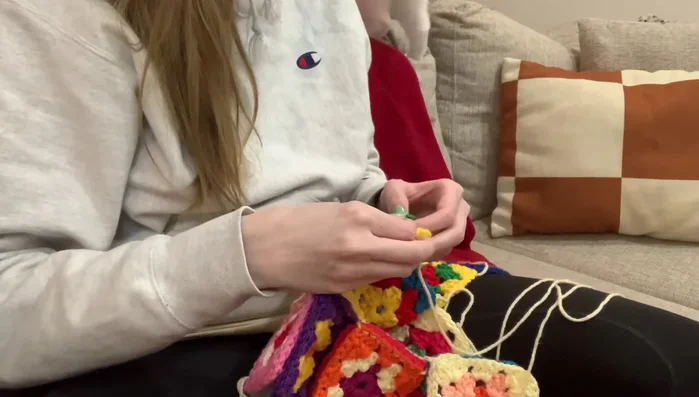
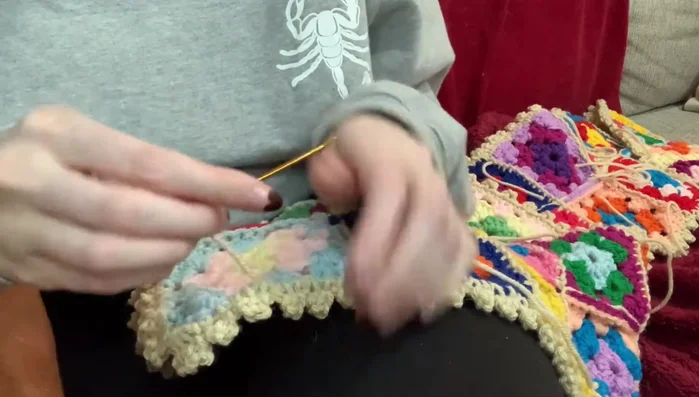
- Join all the pairs together using a blanket stitch with a contrasting color of yarn.
Joining Paired Squares Adding the Border
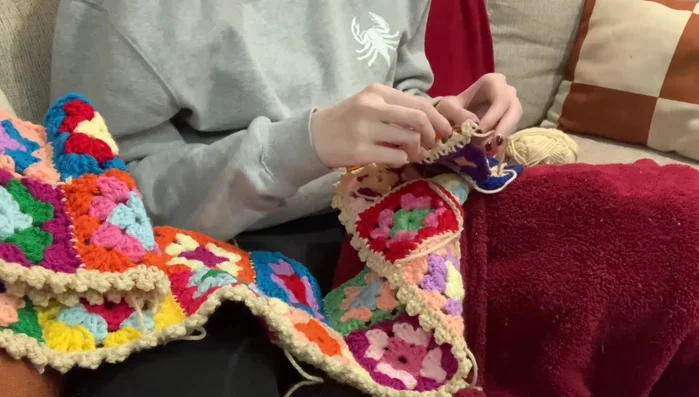
- Create a picot border around the entire scarf.
Adding the Border Finishing Touches
- Weave in the ends of the yarn and trim excess.
Finishing Touches
Read more: Easy Color Block Crochet Blanket Tutorial for Beginners
Tips
- Consider using a variety of colors to create a visually appealing scarf.
- Use a contrasting color for joining and the border to add visual interest.
- A blanket stitch creates a flatter and stronger seam compared to slip stitches.
- The picot border is an easy and visually appealing finishing touch.