Granny squares: those charming, versatile squares that are the building blocks of countless blankets, shawls, and other crocheted wonders. While they might seem intimidating to beginners, the truth is, creating a perfectly lovely granny square is surprisingly simple. This timeless craft offers a fantastic way to express creativity, using a small amount of yarn to create something beautiful and ultimately functional. Whether you're a seasoned crocheter looking for a refresher or a complete novice eager to try your hand at this classic technique, you'll find this pattern incredibly straightforward and rewarding.
This tutorial offers a foolproof method to master the art of granny square crochet, guiding you through each step with clear instructions and helpful visuals. Get ready to unleash your inner artisan as we delve into the easiest granny square tutorial, a step-by-step guide that will have you confidently creating these delightful squares in no time. Let's begin!
Preparation and Safety Guidelines
- yarn
- crochet hook
- Use sharp scissors to avoid fraying yarn and potential injury. Always cut yarn away from yourself.
- Be mindful of your hook size. Using a hook too small can make the work too tight and difficult, while a hook that's too large will result in a loose and uneven square.
- If you're a beginner, start with a light-colored yarn so you can easily see your stitches. This makes it much easier to follow the pattern.
Step-by-Step Instructions
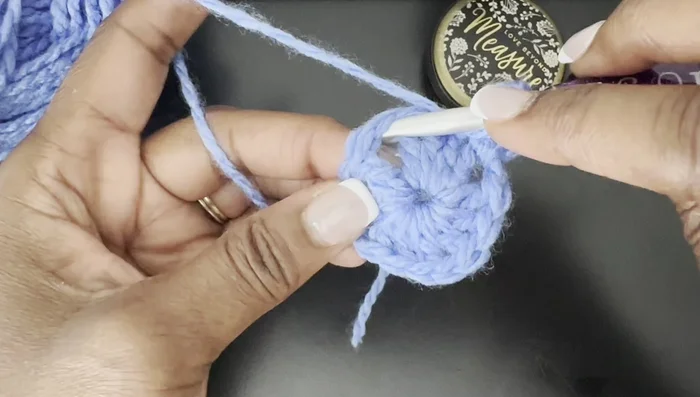
Creating the Center Ring
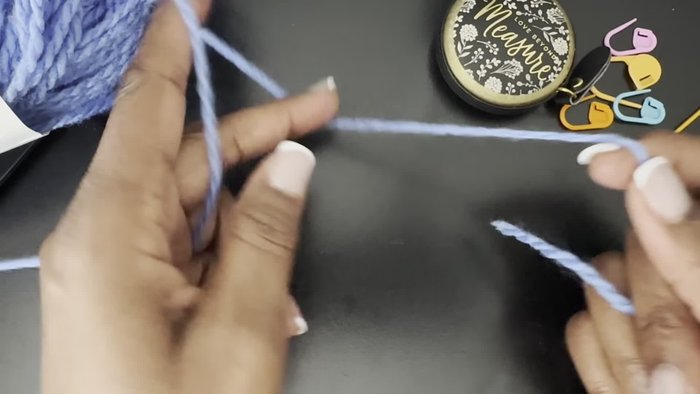
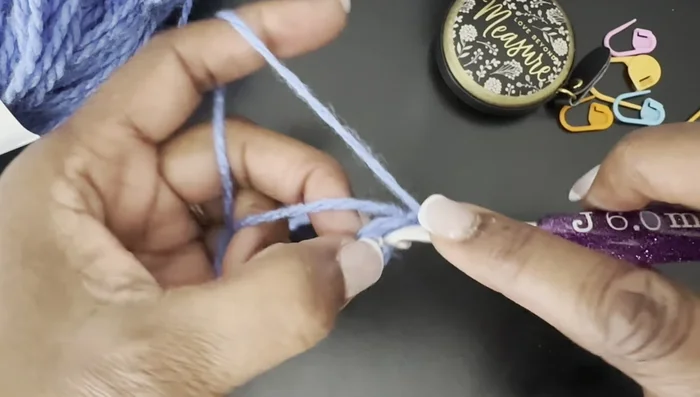
- Begin with a slip knot and chain 4, then slip stitch into the first chain to form a ring.
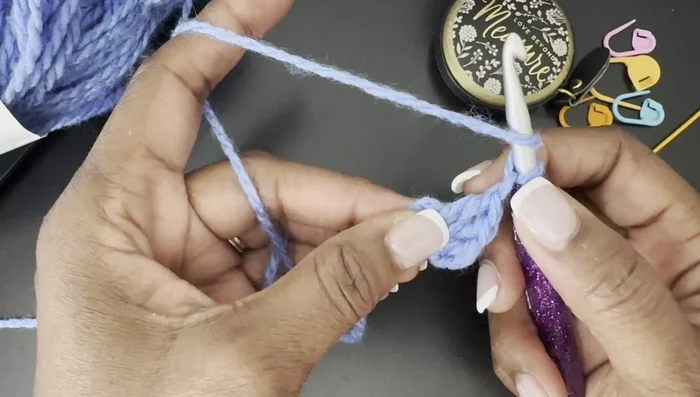
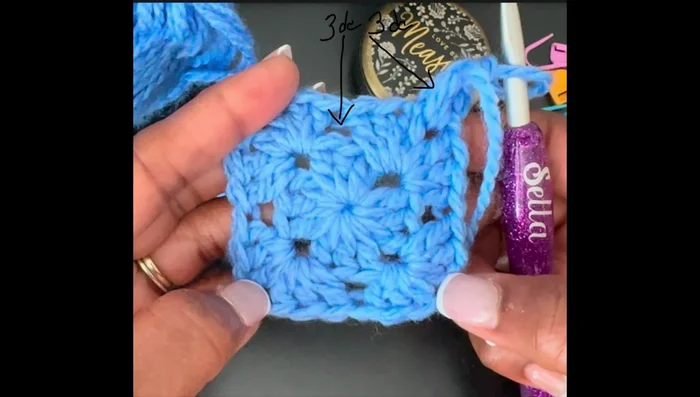
- Chain 1, then work 3 double crochet stitches into the center ring. This chain one does not count as a stitch.
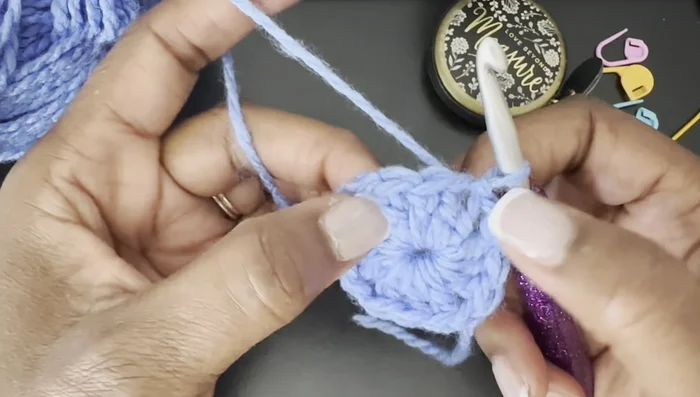
- Chain 1, and repeat step 2 three more times. Slip stitch to the top of the first double crochet to join the round.

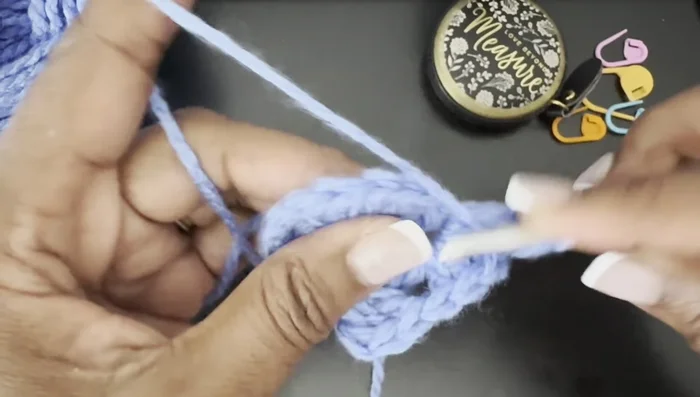
Creating the Center Ring Round 2: Establishing the Corners
- Chain 1. Work 3 double crochet stitches into the first corner space (the large gap between the chain-1 spaces).
- Chain 1. Skip the next chain-1 space and work 3 double crochet stitches into the next chain-1 space.
- Repeat steps 4 and 5 until you reach the end of the round. Join with a slip stitch.
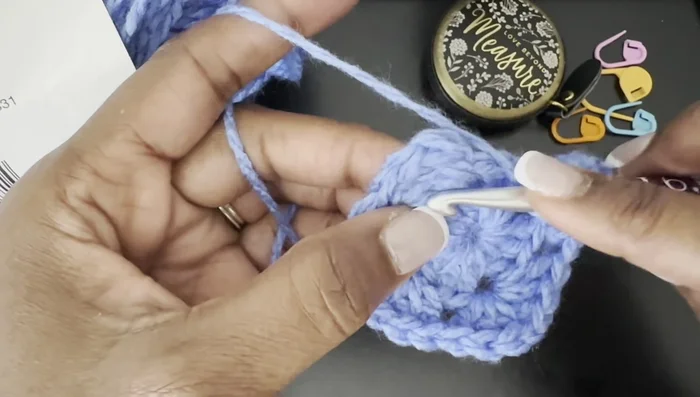
Round 2: Establishing the Corners Subsequent Rounds: Increasing Size
- Chain 1, and work 3 double crochet stitches into each corner space (the spaces between the chain-1 spaces from the previous round). Work 3 double crochet stitches into the spaces between the corners.
- Join each round with a half double crochet to create a neat and stable connection, avoiding the use of a slip stitch which might result in curling.
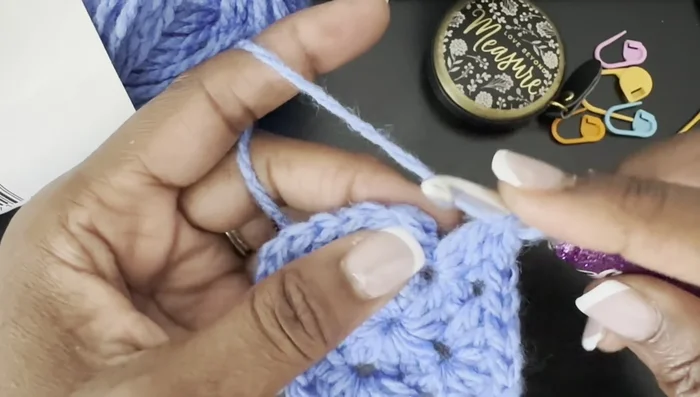
Subsequent Rounds: Increasing Size Finishing the Granny Square
- Repeat Round 2 until you reach the desired size. When finished, weave in the ends.
Finishing the Granny Square
Read more: Knitting a Reversible Basketweave Blanket: A Customizable Guide
Tips
- Pulling the tail tightly after completing each round will help close the gaps and create a more defined square.
- Using a half double crochet to join rounds helps prevent curling.