Dive into the vibrant world of handcrafted jewelry with this exciting guide on creating stunning multi-colored acrylic earrings using the power of a Glowforge laser cutter! Forget mass-produced accessories; this project empowers you to design and produce unique, eye-catching earrings that perfectly reflect your personal style. We'll explore the ease and precision of using a Glowforge to cut and engrave intricate designs into vibrant acrylic sheets, transforming simple materials into wearable works of art. You'll discover how to achieve perfectly aligned multi-colored layers, adding depth and dimension to your designs.
From choosing the right acrylic sheets and designing your perfect earring shape to mastering the Glowforge settings and assembling your finished pieces, this tutorial will take you through every step of the process. Get ready to unlock your creativity and unleash your inner jewelry designer, because in just a few simple steps, you'll be proudly sporting your own dazzling, handcrafted earrings. Let's get started with the step-by-step instructions below!
Preparation and Safety Guidelines
- Glowforge Laser Cutter
- Acrylic sheets (various colors)
- Pliers
- Earring wires
- 6mm and 4mm open jump rings
- Black circle posts
- Weld-on acrylic glue
- iPad Pro (or pencil and paper)
- Procreate app (or similar drawing software)
- Adobe Illustrator
- Always wear appropriate safety glasses when operating the Glowforge and handling acrylic. Acrylic dust can be irritating to eyes.
- Use proper ventilation. Acrylic fumes can be harmful if inhaled. Work in a well-ventilated area or use a respirator.
- Ensure your Glowforge is properly calibrated and that your settings are correct for acrylic cutting and engraving to avoid fires or damage to the machine.
Step-by-Step Instructions
Design Creation
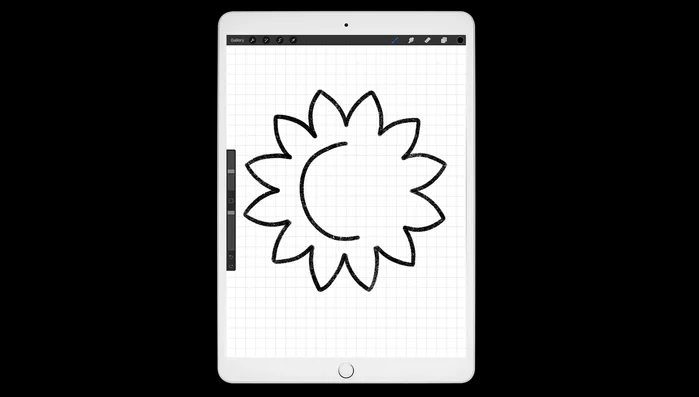
- Create earring designs using iPad Pro and Procreate app or pencil and paper.
- Export designs as JPEGs and transfer them to computer.
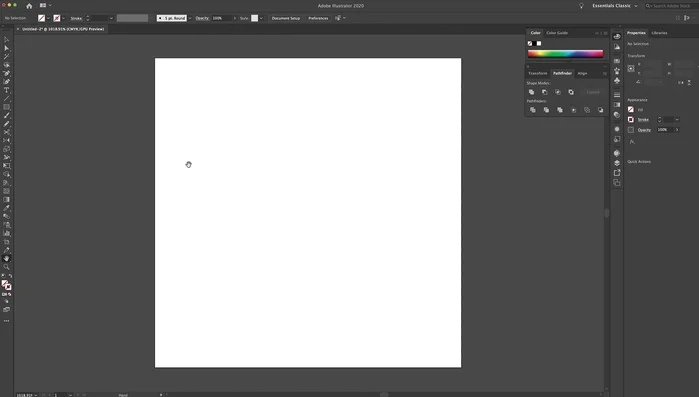
- Open Adobe Illustrator, place JPEGs, and vectorize the designs using the pen tool to create SVG files. (More detailed tutorial available in a separate video on the channel)

Design Creation Glowforge Software Setup
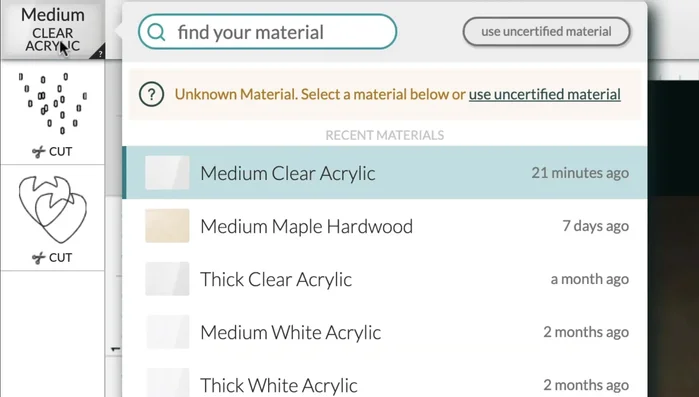
- Upload SVG files to Glowforge software.
- Adjust design placement in Glowforge software, ensuring no part of the design is cut off.
- Select appropriate materials and settings (cut, proofgrade cut) in the Glowforge software.
Glowforge Software Setup Laser Cutting
- Print the designs using the Glowforge Laser Cutter, accounting for kerf (extra material removed during laser cutting).
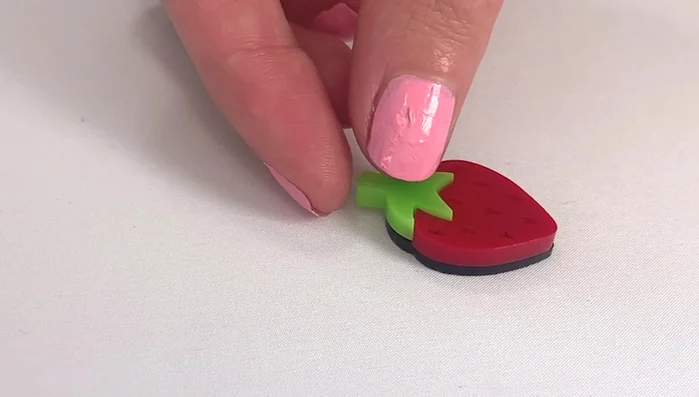
Laser Cutting Assembly Preparation
- Peel the protective tape from the acrylic pieces.
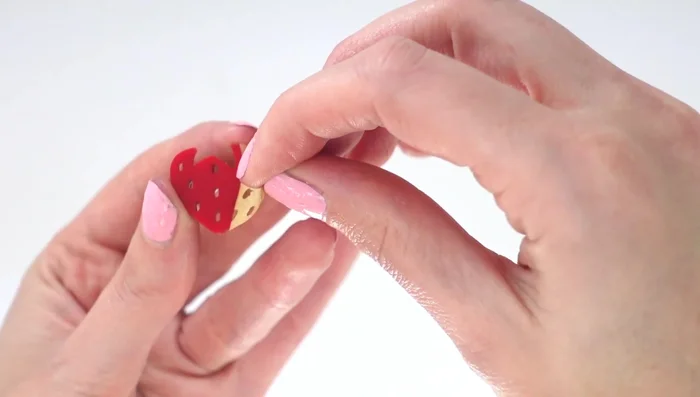
Assembly Preparation Gluing and Drying
- Glue the individual pieces onto their respective bases, ensuring the edges are well-glued for secure attachment.
- Let the glue dry for at least one hour.
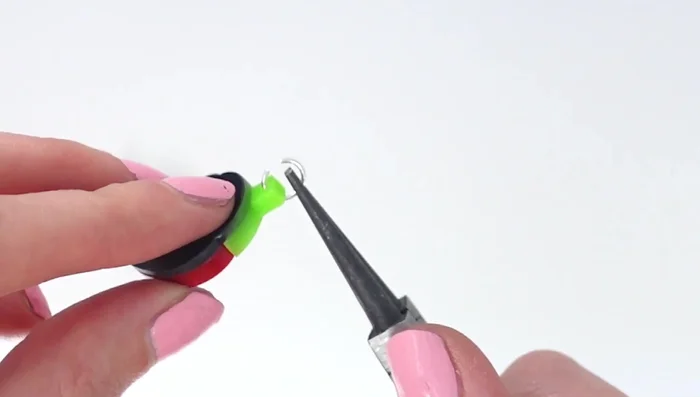
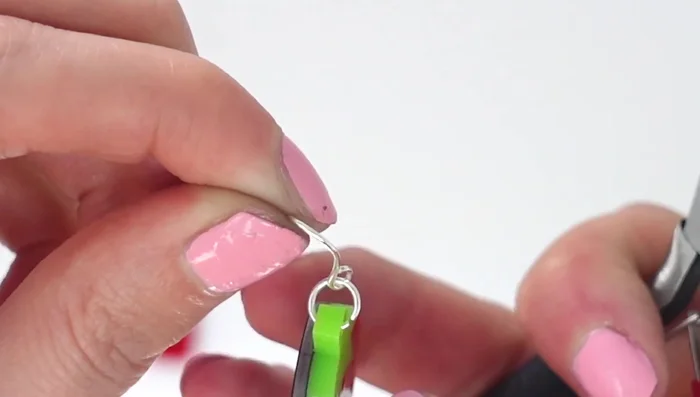
Gluing and Drying Hardware Attachment
- Open jump rings, attach them to the earring tops, and securely close them.
- Attach earring wires to the jump rings.
Hardware Attachment

Read more: DIY Tiered Tassel Earrings: A Quick & Easy Jewelry Tutorial
Tips
- Account for kerf (material removed by the laser cutter) when designing your pieces. Make certain parts slightly larger to compensate.
- Use enough glue to ensure a strong bond between the pieces.