Prepare to be mesmerized! This tutorial unveils the captivating art of creating a stunning glass implosion pendant featuring a delicate flower design. Implosion glass, with its intricate, almost ethereal fractures, offers a unique and breathtaking aesthetic, perfect for jewelry making. We’ll guide you through the process of transforming a simple piece of glass into a wearable work of art, revealing the secrets to achieving those captivating, controlled cracks that define this mesmerizing technique. You'll discover the satisfaction of mastering a new skill and the pride of wearing a piece entirely handcrafted by yourself.
This detailed guide will walk you through each step, from carefully preparing your glass to achieving the precise implosion effect that creates the beautiful flower shape. Get ready to explore the fascinating world of implosion glass artistry and unleash your creativity with this step-by-step tutorial, ensuring you create a pendant as unique and stunning as you are.
Preparation and Safety Guidelines
- Glass rod
- Soft glass (Lousy clear recommended)
- Torch
- Marver
- Optional: Exacto knife
- Bail
- Glass implosion is inherently dangerous. Always wear safety glasses and gloves to protect yourself from flying shards.
- Work in a well-ventilated area. Some glass implosion techniques may release small particles that could be harmful if inhaled.
- Use caution when handling the imploded glass pieces. The edges can be extremely sharp even after implosion. Dispose of broken glass carefully and responsibly.
Step-by-Step Instructions
Prepare the Glass Disc
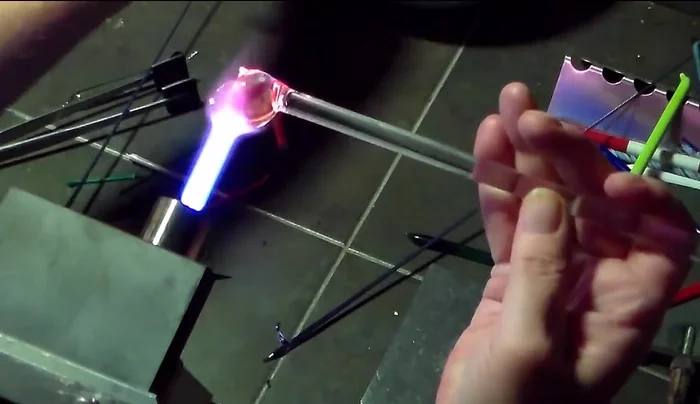
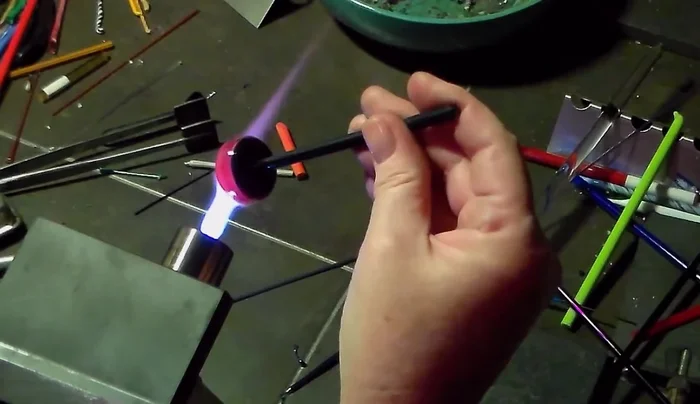
- Gather a clean wad of soft glass onto the end of a glass rod.
- Heat the glass until it forms a round shape. Let it droop downward and smash it onto the marver to create a flat disc.
- Flatten the disc again ensuring it is evenly flat and centered on the rod.

Prepare the Glass Disc Create the Flower Petals
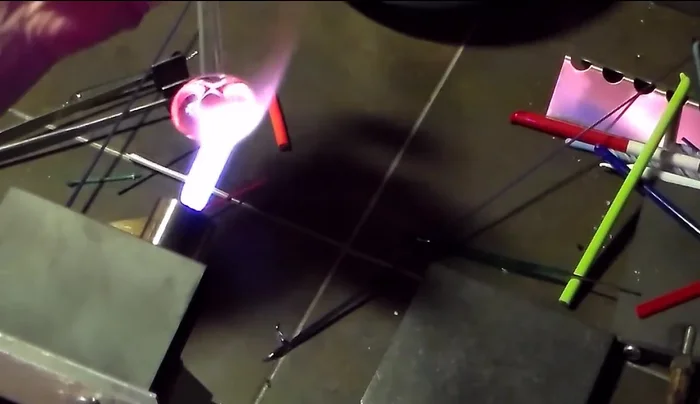
- Add small dots for stamens at the center of the disc. (This can be done later.)
- Create individual petal shapes (C-shapes, dots, squiggles, etc.) and apply them around the stamens, ensuring no petals touch.
- Shape petals and remove excess glass ensuring individual petal integrity.
- Add subsequent rows of petals, again ensuring no overlapping.
Create the Flower Petals Implosion Technique
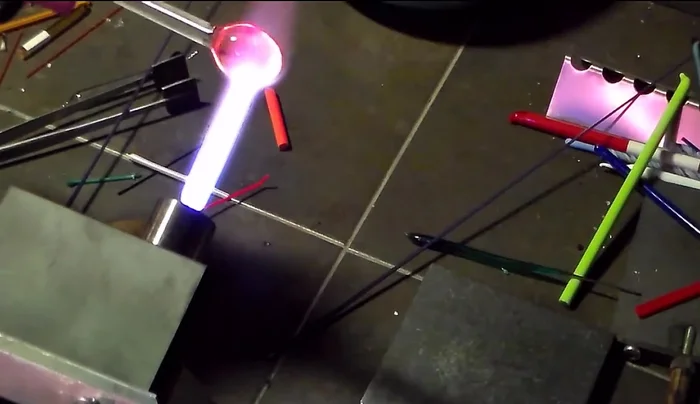
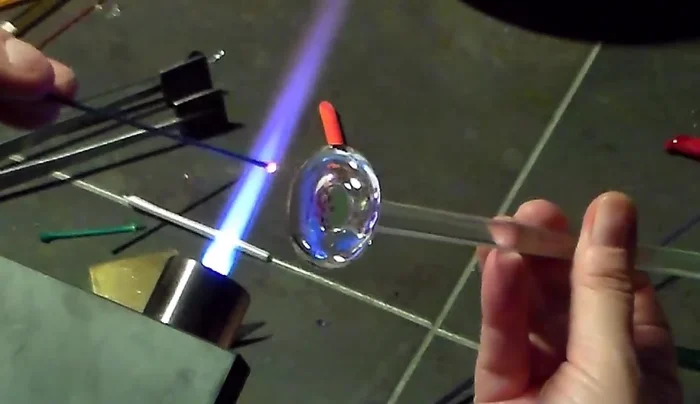
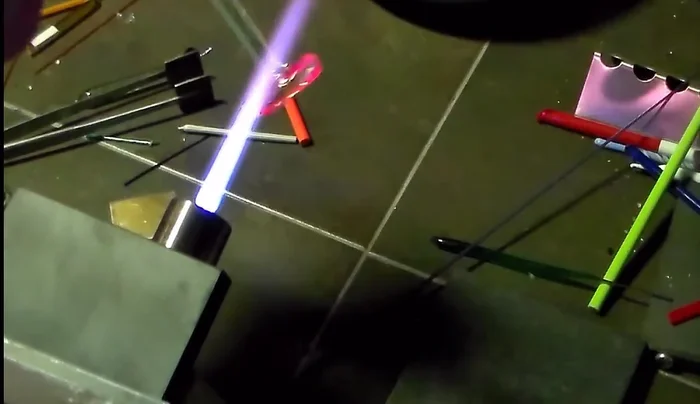
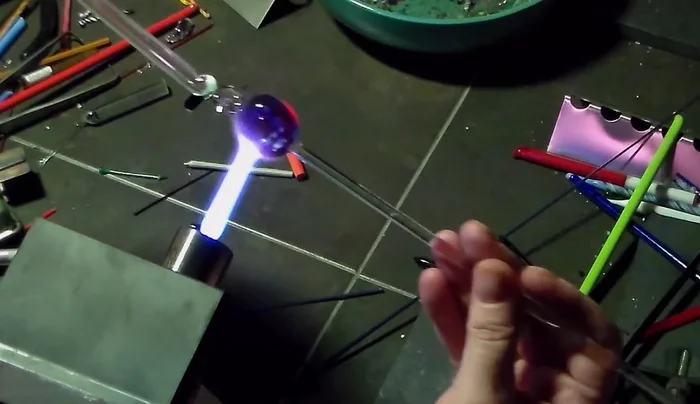
- Heat the edges of the disc, focusing on the outer edge while keeping the center cool. The goal is to make the outer clear glass soft and movable.
- Focus heat on the bottom outside edge to make the outer clear droop. Gently press to flatten, pushing the petals upward.
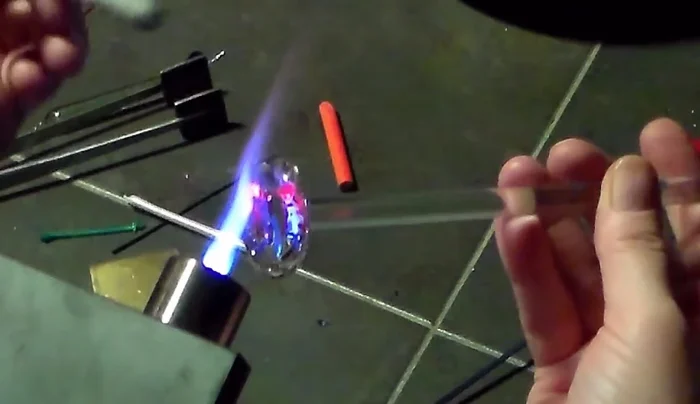
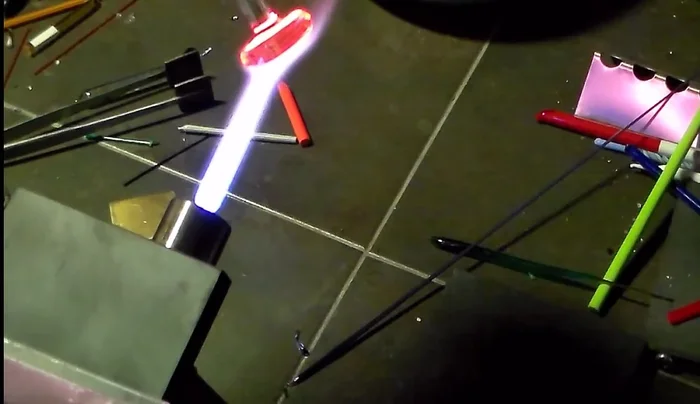
- Continue the implosion process, heating and gently pressing until the petals are raised and the bottom is flat.
Implosion Technique Add Backing and Refine Shape
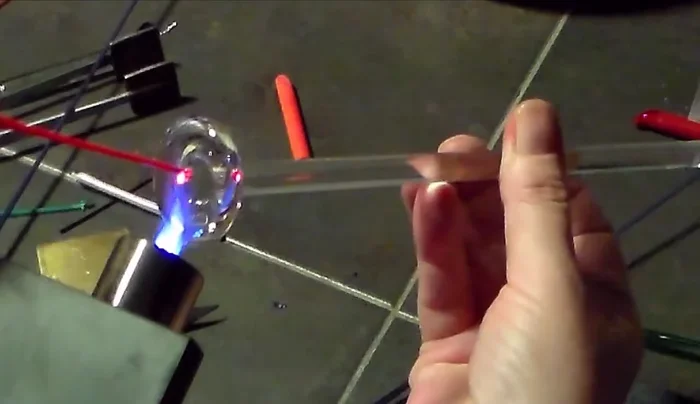
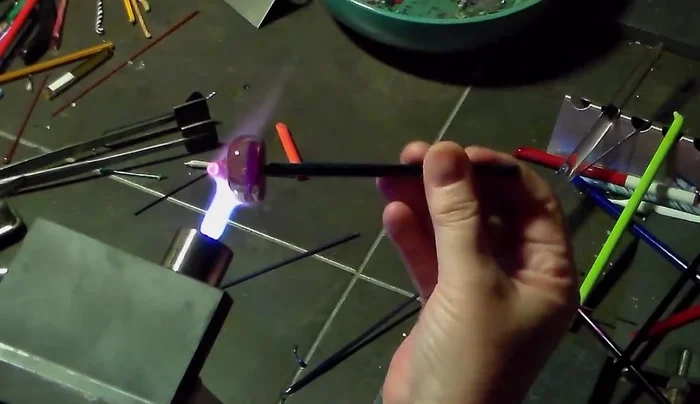
- Add a backing color (Raven Sky used in this example). Twist the rod for an organic design. Heat thoroughly, then flatten.
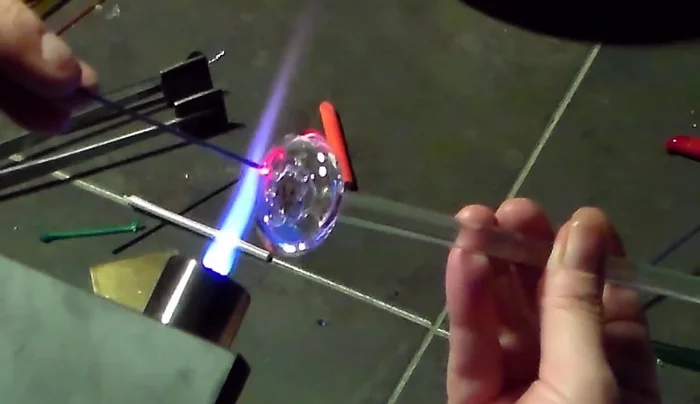
- Remove excess glass from the front. Melt and flatten the front lens area. Remove any imperfections.
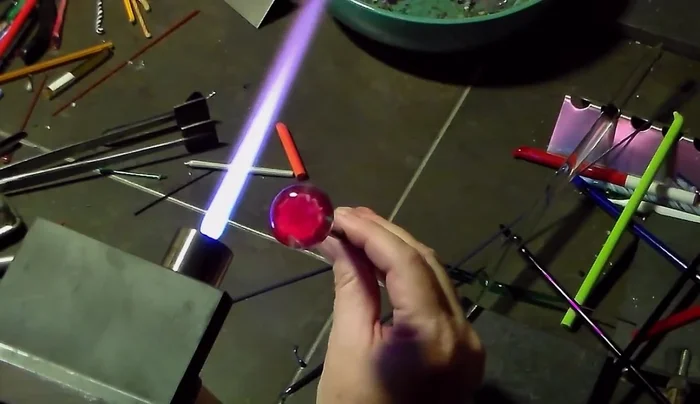
- Hold the pendant upright to allow the glass to flow and create a smooth lens.
- Taper the bottom of the pendant for a more refined look. This can also correct minor off-center issues.
Add Backing and Refine Shape Finishing Touches
- Attach a bail to the top of the pendant.
Finishing Touches
Read more: DIY Tiered Tassel Earrings: A Quick & Easy Jewelry Tutorial
Tips
- Use Lousy clear glass for better control during the implosion process. It's stiffer than other soft clear glasses.
- Ensure the initial disc is perfectly flat and centered. This will impact the final result significantly.
- Don't let petals touch each other. Keep them individual objects for a better implosion effect.
- Patience is key. The implosion process is time-consuming, especially for beginners.
- Use the same color for the punty as the backing to avoid color inconsistencies.